This post may contain affiliate links. For more information, read my disclosure policy.
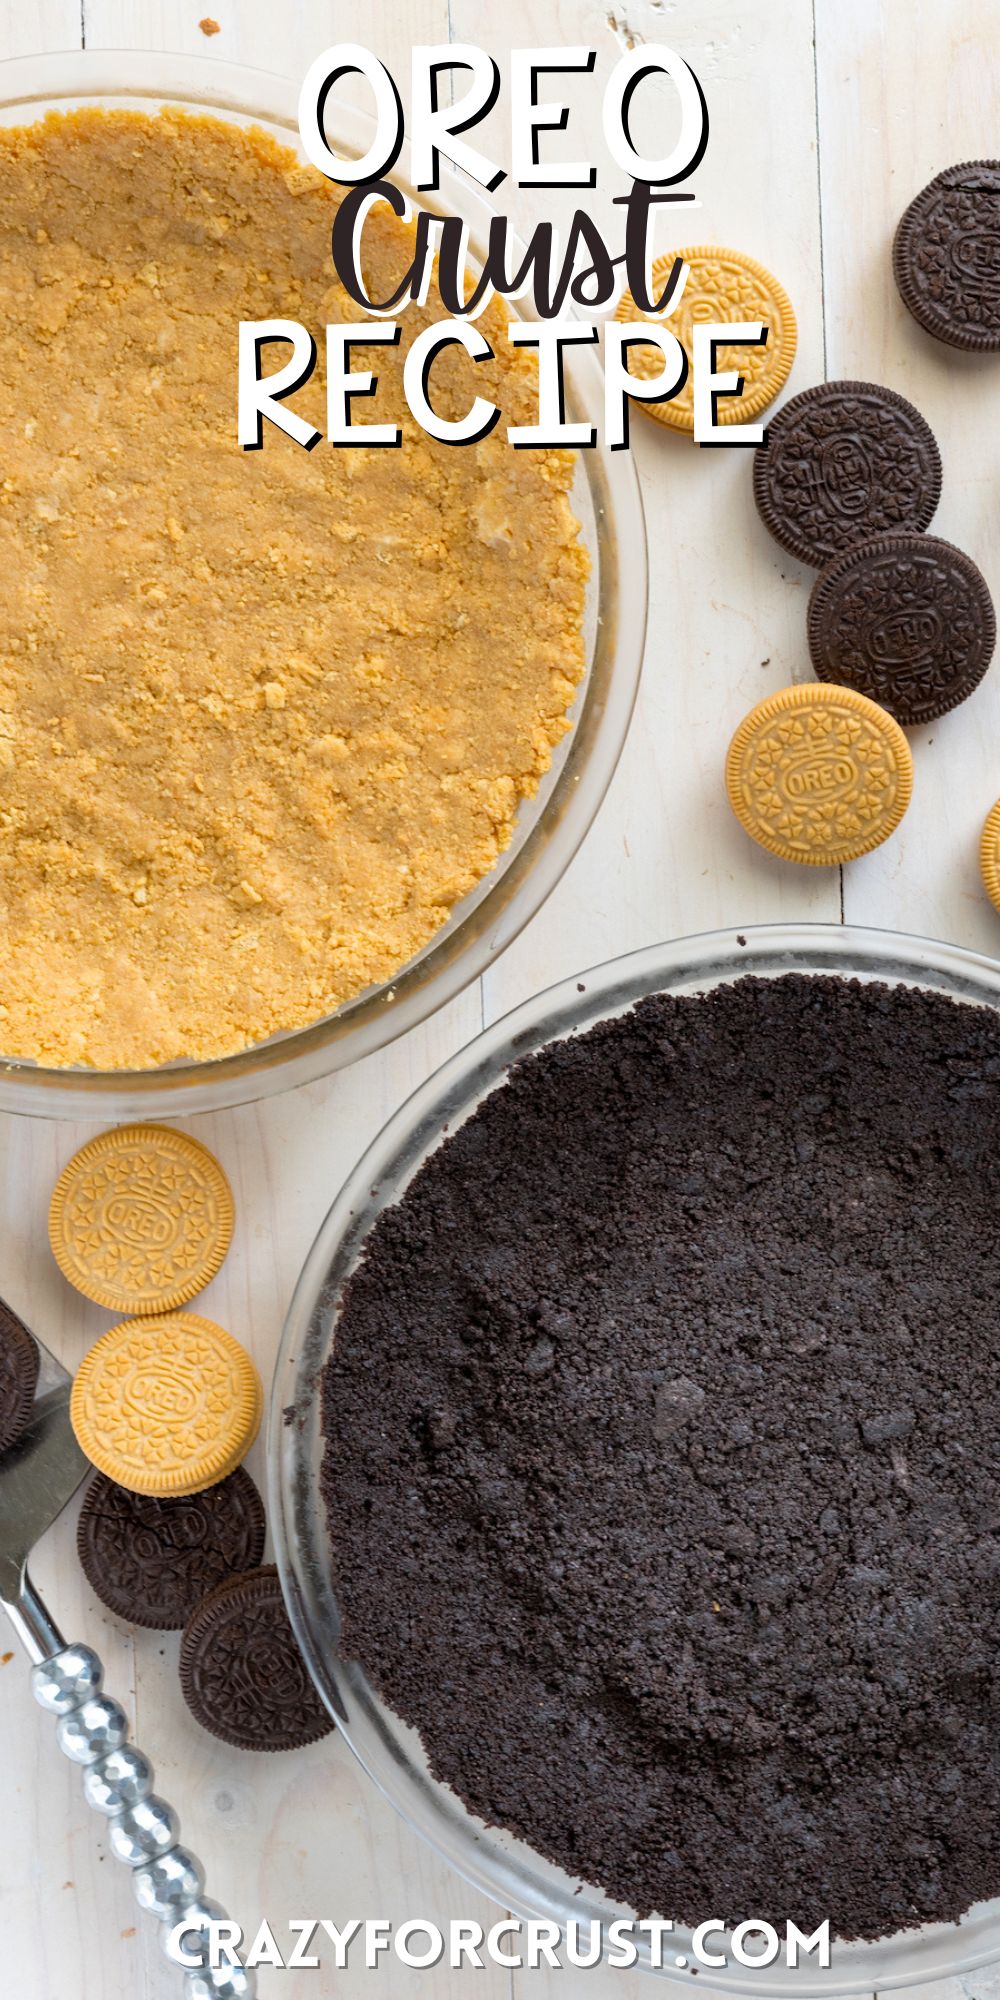
Oreo Pie Crust made fresh, from scratch! This easy homemade Oreo cookie crust will amp up the flavor of your favorite no-bake pie recipes. You never need to buy a store-bought crust again – make my 2 ingredient Oreo Crust Recipe with ANY flavor Oreo cookie!
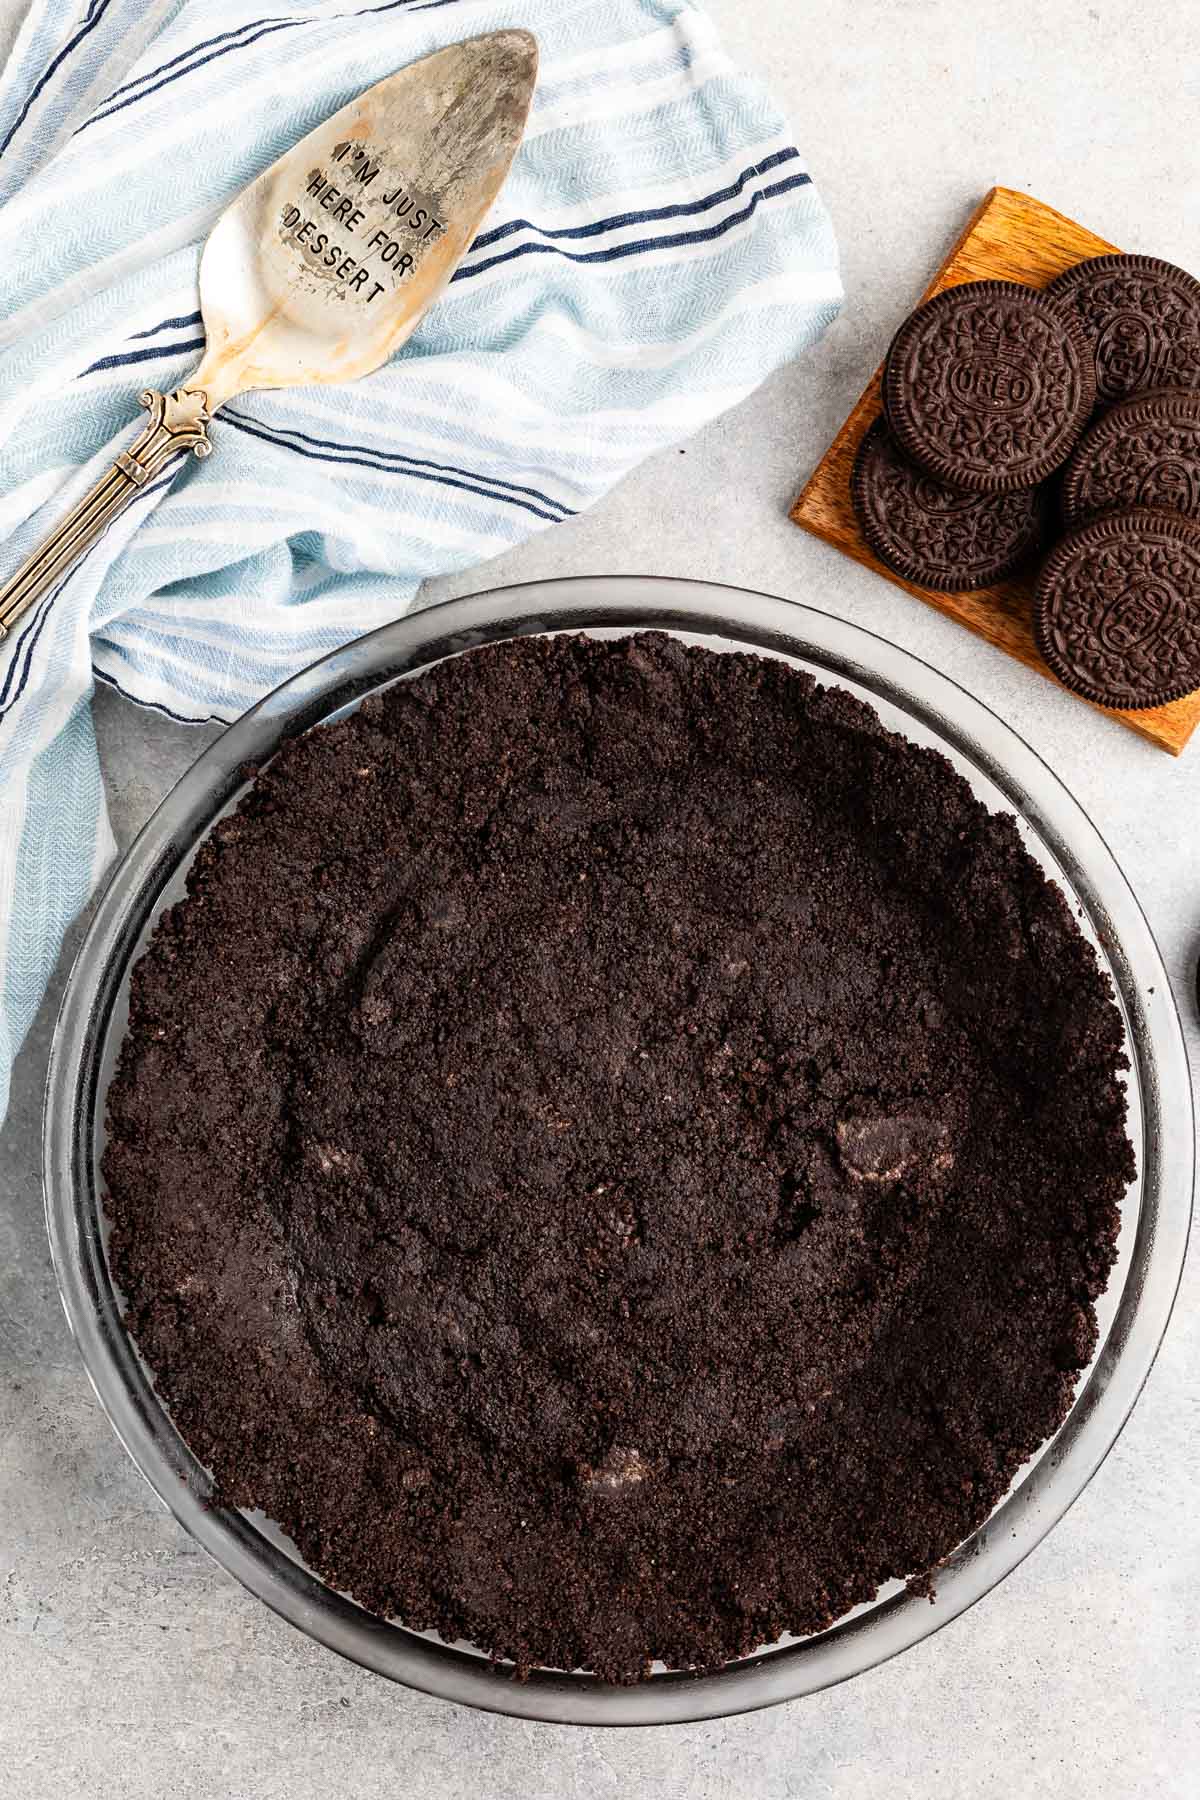
Perfect Oreo Pie Crust
It’s SO easy to make an Oreo Crust – and doing it at home means you can make it using any flavor Oreos! Stop buying pie crusts and make your own with this easy recipe! This is the most delicious crust out there – it’s my favorite of all the pie crust recipes.
- It’s a 2 ingredient Oreo crust – cookies and butter – such simple ingredients!
- You do not have to remove the cream from the Oreos!
- Use ANY flavor Oreo cookie, including a Golden Oreo Crust!
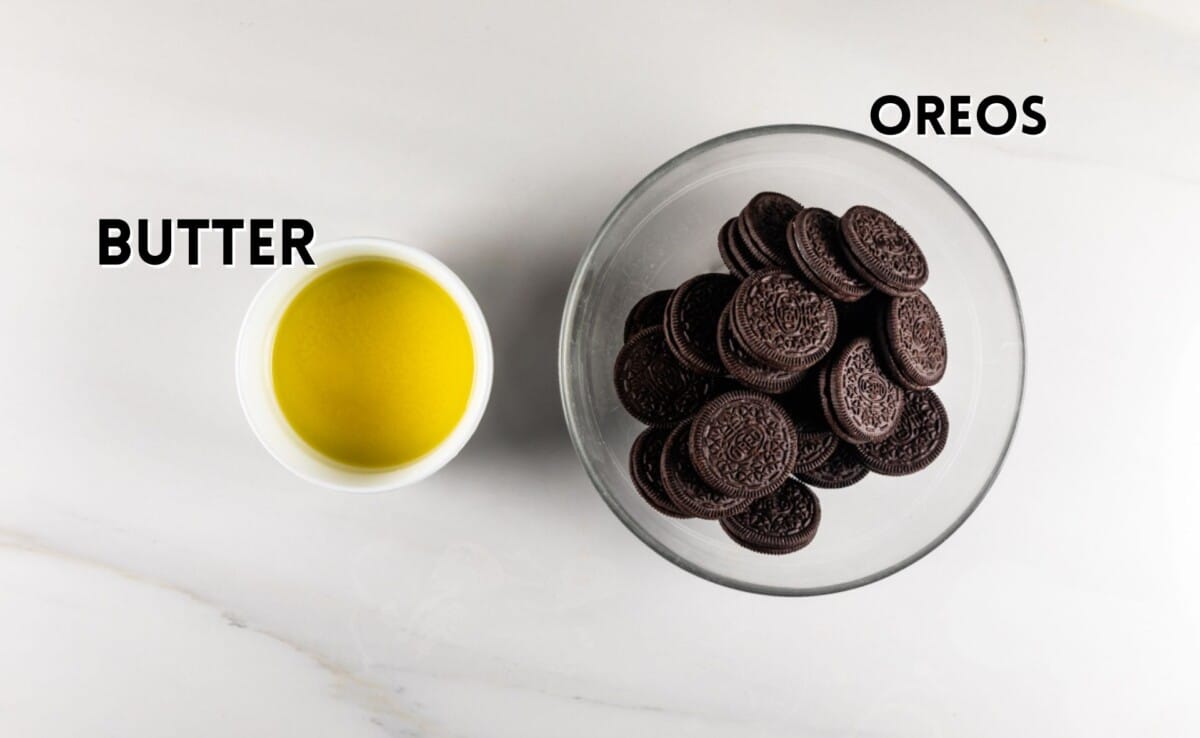
2 Ingredients Needed
- Oreos – Regular Oreos (not double-stuf Oreos) are best for this recipe
- Unsalted Butter – You can swap salted if that’s what you have.
Variations
- Golden Oreos are the perfect all-purpose cookie if you don’t want to make a graham cracker crust.
- Use peanut butter Oreos to make a peanut butter pie.
- Mint Chip Oreos are perfect for no bake cheesecake!
- Lemon Oreos would be delicious with a Lemon Cheesecake
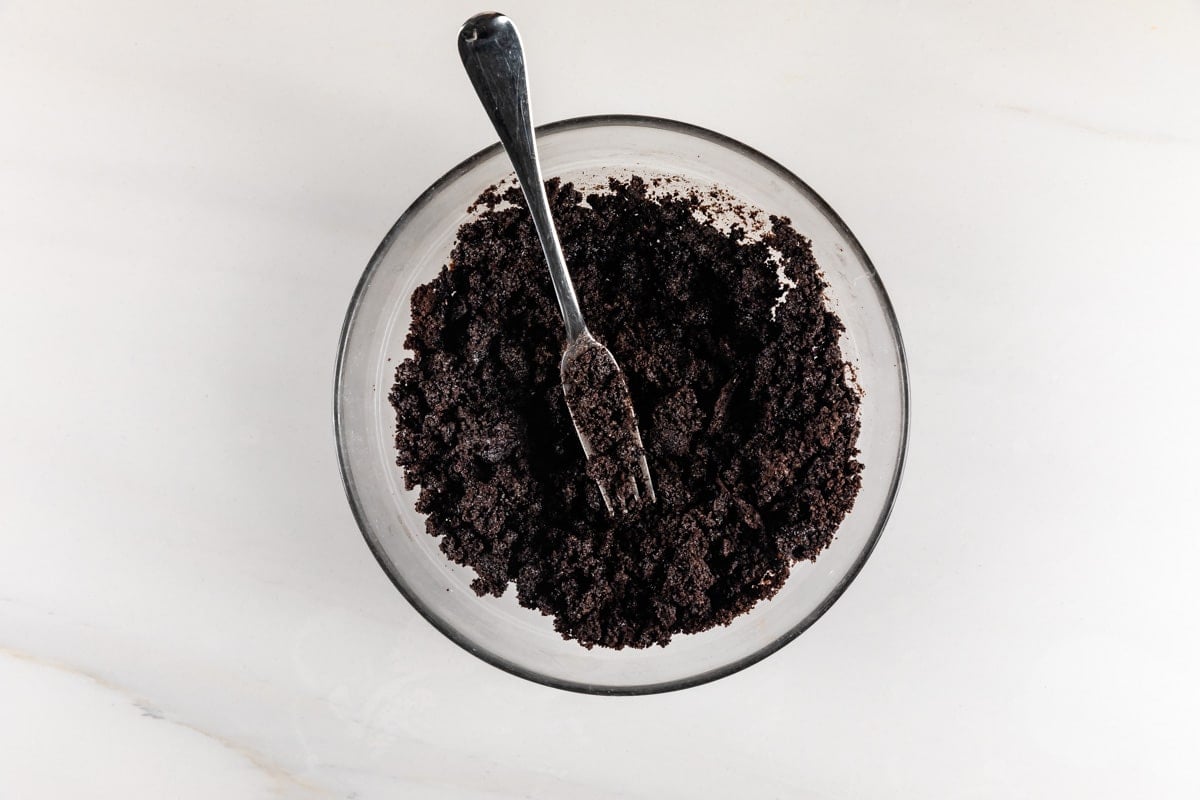
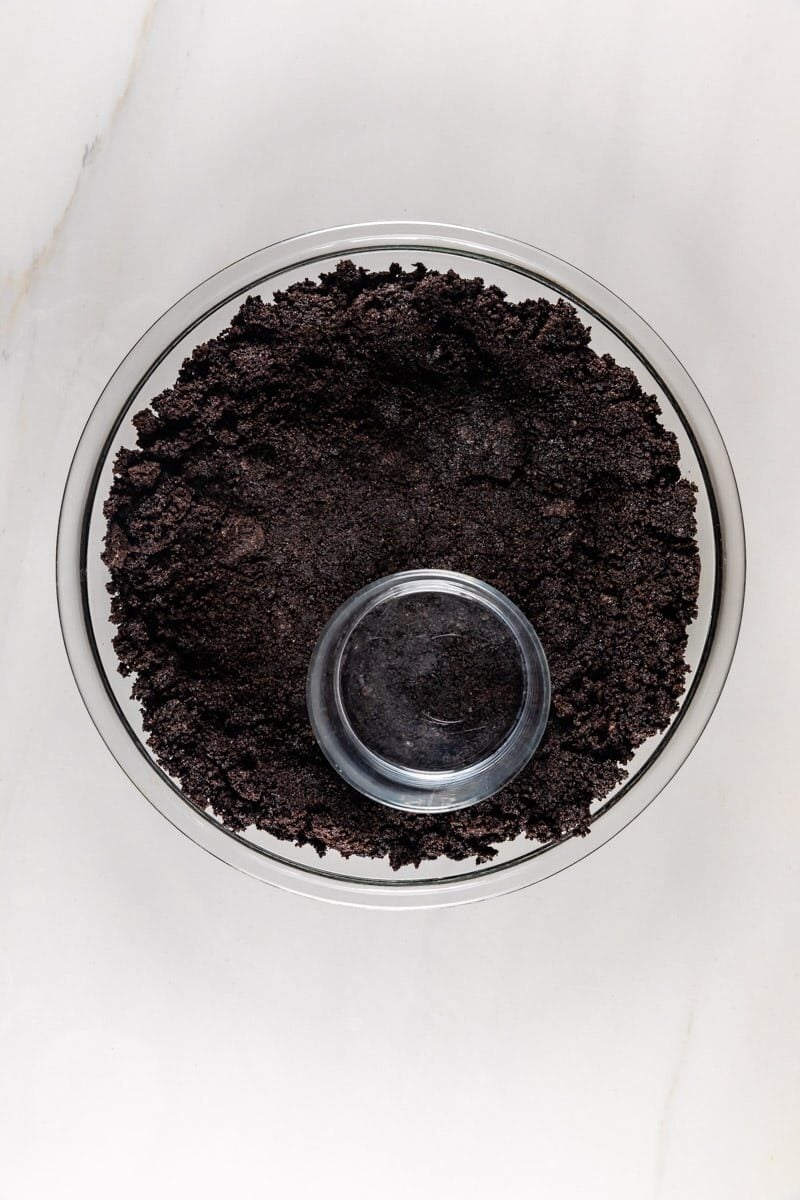
How to make Oreo Pie Crust
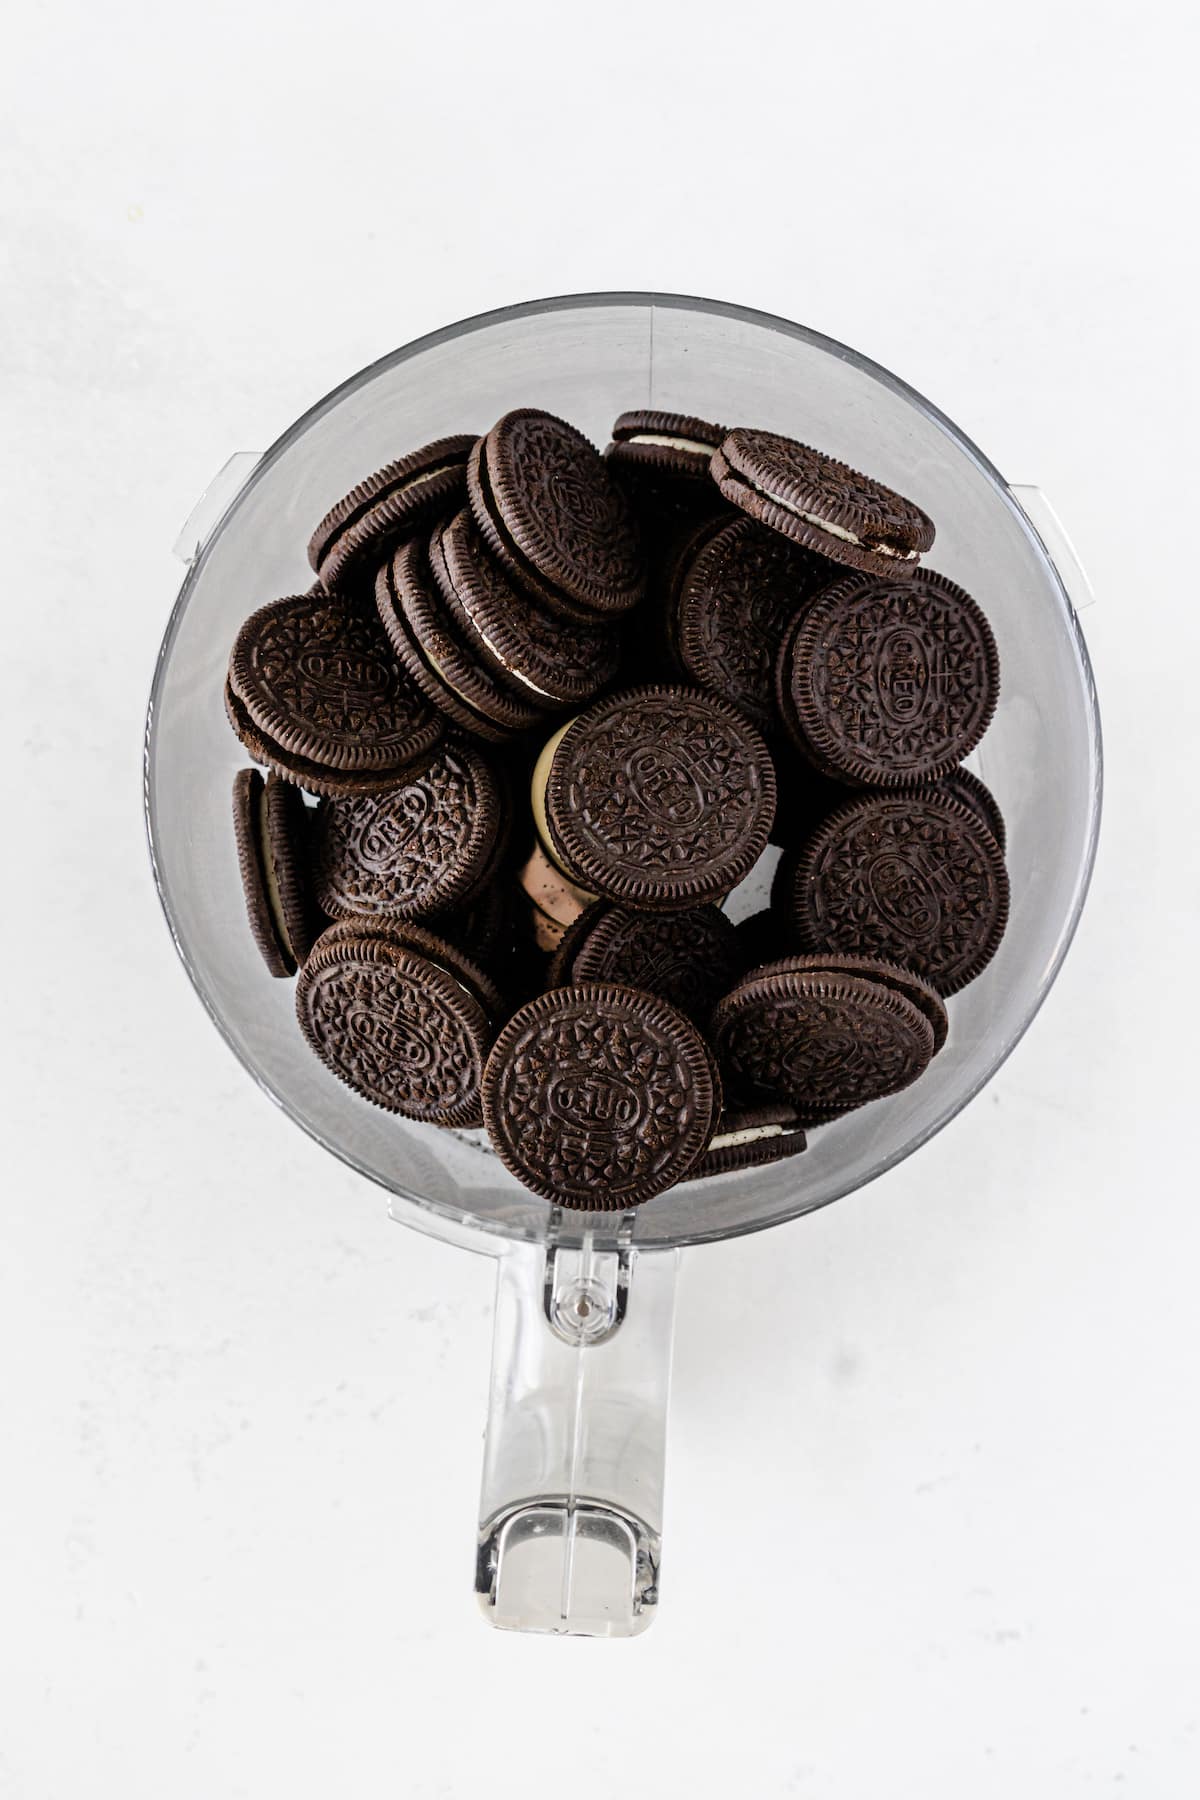
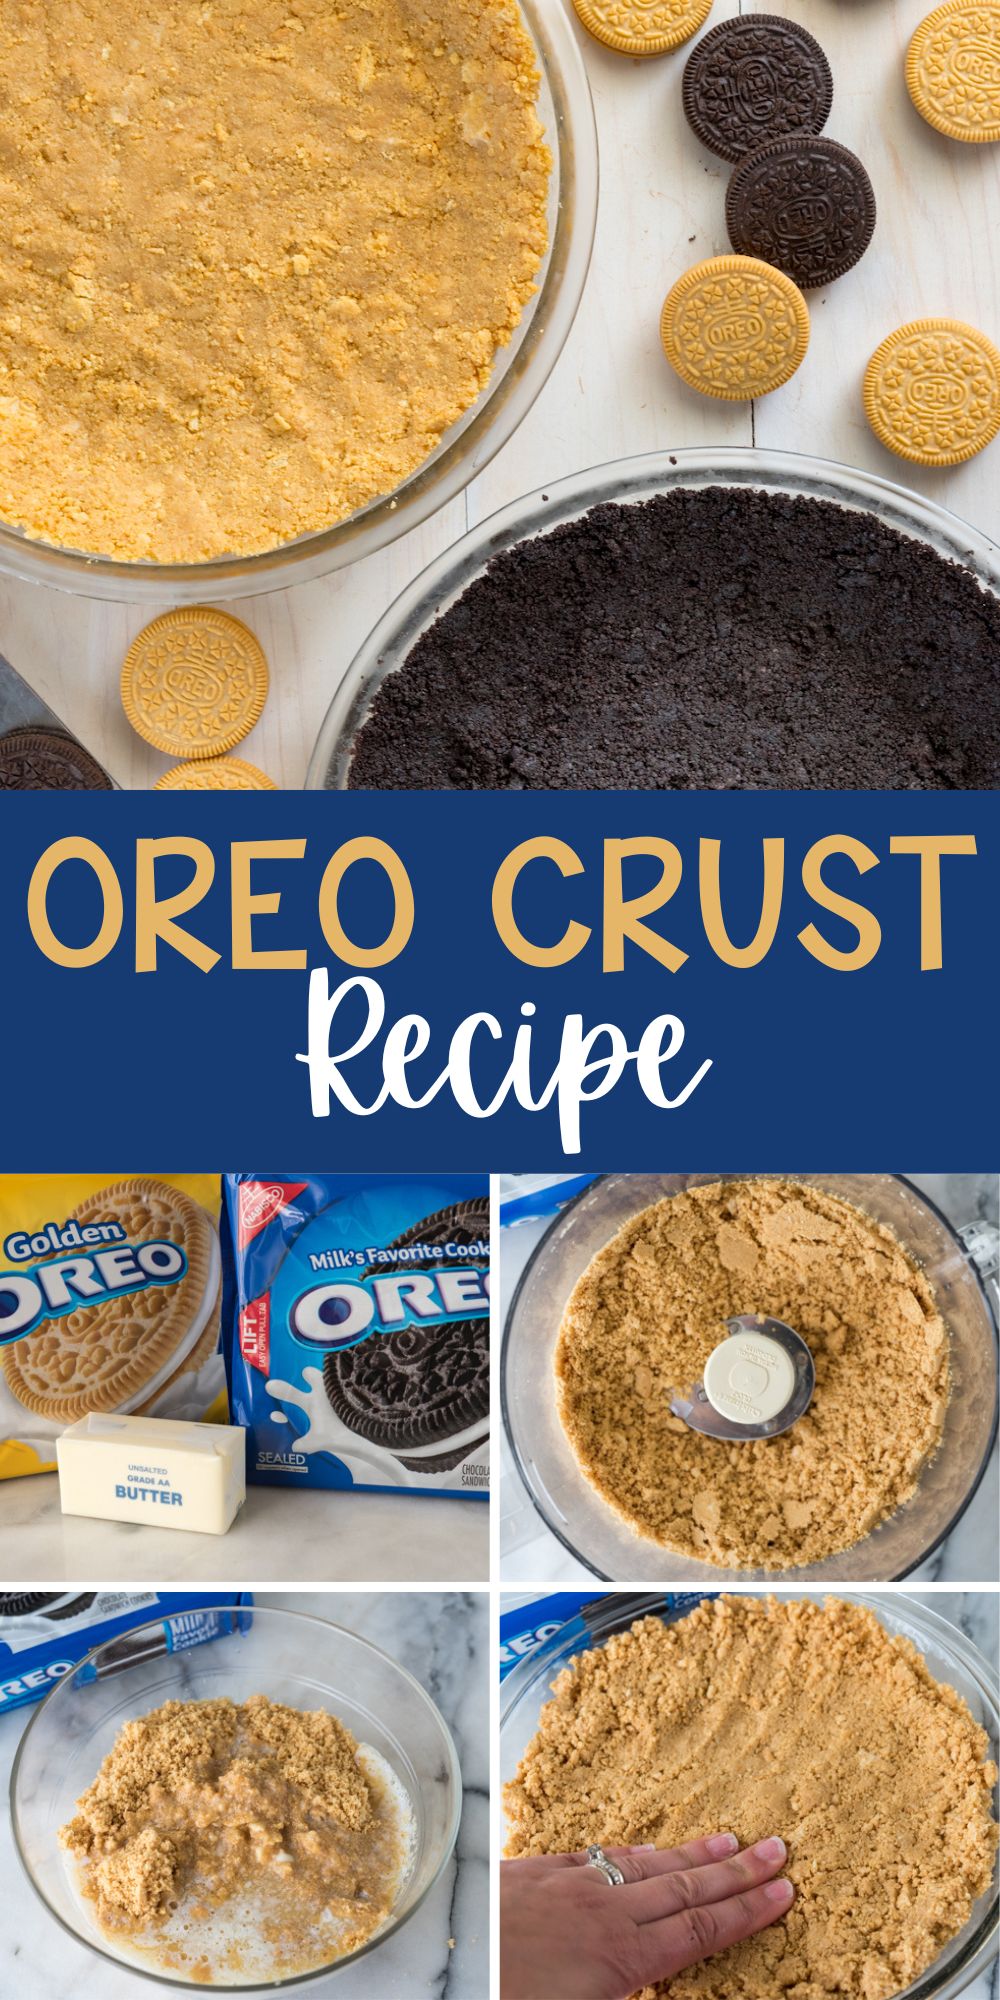
- Crush your whole Oreo cookies using a food processor. You do not have to remove the cream center! Don’t have a food processor? You can roll the cookies in a large bag using a rolling pin, however you want a fine crumb so they stick together. Rolling isn’t as great at it as the food processor, so I recommend using it.
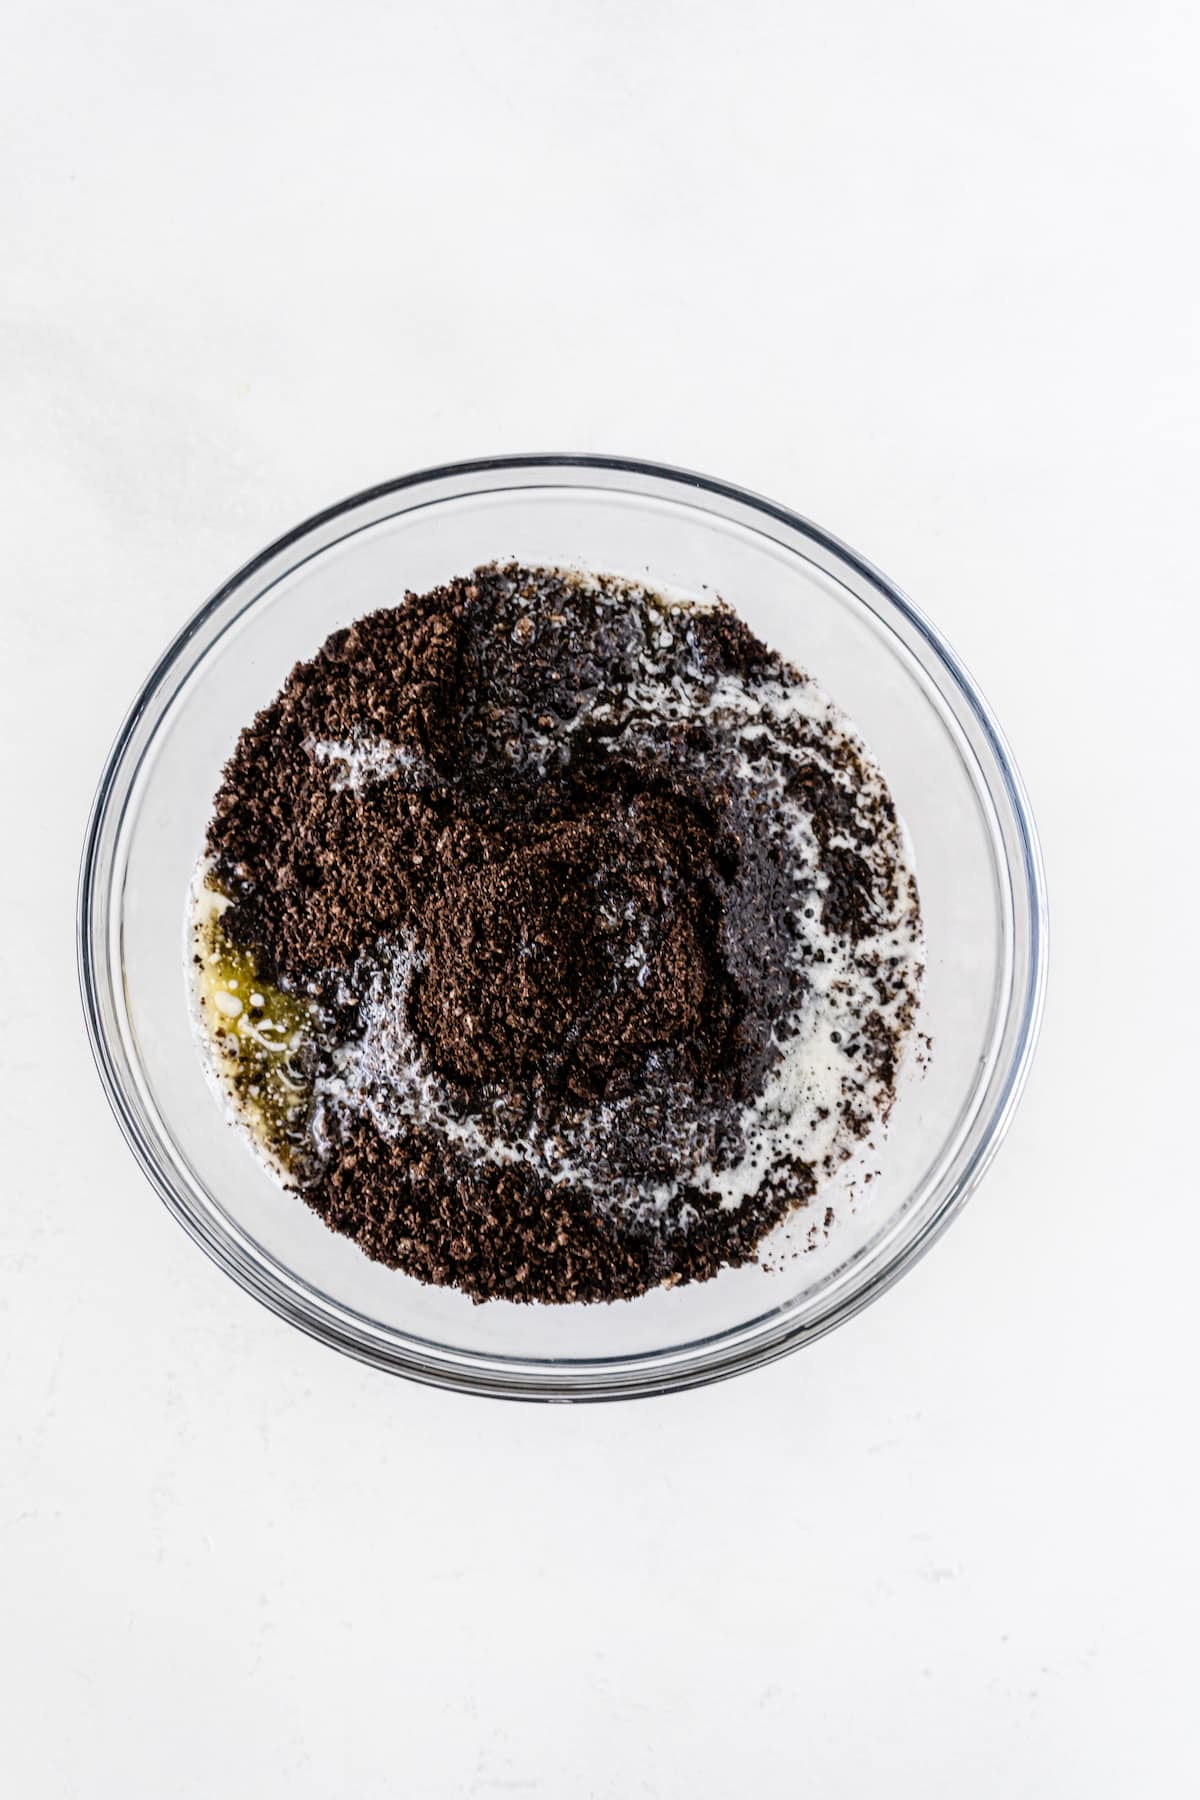
- Melt your butter in a medium bowl. Add the cookie crumbs to the melted butter and stir with a fork. The fork helps the butter mix into the cookies without too much clumping.
- Press the oreo crumbs into a 9-inch pie plate or springform pan, depending on the recipe you’re using. This will also work as a thinner crust in a 10-inch pie dish or a 9-inch deep dish pie pan, but don’t use anything smaller than a 9-inch size pan. It will also work in a 10-inch tart pan.
What to do with Oreo Pie Crust?
So many dessert possibilities with making your own crust! You can add your favorite fillings but here are some of my favorites:
- No Bake Oreo Pie – the chocolate crust pairs perfectly with the creamy cheesecake filling.
- Jello Pie – mix and match Oreo flavors with your jello flavor.
- Strawberry Pudding Pie – perfect with Golden Oreos.
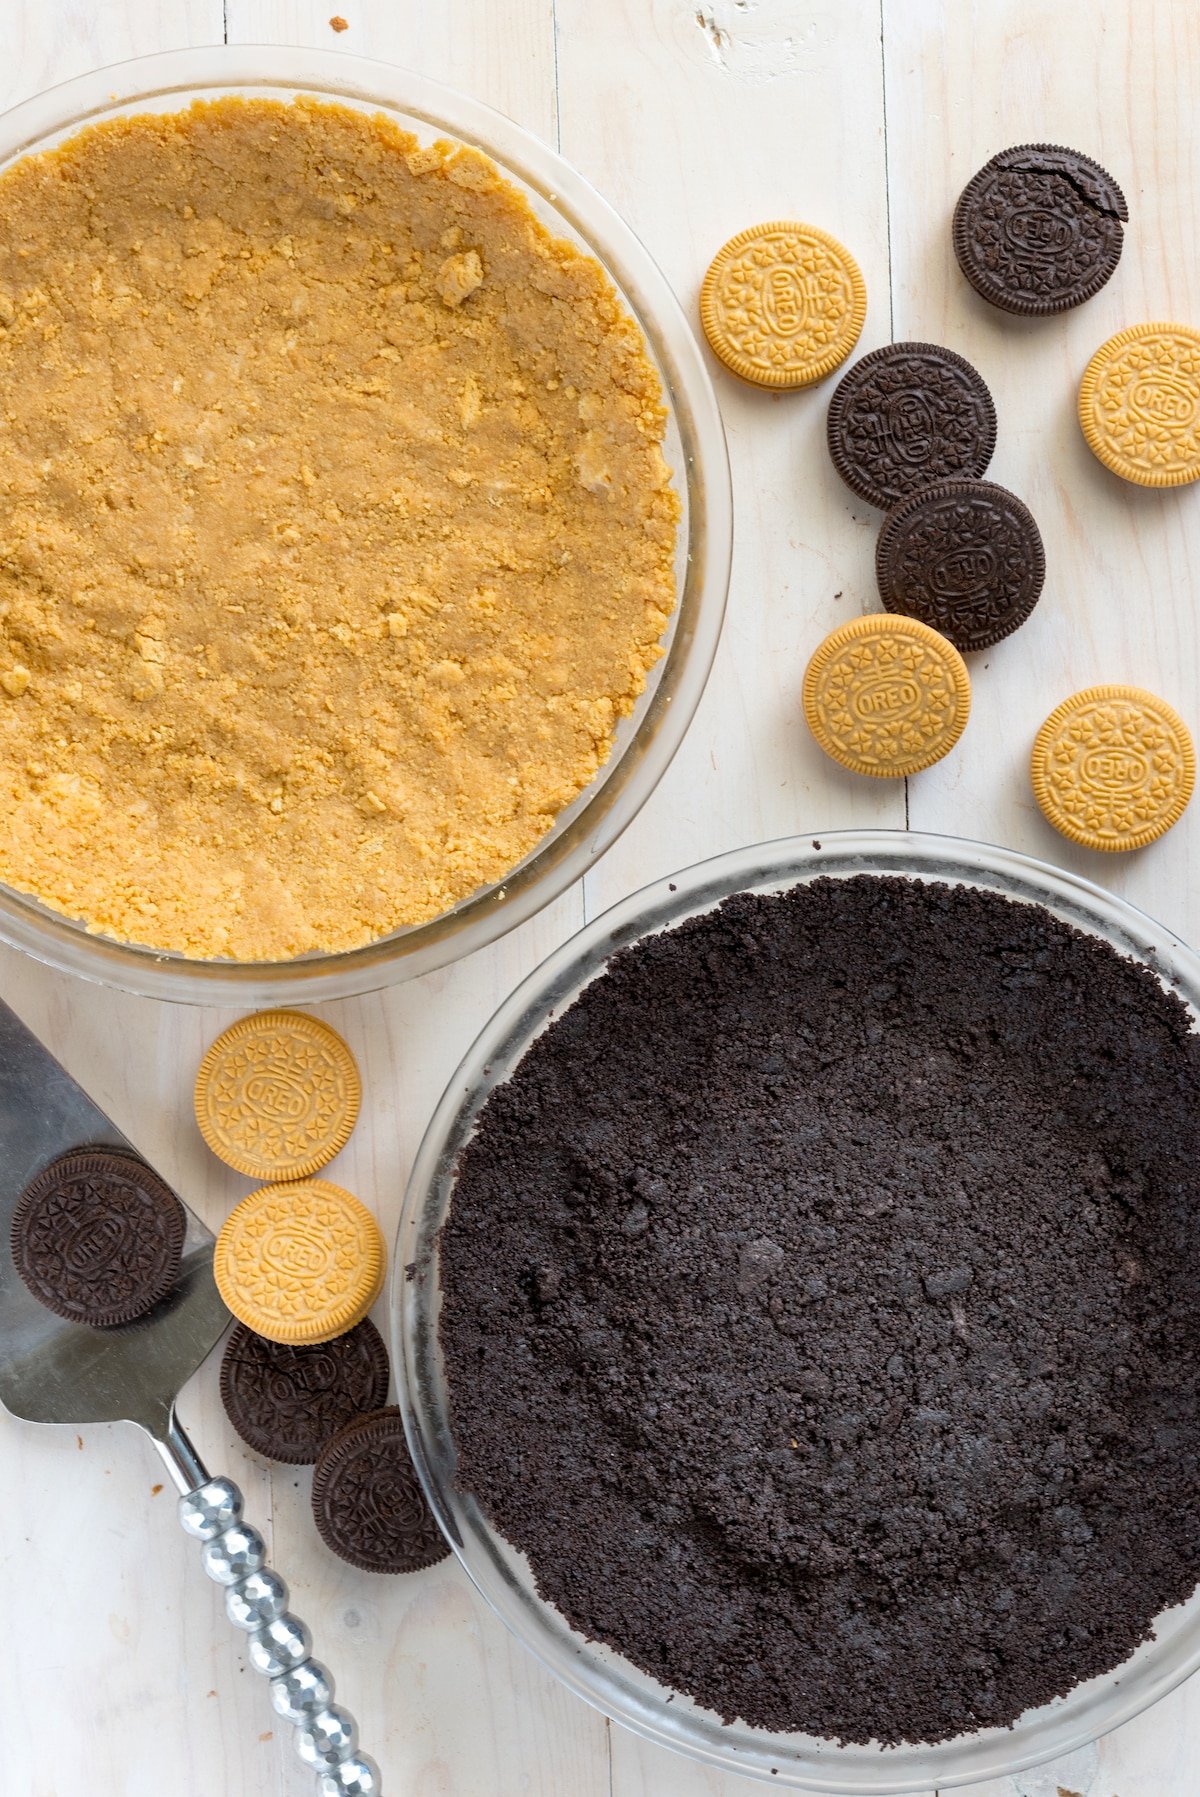
Expert Tips
- You can use these crusts entirely no bake – just make and fill according to the recipe you’re using. I love using this recipe for cream pies, etc.
- You can bake cheesecake or fruit pies in the crust. There are so many options for how to fill an Oreo crust.
- Don’t remove the filling – the food processor will grind it all up.
- You can even use gluten free Oreos to make this Oreo Crust!
Storage & Make Ahead
You can make this crust ahead up to 2 days – store in the fridge wrapped well with plastic wrap, or in the freezer for up to a month. Thaw before filling or baking. An Oreo Pie Crust recipe is the easiest one to make and it lasts awhile too.
FAQs
You can fill and bake this crust recipe according to your recipe directions.
No need to remove the filling – just use a food processor to grind the cookies.
Oreo Crust Recipe
Recipe Video
Equipment
Ingredients
- 25 (286g) Oreo Cookies your favorite flavor
- 5 tablespoons (70g) unsalted Challenge Butter , melted
Instructions
- Finely crush your cookies. I like to use a food processor for this step, but you can also place the cookies in a plastic bag and roll the sealed bag with a rolling pin. If you’re using a rolling pin, seal the bag but leave about an inch open for air to escape. You’ll have to put some muscle in it to get a fine crush. The crust sticks together best when the cookies are crushed finely.
- NOTE: You do NOT need to remove the filling from the Oreo.
- Stir the cookie crumbs and melted butter together with a fork. Press crumbs into the bottom and up the sides of a 9″ pie plate. Chill until ready to fill.
- For a no-bake pie: chill the crust about 30 minutes before filling, then fill/chill as directed in the recipe.
- For a crunchier no-bake filling pie: bake the crust for 8 minutes at 350°F then cool completely before filling.
- For a filled baked pie: Fill with filling and bake as directed in the recipe.
- This crust can also be pressed into a 9×9 inch pan for pie bars or used as a cheesecake crust in a 9-10″ springform pan.
Recipe Notes
- You can use these crusts entirely no bake – just make and fill according to the recipe you’re using. I love using this recipe for cream pies, etc. You can bake the crust for a few minutes to make it crispy if you prefer them that way.
- You can bake cheesecake or fruit pies in the crust. There are so many options for how to fill an Oreo crust.
- Don’t remove the filling – the food processor will grind it all up.
- You can even use gluten free Oreos to make this Oreo Crust!

This is the last week of school for mine as well, whaaaaa! They don’t do any school work either, in fact tomorrow is field day. These are excellent crusts to have on hand! So many possibilities!
I wish I could pack up my backs and move to the US, you literally have everything I could possibly dream of over there. Like store-bough Oreo crusts, and, well, the list is almost endless!
But when you come up with recipes like these, there’s no need to pack up my bags because homemade beats store-bought every. single. time.
But it would be awesome if you lived here! 🙂
What a great staple recipe to have! That crust is making my mouth water it looks so good!
I adore cookie crusts — especially no bake crusts! Never thought to try them with the golden Oreos, but I love the idea! Thanks for the tutorials. : )
Thanks Joan!
Oreo crusts are the best! So simple to put together and completely delicious. I’m with Eva, let’s eat the crust on its own!
Featured In
Rate This Recipe
Recipe Ratings without Comment