This post may contain affiliate links. For more information, read my disclosure policy.
Homemade Golden Oreos are soft, chewy, and sandwiched with creamy vanilla filling. They’re like the store-bought ones but soft instead of crunchy and better because they’re homemade!
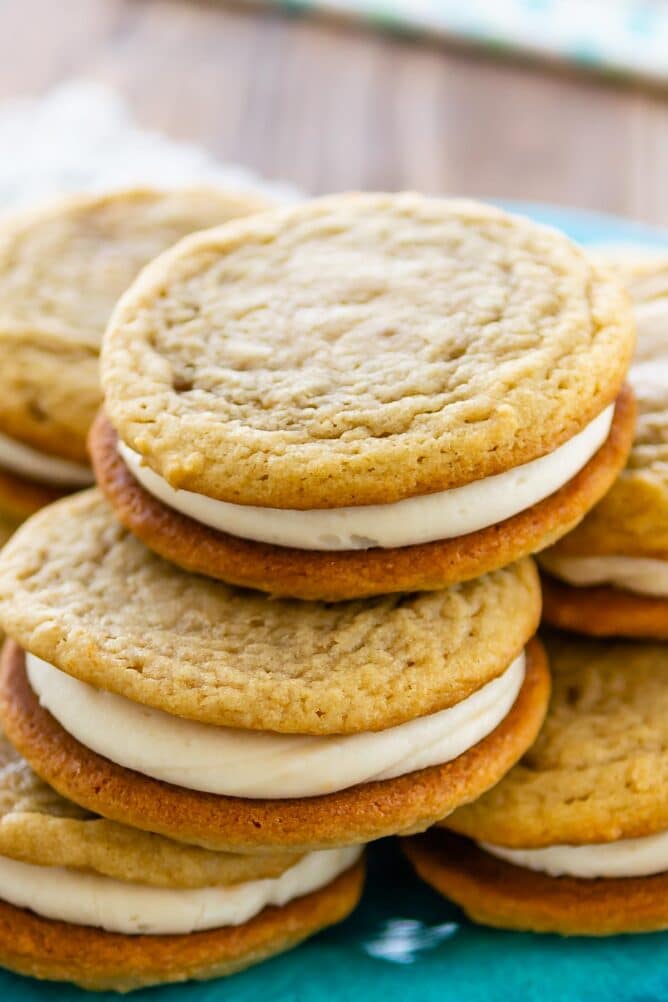
If I ever were forced to choose one type of Oreo, it would be golden Oreos over the regular ones every single day. I love them so much I came up with a soft golden Oreo recipe, and I love it even more than the store-bought ones. You get all the vanilla flavor and creamy filling, but the cookies are soft and chewy.
Soft Vanilla Oreos from Scratch
I wouldn’t say this is a copycat recipe because there are some big differences – they’re soft, they’re made with butter, and they’re big. Much bigger than a regular Oreo cookie.
All three of those things are what make these vanilla Oreo cookies so amazing. You get that familiar vanilla Oreo flavor but reimagined into a homemade soft sandwich cookie. Guys, I might not buy a package again. This homemade version is just too good.
Table of Contents
Soft Golden Oreo Ingredients
Make and bake the cookies first, and then, while they’re cooling, you can make the easy filling. Here’s what you need to make the cookie dough:
- Baking soda
- Salt
- Flour
- Softened butter
- Light brown sugar
- Granulated sugar
- Vanilla extract or vanilla bean paste
- Egg
How to Make Homemade Golden Oreos
This dough requires chilling, so plan ahead. If you don’t chill the dough, your cookies will come out too flat. I usually make the dough the day before and let it refrigerate overnight.
1. Whisk Dry Ingredients: In a medium bowl, whisk the baking soda, salt, and flour. In a large bowl, cream the butter and both kinds of sugar until light and fluffy.
2. Mix: Mix in the egg and vanilla and then slowly add the dry ingredients while mixing. Stop to scrape the bowl if needed.
3. Scoop: Scoop the dough and form it into balls. For large cookies, scoop two tablespoons. For small cookies, scoop one tablespoon. Place on prepared cookie sheets.
5. Bake: When you’re ready to bake them, preheat the oven to 350°F. Place the balls two inches apart on a prepared cookie sheet. Bake the cookies for 9 to 11 minutes or until they are golden around the edges.
6. Tap: When you take the sheet out of the oven, lightly tap it on the stove to flatten the cookies. Cool the cookies before adding the filling.
How to Make the Filling
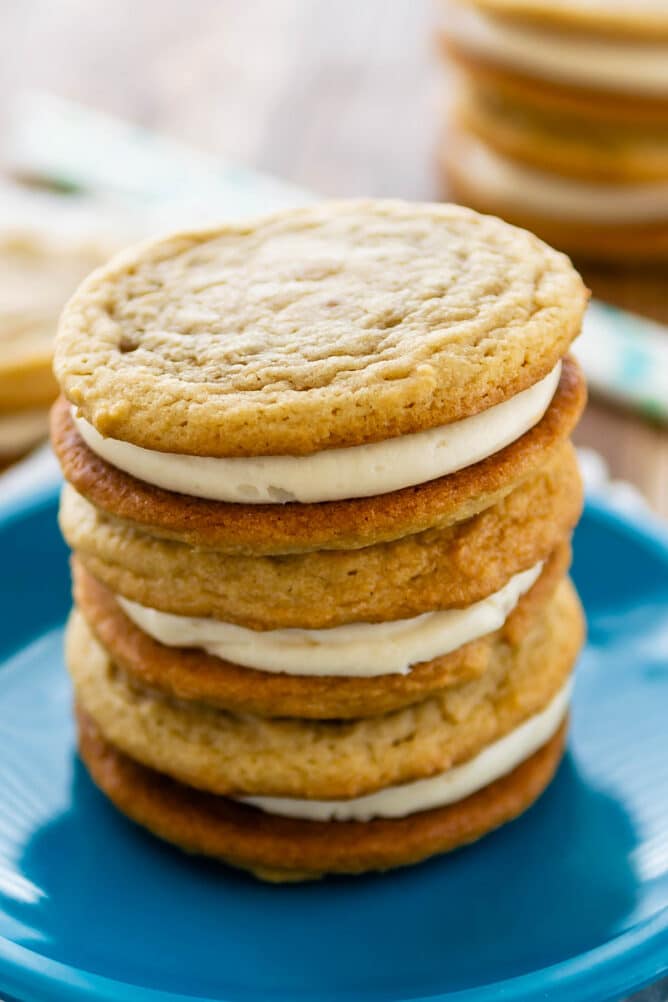
The soft golden Oreos are sandwiched with a simple vanilla frosting made with softened butter, powdered sugar, vanilla extract or paste, and heavy whipping cream.
1. Mix: Start by mixing the butter until it’s creamy and smooth. Slowly mix in the powdered sugar until the mixture is crumbly.
2. Add cream as needed: Add the vanilla and one tablespoon of cream and blend until smooth. You may need a little more cream to get the right consistency – add up to one tablespoon a little at a time until the frosting is spreadable.
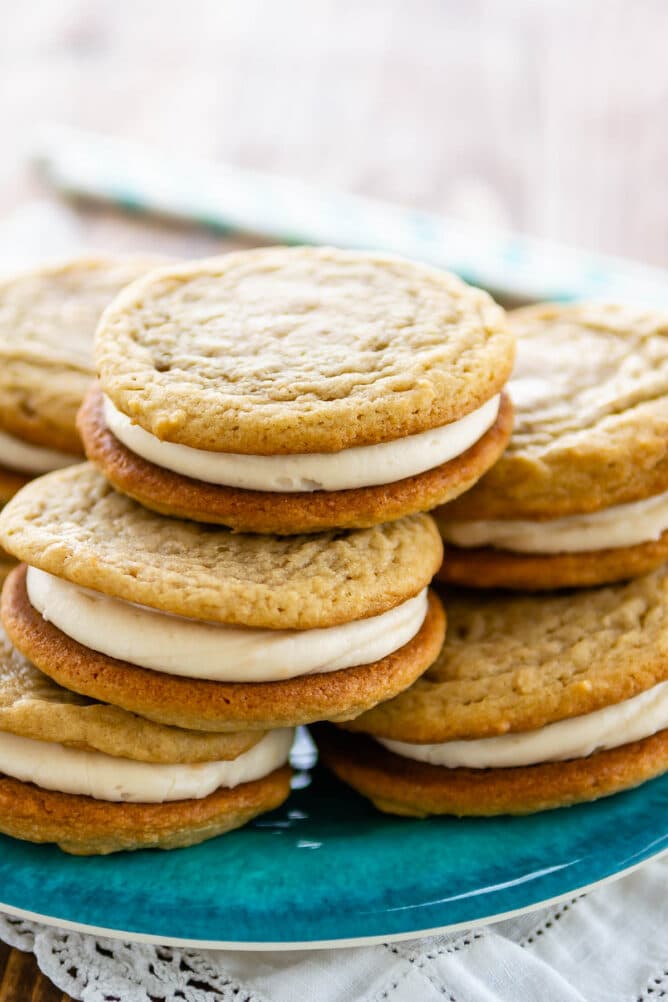
3. Fill: To make sandwich cookies, spread the frosting on the bottom of half the cookies. Place the remaining cookies on top.
Tips & FAQ
- For a great vanilla flavor, I recommend using vanilla paste. It has extract and vanilla seeds for a concentrated flavor.
- They are too big! Help! When I make these, I go big and use two tablespoons of dough for each cookie. If you prefer smaller cookies, only use one tablespoon.
- How to store the cookies: Store the cookies in an airtight container, and they will keep well for up to four days.
- Do I need baking soda for these cookies? Yes – baking soda helps them spread.
- Do I have to chill the dough? Nope! No chilling needed.
- The frosting is too sweet how do I fix it? If it’s too sweet, add a bit of salt. The salt offsets the sweetness.
- These taste nothing like Golden Oreos. They will taste different because they are homemade, made with butter, and they don’t have preservatives or artificial ingredients.
When you try this golden Oreo cookies recipe, you might not go back to the originals! They are so soft and chewy with the right balance of vanilla – basically, a golden Oreo dream. Treat yourself and give them a try!
More Homemade Oreo Recipes You’ll Love
- Homemade Lemon Oreos
- Homemade Cookies ‘n Cream Oreos
- Homemade Mint Chip Oreos
- Soft Homemade Peanut Butter Oreos

Soft Homemade Golden Oreos
Ingredients
For the cookies:
- ½ teaspoon baking soda
- ¼ teaspoon salt
- 1 ½ cups (186g) all-purpose flour
- ½ cup (113g) unsalted butter softened
- ⅔ cup (113g) packed light brown sugar
- ¼ cup (50g) granulated sugar
- 1 teaspoon vanilla extract or vanilla bean paste
- 1 large egg
For the filling:
- ¼ cup (67g) unsalted butter, softened
- 2 cups (226g) powdered sugar
- 1 teaspoon vanilla extract or vanilla bean paste
- 2-3 tablespoons heavy whipping cream or milk
- ¼ teaspoon salt
Instructions
- Preheat oven to 350°F. Line two cookie sheets with parchment or silicone baking mats.
- Whisk baking soda, salt, and flour in a medium bowl. Set aside.
- Cream butter and sugars in the bowl of a stand mixer fitted with the paddle attachment (or using a hand mixer). Cream until fluffy, about 1 minute.
- Add egg and vanilla and mix until combined. Slowly mix in dry ingredients, scraping the sides of the bowl as necessary.
- Line a cookie sheet with parchment paper or a silicone baking mat. Scoop cookies tablespoon cookie balls onto the cookie sheet. For 2-tablespoon cookies space them 4-inches apart. For 1-tablespoon size cookies scoop them 2-inches apart.
- Bake for 9-11 minutes (for 1-tablespoon) or 11-14 minutes (for 2-tablespoon), or until the edges are golden. Remove from the oven and tap the cookie sheets on the top of the stove lightly to flatten the cookies a bit. Let cool completely before frosting.
- To make the frosting: mix butter with a mixer until creamy and smooth. Mix in powdered sugar slowly until crumbly. Add vanilla and 1 tablespoon heavy whipping cream and mix until smooth. Add up to 2 more tablespoons of cream to get the right spreading consistency for your frosting.
- Frost the bottoms of half the cookies, then sandwich with another cookie. Store in an airtight container for up to 4 days.
Recipe Notes
Recipe Nutrition

These homemade Golden Oreos are soft vanilla cookies with sweet vanilla frosting in the middle. They are way better than the store-bought version in my opinion!
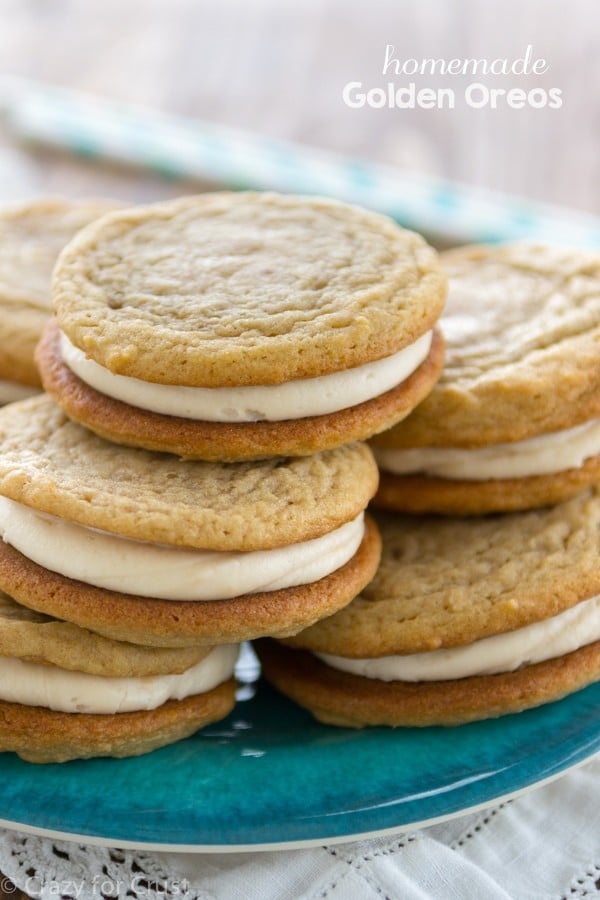
My cookies were really thick and puffy I bake quite a bit and followed directions by tapping the pan during the baking process they were still very thick and puffy. I don’t think we will be eating them. They look nothing like your pic of the vanilla Oreo. I may try again. 🤞
I love them. So delicious. Do you think that chocolate chips could be added, just for a fun twist?
A slight editing note here, though. In the beginning of the recipe, you state that this recipe requires chilling, so plan ahead. Then, in the tips section, you state that no chilling is required. Thanks for correcting this discrepancy, whenever you get a chance!
God bless you, and may He grant you peace in the midst of storms!
Yes you definitely could. I will clarify in the instructions – you can chill them if you want but they stay puffy, for flatter cookies no need to chill.
I wonder how these would ship?
Is there a way I can modify the recipe to make the cookies crispy?
I love the idea of these! I can’t wait to make. Can the final product be frozen?
Yes! I freeze them filled and unfilled.
Featured In
Rate This Recipe
Recipe Ratings without Comment