This post may contain affiliate links. For more information, read my disclosure policy.
A few weeks ago we had a power outage in our neighborhood. All the neighbors congregated out on the street and the evening became an impromptu party.
Me? The second the power went out, until the second it came back on an hour later, I was gripped in the throes of an anxiety attack. Heart-racing, stomach cramping, worry-ladden anxiety. All because the power was out.
I know, I’m special. Want to be my BFF?
Let me give you some background. At our old house (a mile away from this one) the power would go out about twice a year. No biggie, right? Except that the power would go out for, on average, 17 hours. For no reason. No storm. No car crash. No “bees nesting in the transformer box” (um, hum, that did actually happen).
17 hours isn’t that horrible, I guess. Unless it’s the middle of summer (which is often was). Or if, by chance you’d just dropped a buck and a half at the grocery store the day before on milk, eggs, and other perishables. (And by chance I mean every. single. time.)
Did you know that if your power is out for 17 hours, often including a night, when you get up the next morning you can’t make coffee?
*Shudder*
The year before we moved, the power did its 17 hour off thing. It came back on, everyone was happy. And then, just an hour or so later, it went back of. For another 14 hours.
At that point the anxiety was pretty much instilled. But I think what happened the following month settled it for sure.
Our electric company finally figured out there was some issue in the lines (go figure!) They planned an outage for a Saturday to fix the problem. Okay, good.
We started construction on our master bath the week prior. On the first day, the contractors demo’d the old bathroom and sprayed horrible chemicals all over because of a leak. About five minutes later guess what happened?
Yup. Power out. Give you a guess how long?
We ended up having to go to a hotel, with the kid and the dog. I guess we could have stayed, but getting high wasn’t on my priority list that evening.
So, yeah. I have power outage issues. Like, writing this? Is giving me anxiety.
Good thing I know how to make my own comfort food.
Recently, my friend Lisa posted Toasted Coconut Marshmallows. Immediately something clicked in my head and I decided to make flavored marshmallows too.
Funny thing? I wasn’t going to make pumpkin. These are a result of my dessert ADD. I still have that other flavor tucked in my brain.
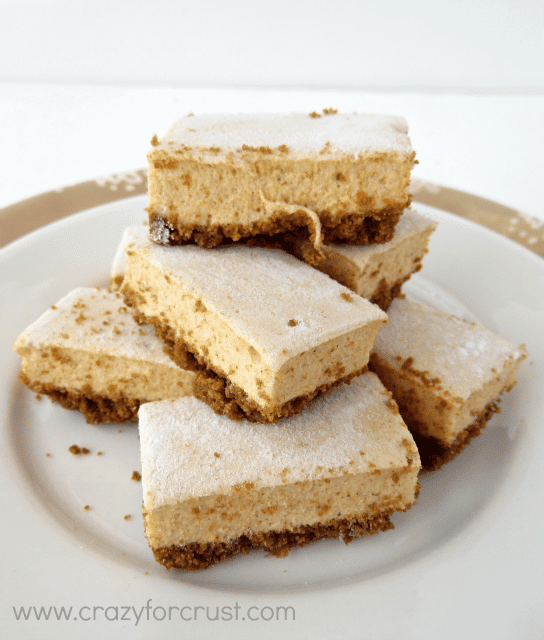
Of course, I couldn’t just make pumpkin marshmallows. I had to make them pie inspired, and give them a crust. Duh, this is me we’re talking about.
I used gingersnaps for my crust. I love pumpkin and gingersnap together. But if you don’t like gingersnaps and maybe we can’t be friends anymore, feel free to use graham crackers.
Or, leave off the crust all together. I bet these would be rockin’ in a glass of coffee. I *may* have pulled the crust off a few and done just that.
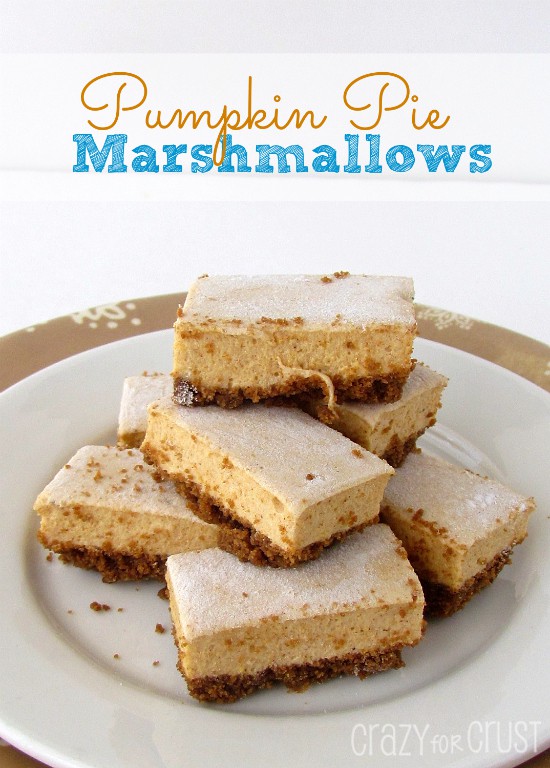
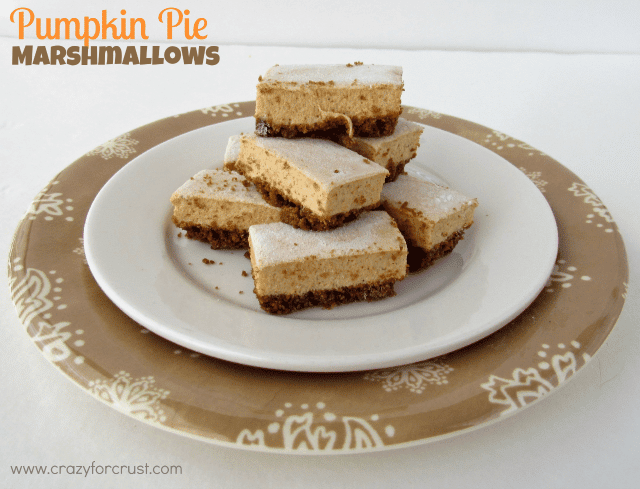
Pumpkin Pie Marshmallows. Way better than a power outage.

Pumpkin Pie Marshmallows
Ingredients
- 30 Gingersnap cookies or graham crackers, finely ground
- 3 tablespoons butter melted
- 1 1/2 envelopes unflavored gelatin 1 envelope + 1 1/8 teaspoons
- 1/4 cup cold water
- 1 cups sugar
- 1/3 cup corn syrup
- 2 tablespoons water
- 1/4 cup pumpkin puree
- 1 teaspoon pumpkin pie spice
- 1/8 teaspoon salt
- powdered sugar
Instructions
- Preheat oven to 350°. Line an 8x8 pan with parchment paper and spray it uniformly with cooking spray. Mix gingersnap crumbs and butter in a small bowl with a fork. Press into the bottom of the pan and bake for 8 minutes. Let cool.
- Put the 1/4 cup cold water and the gelatin in the bowl of a stand mixer. Allow to sit and bloom while you make the sugar mixture.
- Meanwhile, combine the sugar, corn syrup and water in a saucepan over medium-high heat. Stir, then bring to a boil and do not stir anymore! Heat to 250°F registers on a candy thermometer.
- In a separate bowl, stir together pumpkin and pumpkin pie spice.
- Attach the mixing bowl to a stand mixer fitted with the whisk attachment and start the mixer on low speed. Carefully pour the boiling sugar mixture down the side of the mixing bowl. Increase the speed to medium high and add the salt. Mix until stiff, shiny and white, about 4-5 minutes. Scrape down the sides of the mixing bowl occasionally with a rubber spatula. (The mixture will be very sticky.)
- Turn off the mixer. Add the pumpkin and stir with a spatula as much as possible. Turn the mixer back on medium-high and mix for another 2-3 minutes. You can test to see if it is ready if you dip a spatula in the mixture and it should form a continuous ribbon off the spatula into the bowl.
- Pour the mixture over the crust. Let it sit at room temperature for at least 8 hours.
- Place some powdered sugar in a small bowl. Sprinkle the top of the marshmallows and your knife with powdered sugar. Cut into squares, dipping the top and sides in the powdered sugar to reduce the stickiness. Store in an airtight container.


Pumpkin marshmallows with a crust? Pure deliciousness!!! Power outage? Total bummer!!! At least you were able to have a party and enjoy yourself with your neighbors. Now if only I could come take the last few marshmallows off your hands:-)
I wish! I still have some…and they’re still good! 🙂
So clever! Love that you gave them a snappy crust 😉
Ugh, I hate power outages. So annoying.
Thanks so much! 🙂
Oh Dorothy – a pumpkin flavored homemade marshmallow – this is something I must try!
I hope you enjoy! Thanks for reading. 🙂
Dorothy, these look wonderful and for sure…comfort food!
Thank you! 🙂
Hoooooow is this even real life? Pumpkin pie marshmallows? And with a crust, no less? You’re getting all rebellious on me, girlfriend. I suddenly feel really uncool. Like a power outage.
Um, and I still have some left. Help a sista’ out. 🙂
Featured In
Rate This Recipe