This post may contain affiliate links. For more information, read my disclosure policy.
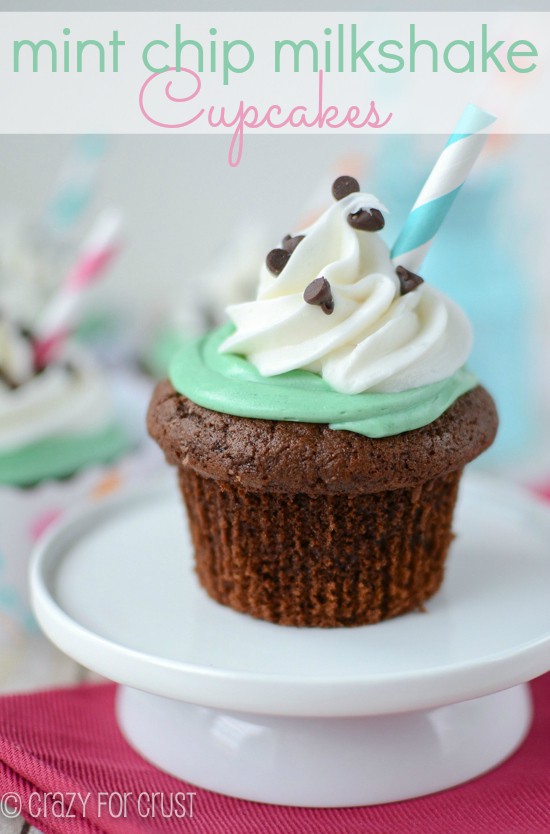
These Mint Chip Milkshake Cupcakes are filled with mint chip flavor: in the cupcake and in the frosting!
I’m really very excited about these cupcakes. Because Jordan helped me make them! Yesterday I mentioned that she got into baking for a hot minute a few weeks ago, and we made three recipes. This is one of them.
Here’s the thing: when I was a kid, baking was something special that my mom and I did together. I loved the measuring, the testing, and the eating. And, the time with my mom, of course. Ever since Jordan was born, I’ve been so excited to share the same things with her, the two of us in the kitchen baking up a storm, making tray after tray of cookies for holidays and parties.
And then Jordan started to grow up and it was one large wa-wa-wa….
She’s not a huge fan of baking. Well, I mean she is. When she is in the mood. Which isn’t often. It’s probably because I’m doing it all the time, it’s not special. Plus, until this marathon session we had, she wasn’t really in the mood to pay attention and learn. It was more like, “GIVE ME THE EGGS I WANT TO CRACK THE EGGS”…BAM! Eggs all over the counter…floor, etc.
So I was floored, and super excited when she pronounced she was going to learn to bake cookies (two batches; coming soon). And right at that same time, I got an email from Carrie at Bella Cupcake Couture about joining in on a back-to-school cupcake party and giveaway. The premise of the party was to create a cupcake and have our kids decorate the white cupcake wrappers, and interview them for a post.
How fun did that sound? And not only did it include baking and spending time together, but it included art, Jordan’s other BFF.
Carrie sent straws and the white cupcake wrappers to decorate. When I asked Jordan what kind of cupcake she wanted to make, her first word was, “MINT!”
I don’t know why I even asked. That girl is obsessed with mint.
It didn’t matter that the cupcakes totally didn’t match the straws. She wanted mint, so of course I said yes. And we decided to make Mint Chip Milkshake Cupcakes.
These cupcakes are mint from top to bottom!
First of all, the cupcake itself is a doctored cake mix. I used the water and eggs called for on the box, but instead of using water, I used melted mint chip ice cream. Oh, yes I did.
I put ice cream in cupcakes. You’re welcome.
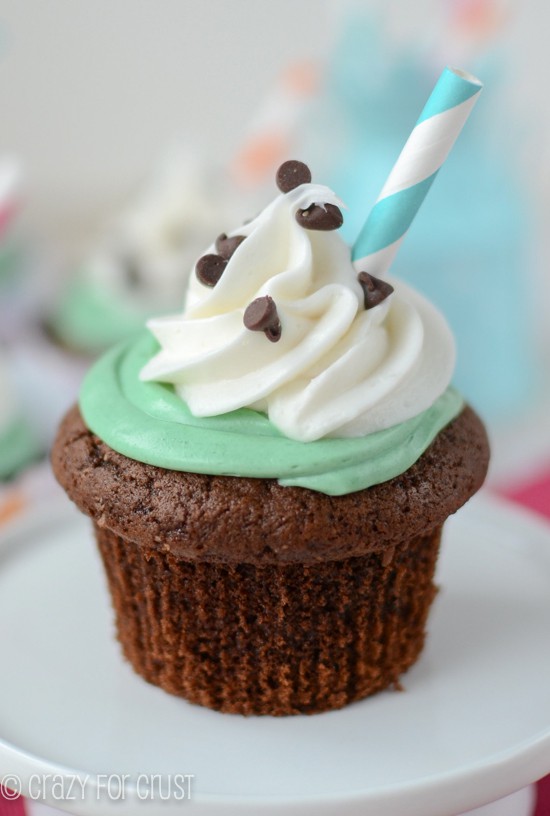
The frosting is so easy – you simply dress up your favorite canned frosting or vanilla frosting recipe with a few drops of peppermint extract and food coloring. A layer of the green and minty delicious frosting goes on the cupcake, to simulate the top of the milkshake poking out of the decorated “glass” cupcake wrapper. Then we frosted them with some plain vanilla frosting to look like whipped cream, and topped with a sprinkling of mini chocolate chips.
Topped with a cute straw, these really are Mint Chip Milkshake Cupcakes!
Now, as part of this post, I interviewed Jordan. She wasn’t really in a talkative mood at the time. (I think she was preoccupied with Teen Beach Movie and the thought of cupcakes.)
What is your favorite cupcake flavor?
Mint chocolate chip.
{of course}
What has been your favorite moment from this summer?
Baking with my mom.
{sniff sniff}
What are you most looking forward to when you go back to school?
Having fun with my friends.
{pretty much what I expected her to say!}
How did you come up with your design for the cupcake wrappers?
I chose my colors from the straws. I thought of shapes and then put them on.
{really, she did. she dug through her crayon box to find exact matches. she’s not my daughter or anything.}
I’ll take the “baking with my mom.” It may never happen again (although I hope it does) but I’m just glad I have this blog so that I can record it for posterity!
These cupcakes rock. Go make them. 🙂

Mint Chip Milkshake Cupcakes
Ingredients
- 1 chocolate cake mix
- 1/2 cup vegetable oil
- 3 eggs
- 1 cup melted mint chip ice cream
- 2 cans vanilla frosting
- A few drops up to 1/4 teaspoon peppermint extract
- A few drops green food coloring
- Mini chocolate chips for garnish
Instructions
- Preheat oven to 350 degrees. Line cupcake tins with liners.
- Add cake mix, oil, eggs, and melted ice cream to a large bowl. Mix with a hand mixer for two minutes, until no lumps remain. Scoop into prepared pans, filling cups 2/3 full. Bake for about 17 minutes, until a toothpick comes out clean. (Different cake mix brands and pans may cook in different amounts of time, so be sure to check them after about 15 minutes, and they may take up to 21 minutes.)
- Let cupcakes cool completely before frosting.
- When ready to frost, mix the mint extract (to taste) and some green food coloring into one of the cans of vanilla frosting.
- Frost each cupcake with a small amount of mint frosting. (Make the frosting in a flat layer on top of the cupcakes.)
- Place the second can of vanilla frosting into a piping bag. (I used a 1M tip.) Swirl on the top of the cupcakes, leaving some green showing, to resemble whipped cream. Sprinkle with mini chocolate chips for garnish.
This post is part of a Bella Cupcake Couture Blog Party celebrating back to school!
Check out all the delicious cupcakes:
Haniela’s
Love From the Oven
Mesa de Vida
Sugar Swings! Serve Some
Other delish cupcakes your kids can help you with:
Almond Cupcakes with Caramel Frosting


So cute – love the interview! 🙂 These cupcakes are seriously beautiful! And they sound delicious – ice cream in the cake? Yes, please!
I’d decorate these wrappers with rainbows, or at least I know my kids would!
Just saw these on top row on foodgawker, Dorothy! You freaking rock. And these cupcakes are beautiful. Mint and chocolate is to die for in cupcake form.
Really????!!! Wow, that never happens. Thanks so much Sally! You and Jordan would get along great in your love of mint!
These are too pretty. They need to be in a magazine.
I’m so glad I’m not the only one who is stressed out baking with my kids! (Actually it’s just one of them, the other one does great when his brother’s not around!)
LOL Katie! And thank you!
I’ m going to copy Jordan’s cupcake wrapper decoration – it’s sooooo cute!
Thanks Laurie!
Featured In
Rate This Recipe