This post may contain affiliate links. For more information, read my disclosure policy.
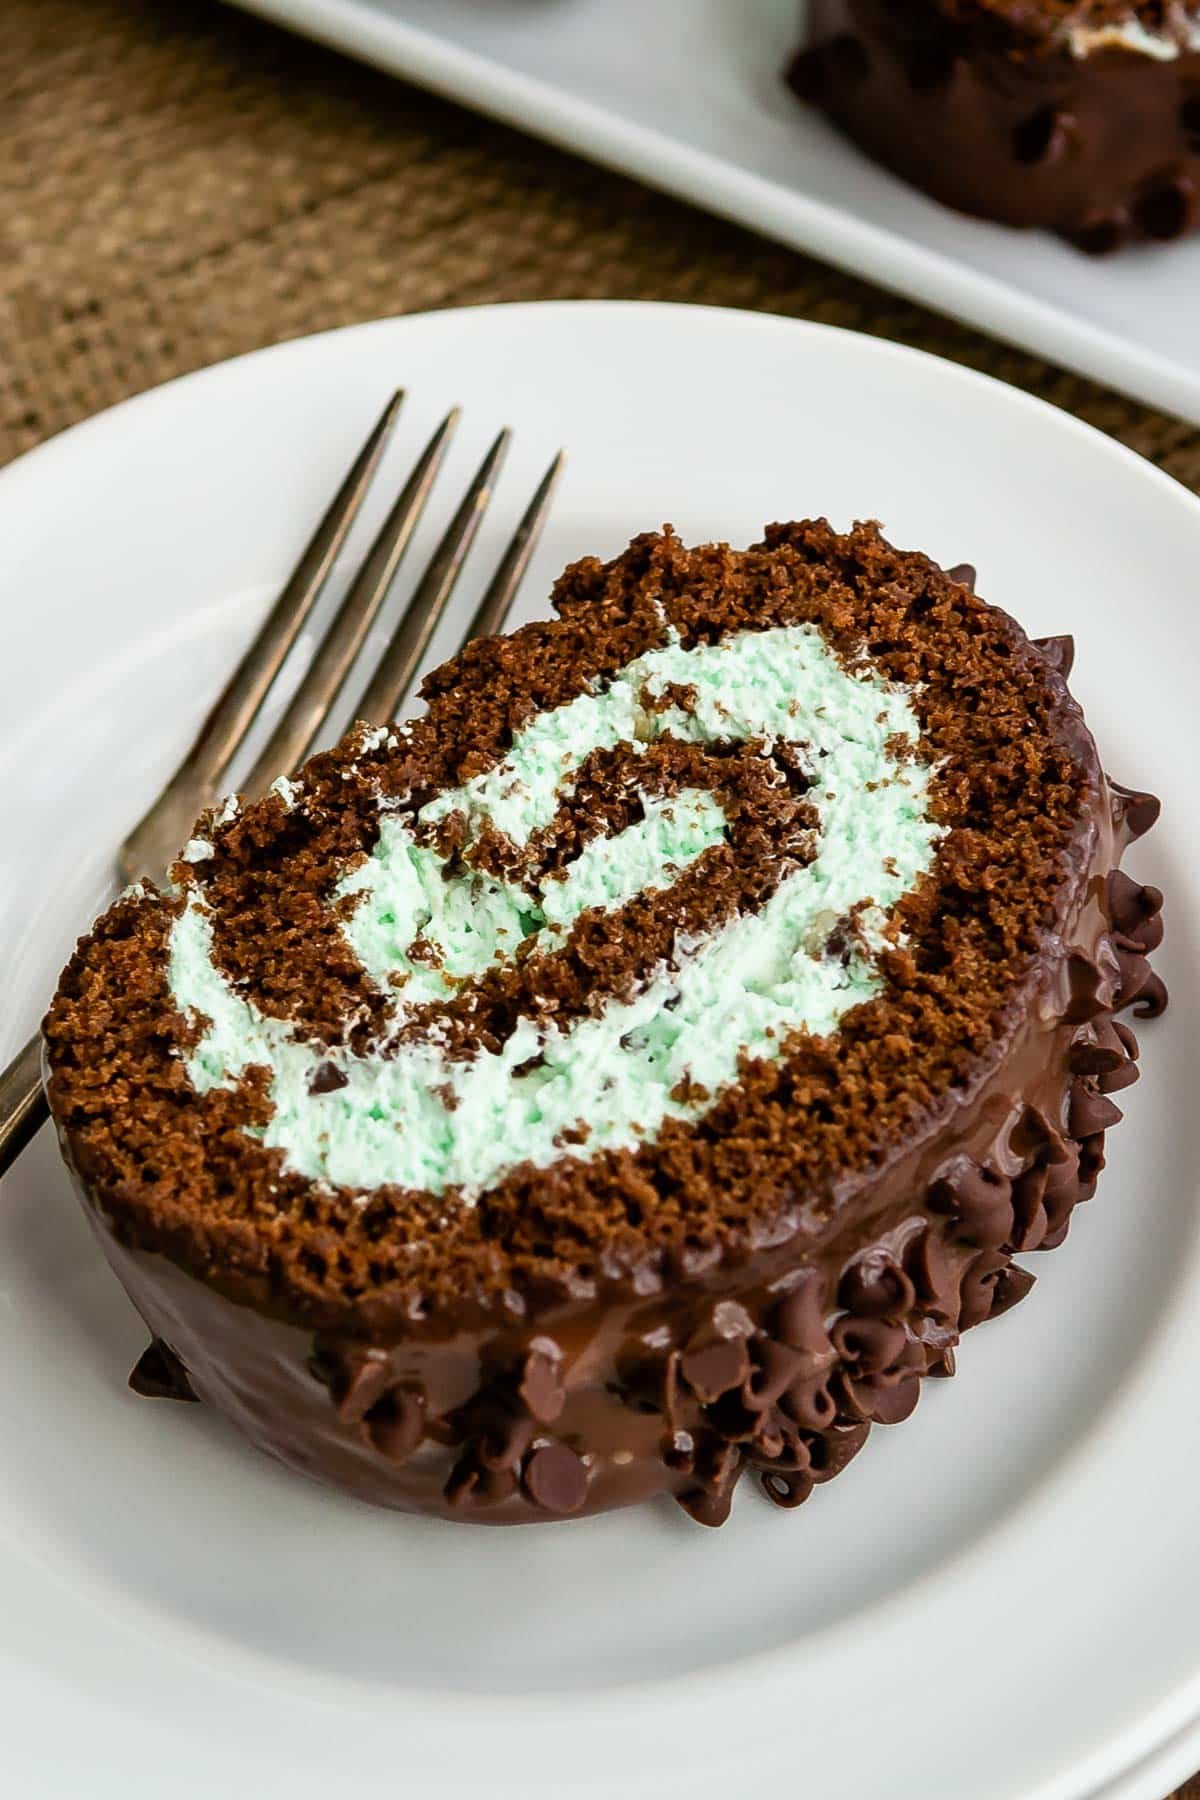
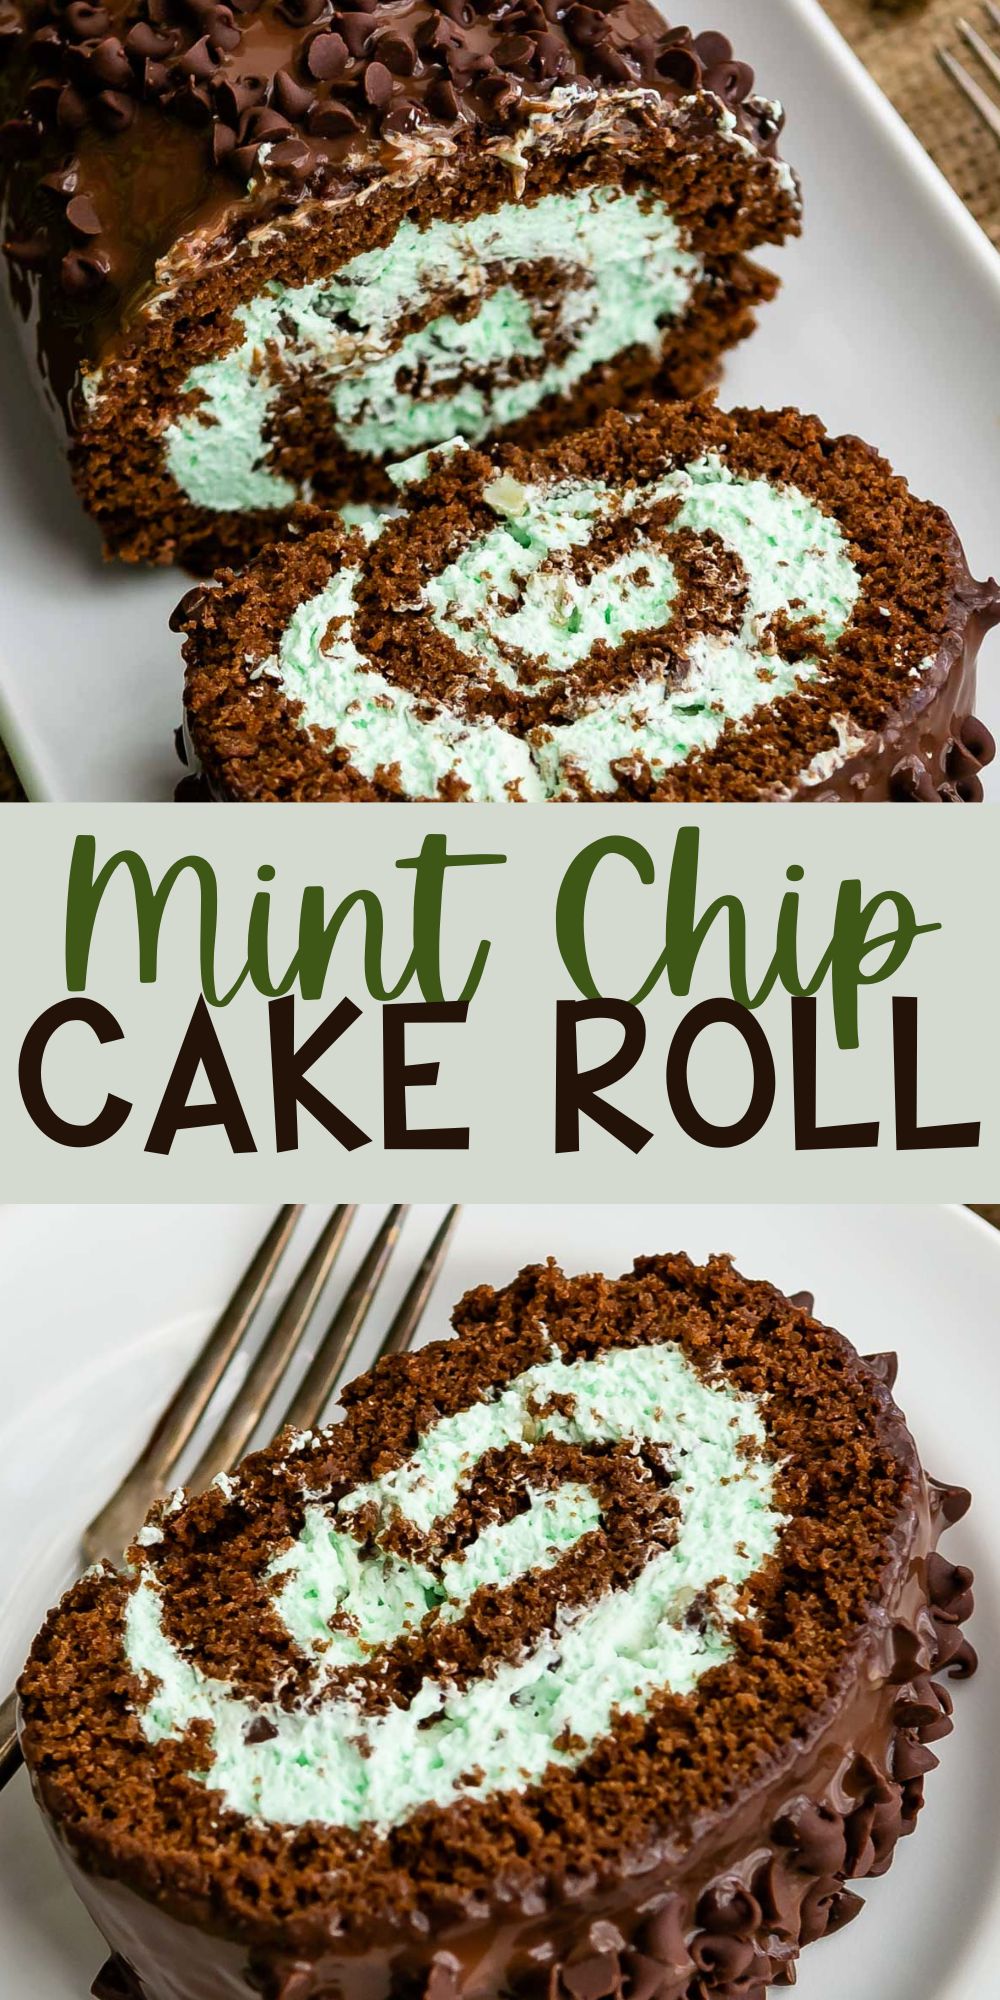
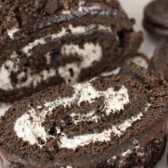
Don’t let this mint chocolate chip cake roll scare you. It’s actually a really easy chocolate cake rolled with a mint whipped cream and tons of ganache and chocolate chips. The perfect stunning dessert for mint chip lovers!
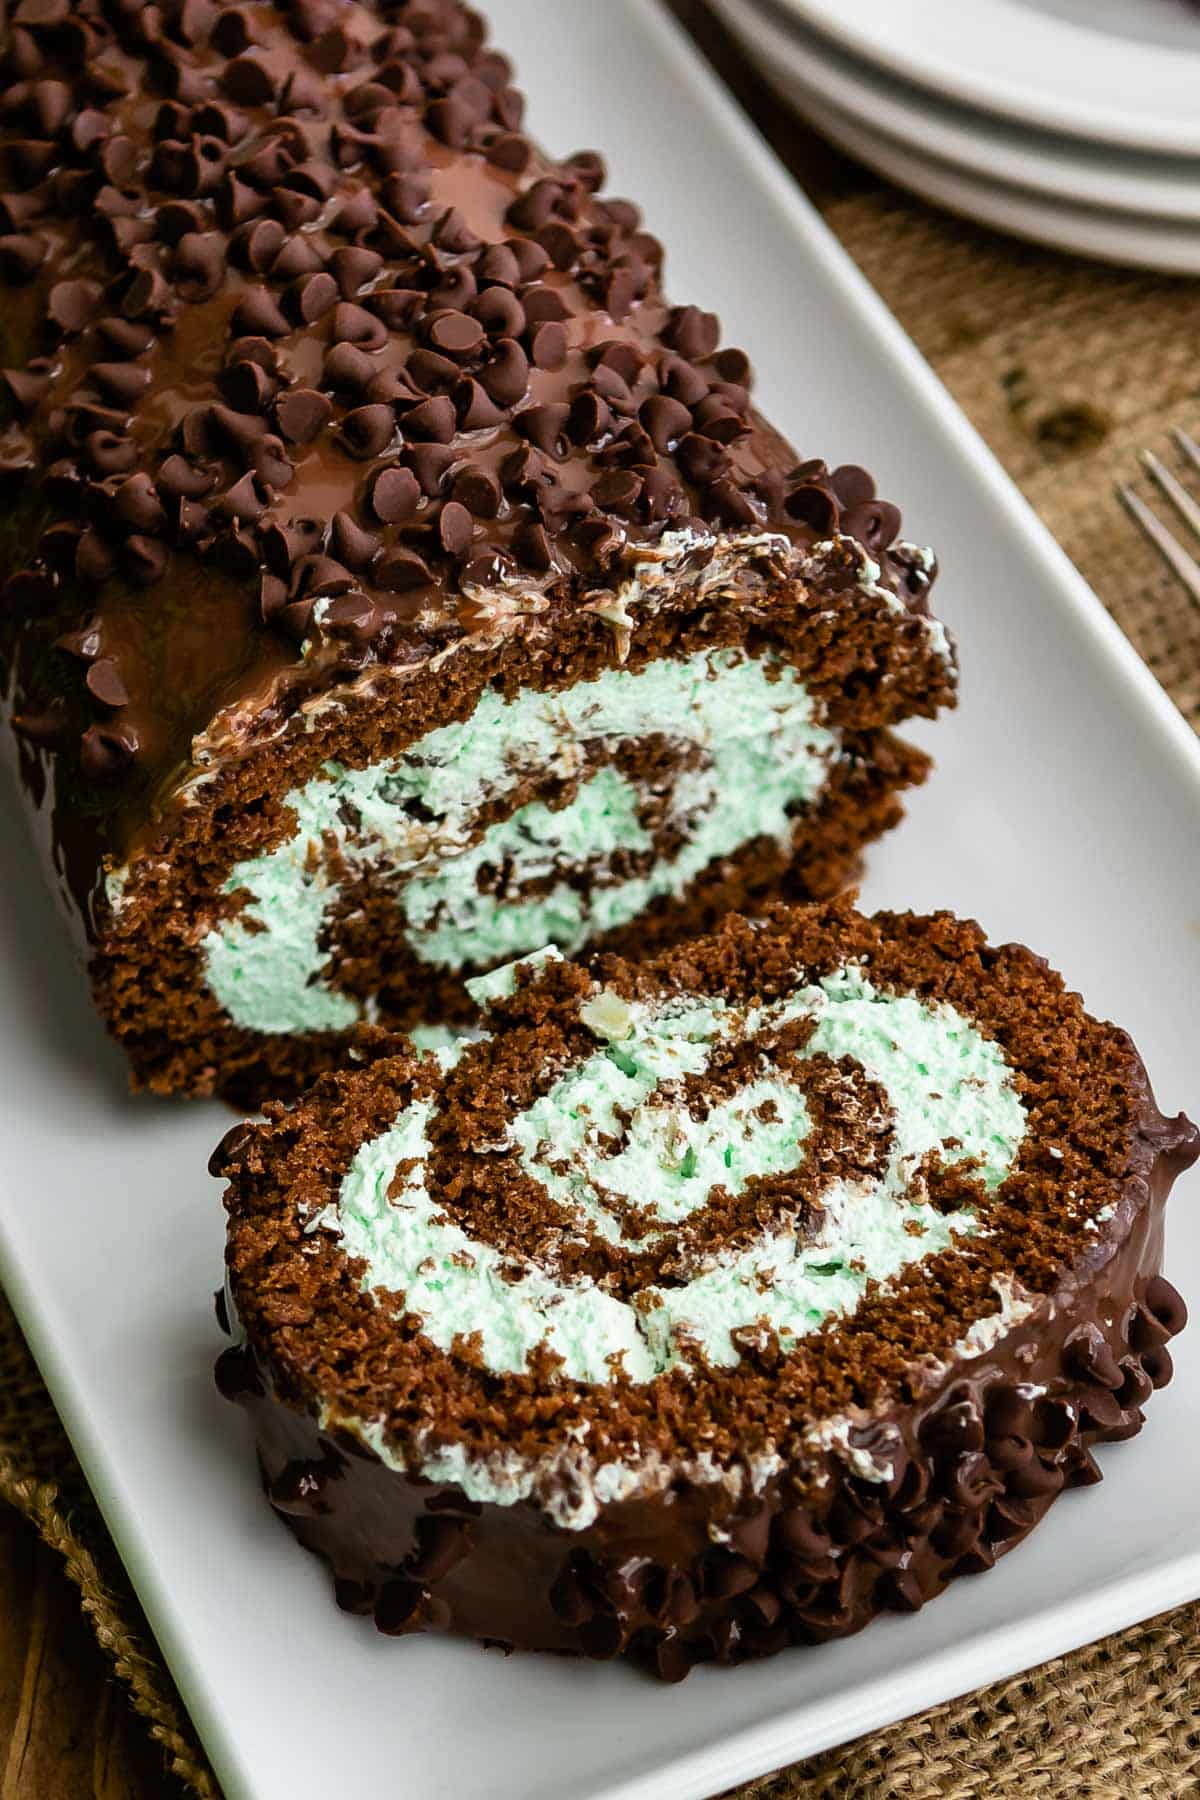
Mint Chocolate Chip Cake Roll
Many people allow the rolling process for cake rolls to spook them from even attempting, but it doesn’t have to be so hard! Cake rolls can be an intimidating undertaking; thankfully, I’ve got all the tips and tricks you’ll need to bake a deliciously minty dessert (and have it come out in one piece!)
Why You’ll Love This Recipe
Refreshing peppermint, decadent chocolate ganache, and fluffy whipped cream intertwine to create a unique treat that everyone is sure to enjoy.
This is my go-to chocolate cake roll recipe and it works every time…and if it cracks, well, thank goodness for chocolate ganache.
Ingredients in a Mint Chocolate Chip Cake Roll
- Eggs – Beating the eggs is what gives the cake it’s sponginess and texture. If you don’t beat the eggs enough you will have a dense, flat, hard cake.
- Brewed coffee or water – Adds a little bit of moisture to the cake. You can use either one, but the coffee brings out the chocolate flavor.
- Cocoa powder – Use unsweetened cocoa powder. This recipe hasn’t been tested with Dutch process.
- Powdered sugar – I use this to aid in rolling the cake.
- Peppermint extract – I prefer peppermint to mint extract.
- Heavy Whipping Cream – for the whipped cream filling.
How to Make a Mint Chocolate Chip Cake Roll
- Make the frosting: To make this ganache-glaze hybrid, you’ll first heat the heavy whipping cream in a saucepan until it begins to bubble around the edges. Place your chocolate chips in a medium-sized bowl and pour the heated cream over them, allowing them to sit for about thirty seconds before whisking smooth. Mix in the peppermint and vanilla extracts and then refrigerate for several hours, until the ganache has become thick. Cover the bowl with plastic wrap and stir occasionally.
- Preheat the oven: Prepare your jelly roll pan by lining it with foil and spraying it with cooking spray. Preheat your oven to 350°F.
- Combine cake ingredients: On high speed, beat eggs for about three minutes, until they are frothy in texture and dark yellow in color. Once beaten thoroughly, beat in coffee, vanilla extract, and sugar. In a separate mixing bowl, whisk together salt, baking powder, flour, and cocoa. Once combined sufficiently, stir them completely into your wet ingredients.
- Bake: Pour the cake batter into your prepared pan and spread evenly. If you’re worried that your batter appears thin, don’t fret – in order to roll up your cake, the batter must be spread out in an even, very thin layer. Make sure that the batter has been spread to every corner of the pan. Bake the cake for 9 to 11 minutes at 350°F.
- Roll the cake: While the cake is in the oven, clear an area in your workspace to spread out a clean kitchen towel. Lay the towel completely flat and sprinkle it generously with powdered sugar. Immediately after the cake is done, remove it from the oven and gently flip the pan over and onto the kitchen towel, removing the foil from the cake if it came out with it. From the short end of the cake, fold the edge of the towel over the cake (about a half inch) and begin rolling the cake, tightly yet gently, into the towel. Once rolled, allow the cake to cool completely inside the towel – this should take over an hour.
- Make the filling: As your cake cools, you can begin to make the filling. Whisk the heavy cream while slowly adding in powdered sugar. Gradually add the peppermint extract to taste. Continue to beat the powdered sugar, whipping cream, and extract until stiff peaks form and stir in food coloring.
- Assemble the cake: Once your cake has entirely cooled, delicately unroll it from the towel. It will likely retain a bit of a curve, not laying completely flat. Spread the whipped cream filling across the cake while leaving about an inch on each end bare. Sprinkle with mint baking chips or mini chocolate chips before carefully re-rolling your cake. Using plastic wrap, cover your cake and allow it to chill for at least an hour before attempting to frost it.
- Decorate: After the cake has chilled, place the cake roll on a wire rack over a cookie sheet and begin to pour your chocolate ganache over the cake, glazing it as evenly as you can. Make sure that the ganache covers each side of the roll. Once entirely glazed, move the roll to a plate and garnish as you wish with chocolate or mint chips. Chill again for at least an hour before serving.
Expert Tips
- When choosing a towel to roll your cake in, steer clear of towels made of terry cloth or any other especially fibrous material. The fibers may imprint on your cake or even stick to cake and eventually peel it off. Opt for a tea towel instead!
- Allowing the cake roll to sit out will cause the whipped cream to become warm and lose its shape and consistency. Not only can this affect the shape of the roll, it can also make it much more difficult to slice once it comes time to serve it. Keep your cake chilled before serving for the best results.
- If you get the dreaded crack in your cake roll, you can patch it up with buttercream or cover it with ganache without anyone knowing.
- Cracks happen when the cake is over done, under done, or often when you haven’t beaten the eggs long enough.
FAQs
If your cake roll cracked, you may have let it cool too long before rolling or overbaked the cake.
You’ll know your cake roll is done baking when the edges begin to pull away from the pan and the cake gently springs back after being poked.
If your cake roll has cracked significantly, you might be able to patch it together with buttercream or ganache if you’re lucky. Some minor cracks are okay and won’t be noticeable once covered with ganache.
Cake rolls filled with whipped cream are best served within a couple of hours, but they will last in the fridge for a few days. You can also freeze them for up to 2 to 3 months.
Yes, you can freeze a cake roll for up to 2 to 3 months.
Mint Chip Cake Roll
Ingredients
For the Frosting:
- 2 cups milk chocolate chips
- 1 ¼ cups heavy cream
- ½ teaspoon vanilla extract
- ¼ teaspoon peppermint extract
- ¼ cup mini chocolate chips or Andes Creme de Menthe Baking Chips for garnish
For the Cake
- 3 eggs
- ¾ cup granulated sugar
- 2 teaspoons brewed coffee or water
- 1 teaspoon vanilla extract
- ¼ cup usweetened cocoa powder
- ¼ teaspoon salt
- 1 teaspoon baking powder
- ¾ cup all purpose flour
- Powdered sugar to aid in rolling
For the Filling:
- 1 cup heavy whipping cream
- 4 tablespoons powdered sugar
- ½-¾ teaspoons peppermint extract taste after 1/2 teaspoon
- 6 drops green food coloring
- ⅓ cup mini chocolate chips or Andes Creme de Menthe Baking Chips
Instructions
Make the Frosting
- Place chocolate chips in a medium bowl. Heat the cream in a small saucepan over low heat until it just starts to bubble around the edges. Pour cream over chocolate chips, let sit for 30 seconds, then whisk until smooth. Add extracts and stir. Refrigerate until thick, several hours. The frosting is more of a glaze; it will not harden like a true ganache. Once it cools in refrigerator, cover with plastic wrap and stir it occasionally until ready to frost cake. You can make the frosting the day before.
Make the Cake
- Preheat oven to 350°F. Line a jelly roll (10×15”) pan with foil and spray with cooking spray (I like to use the spray with flour).
- Beat eggs at high speed for 3 minutes, until frothy and dark yellow. Beat in sugar, coffee, and vanilla extract.
- Whisk together cocoa, salt, baking powder, and flour. Stir into wet ingredients just until blended.
- Spread in prepared pan. Batter will be in a very thin layer and you will need to use a wooden spoon or spatula to spread it to all the corners of the pan. Bake for 9-11 minutes (mine took 10).
- While the cake is baking, set a clean kitchen towel out on a large work surface. Sprinkle liberally with powdered sugar (about 1/4 cup). As soon as the cake comes out of the oven, turn it over on the kitchen towel sprinkled with powdered sugar. Remove foil carefully.
- Working at the short end, fold the edge of the towel over the cake. Roll tightly, rolling up the cake into the towel. Let cool completely while rolled, at least one hour.
Make the Filling:
- Beat heavy cream in an electric mixer fitted with the whisk attachment. (You can also use a hand mixer, but it will take longer.) Slowly add in powdered sugar during beating, one tablespoon at at time. Add 1/2 teaspoon of peppermint extract. Beat until whipped cream forms. Add up to 1/4 teaspoon more of peppermint extract to taste. Stir in food coloring.
Assemble Cake
- Once the cake has cooled, unroll it carefully. Spread the filling on the cake, leaving 1” without filling at either end. Sprinkle with mini chocolate chips or mint baking chips and re-roll cake. Cover with plastic wrap and chill for at least one hour before frosting.
- Place cake roll on a wire rack set over a cookie sheet. Pour chocolate ganache glaze evenly over the cake, making sure it covers the ends and sides of the cake. Transfer to serving plate and top with mini chocolate chips or mint baking chips for garnish. Chill at least one hour before serving. Store leftovers in refrigerator, loosely covered.
- Note: You’ll have leftover frosting. Eat it with a spoon, or make it into hot chocolate!
- Note: The cake should stay chilled until right before serving or the whipped cream filling will get warm and it will be hard to slice.
Recipe Notes
- When choosing a towel to roll your cake in, steer clear of towels made of terry cloth or any other especially fibrous material. The fibers may imprint on your cake or even stick to cake and eventually peel it off. Opt for a tea towel instead!
- Allowing the cake roll to sit out will cause the whipped cream to become warm and lose its shape and consistency. Not only can this affect the shape of the roll, it can also make it much more difficult to slice once it comes time to serve it. Keep your cake chilled before serving for the best results.
- If you get the dreaded crack in your cake roll, you can patch it up with buttercream or cover it with ganache without anyone knowing.
- Cracks happen when the cake is over done, under done, or often when you haven’t beaten the eggs long enough.
- The cake can be made and rolled in the towel up to 24 hours ahead of time. Store leftovers in the refrigerator.
Recipe Nutrition
Favorite Cake Roll Recipes
Looks absolutely delectable ❤️ ❤️ ❤️ if only I wasn’t gluten free!!!
This recipe looks amazing! Have you tried using wax paper instead of the aluminum foil for your cake? I always use wax paper for my pumpkin rolls and they turn out great. I know I have success with that and I was just wondering if you had tried it for this recipe.
I’ve never tried wax paper – whenever I bake with it it melts to the cake/pan. Parchment paper would work I bet! But if waxed works for you, you can totally use it.
I tried to make this. I have made many pumpkin rolls, which have turned out easily. However, this cake roll just falls apart. I also found that 11 minutes was not enough time to bake it thoroughly. Suggestions?
If it doesn’t spring back when you touch it at 11 minutes, cook it a few minutes longer. Once it’s baked thoroughly it should hold together when rolling. Sometimes they crack anyway, which more frosting can cover!
! I made this today and the cake completely broke apart in about 6 different pieces. My cake seemed very dense, thin, and even hard. I followed your directions, but alas! 🙁 However, my two year old loved the green whipped cream!
I’m so sorry! I know that happens with cake rolls sometimes unfortunately. It may have cooked too long, or, if it didn’t rise at all, have you checked your leavening lately? Is it expired? That could be why it was too hard as well. Sometimes cracks happen and can be glued together with filling…sometimes a trifle is in order!
Gotta hand it to you..you have talent! I tried making a cake roll today following your recipe and it was a DISASTER! Think I’ll be serving Little Debbie’s for Christmas eve dessert.
I’m so sorry! Can you let me know more about what happened? I can troubleshoot for next time. They do get easier as you make them, if you look at my first one, oh boy it was NOT pretty!
Featured In
Rate This Recipe
Recipe Ratings without Comment