This post may contain affiliate links. For more information, read my disclosure policy.
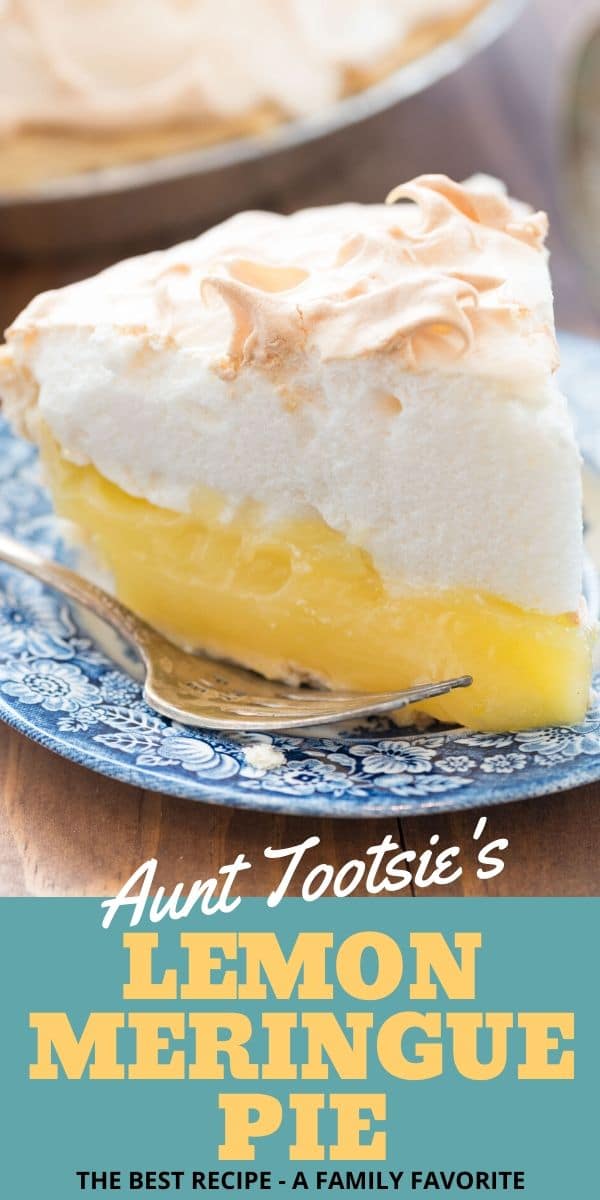
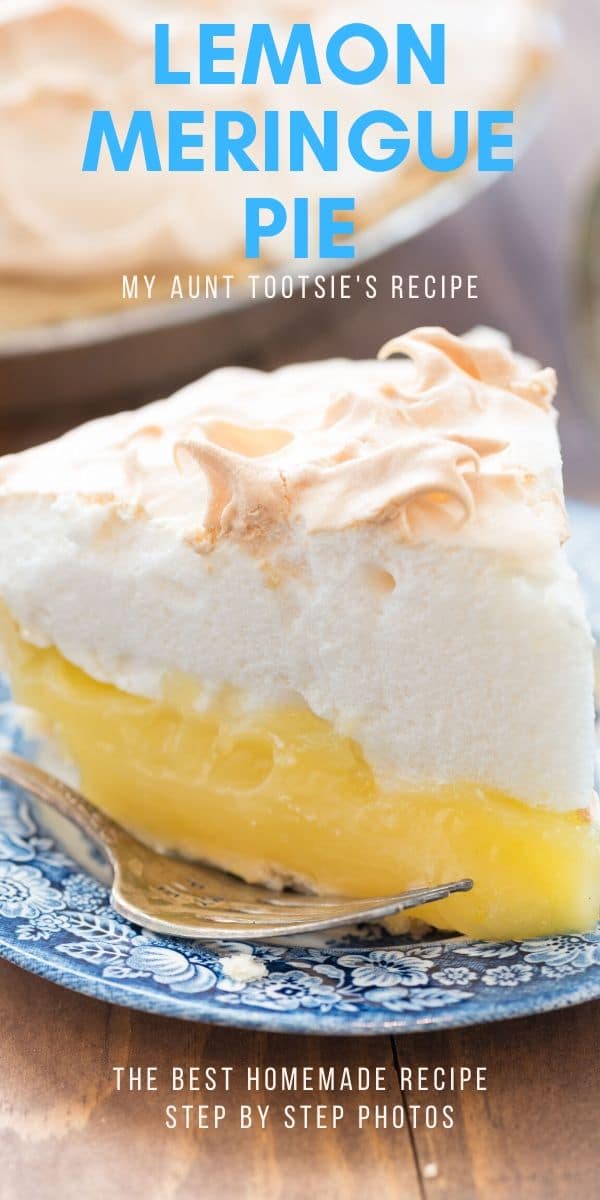
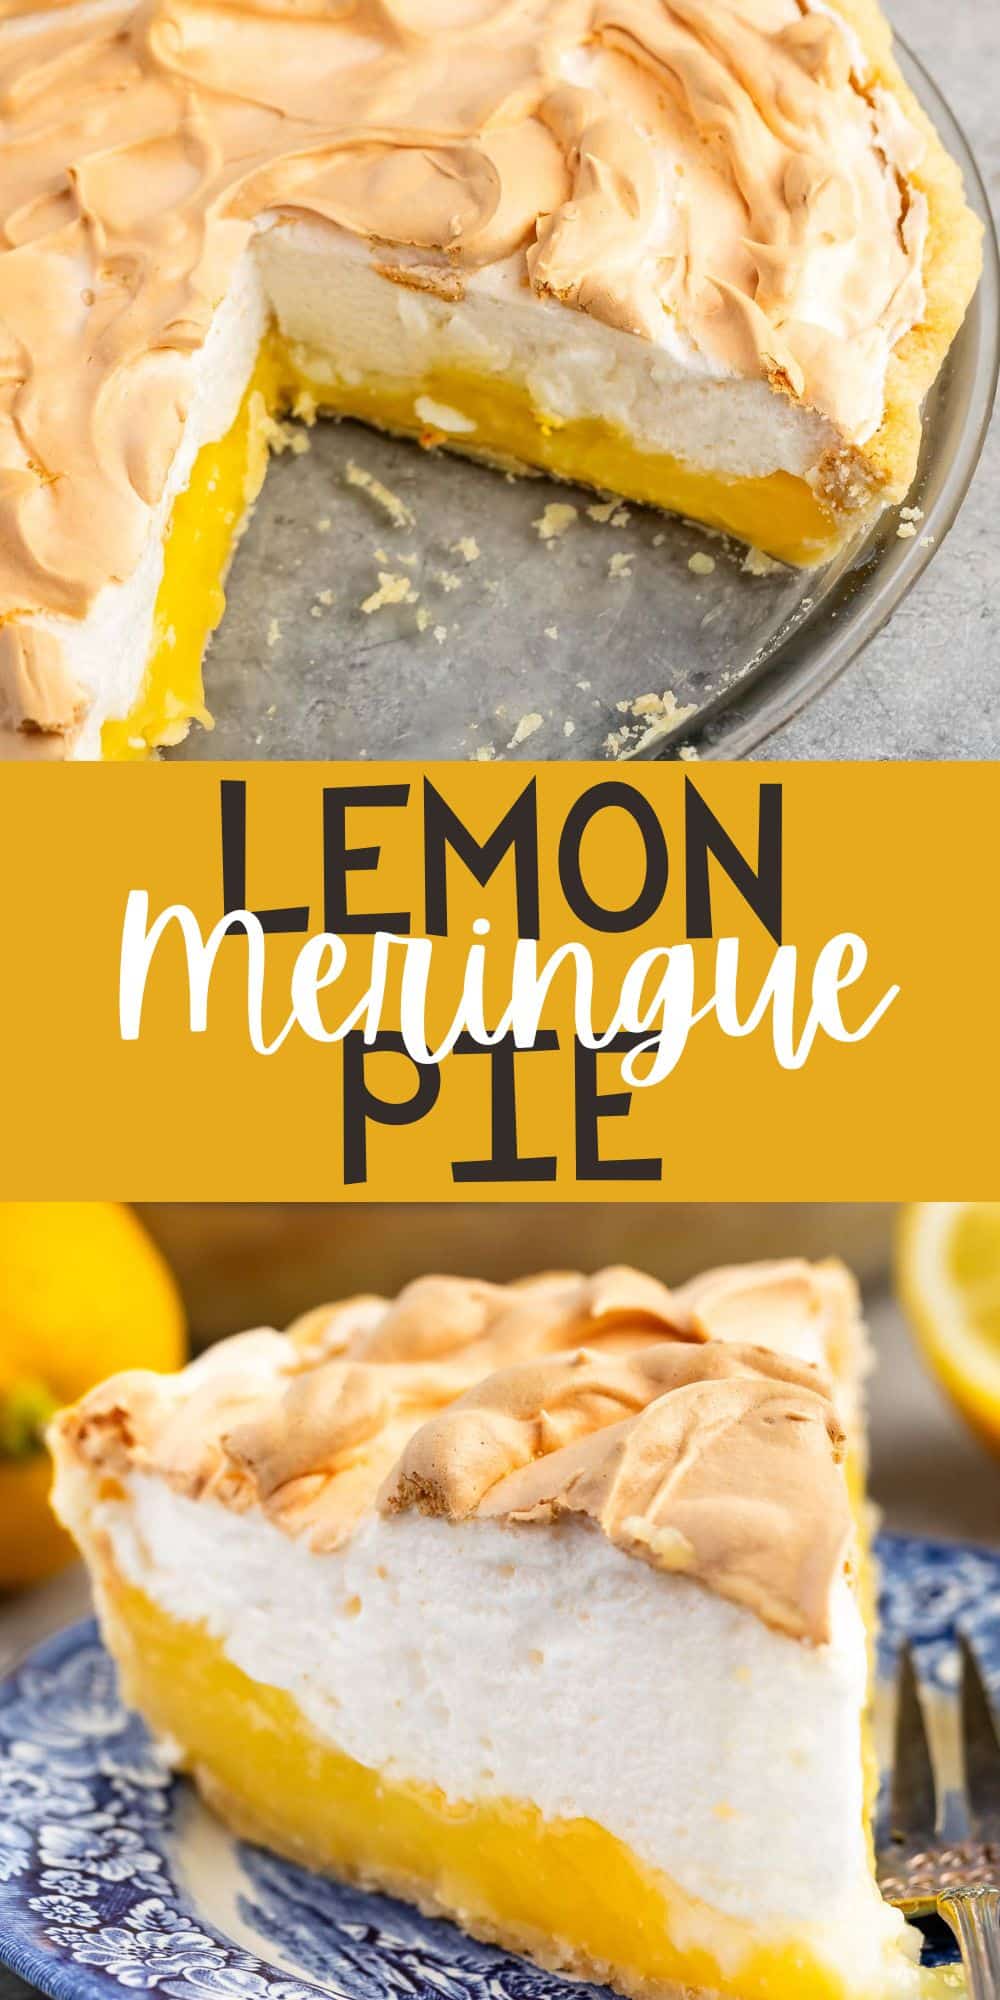
My Aunt Tootsie’s Lemon Meringue Pie – this recipe is a family favorite! It’s an easy pie recipe with homemade lemon filling and sweet meringue. This is a family recipe – my Aunt Tootsie made it for years – and now the recipe is mine to share. You’re going to love it!
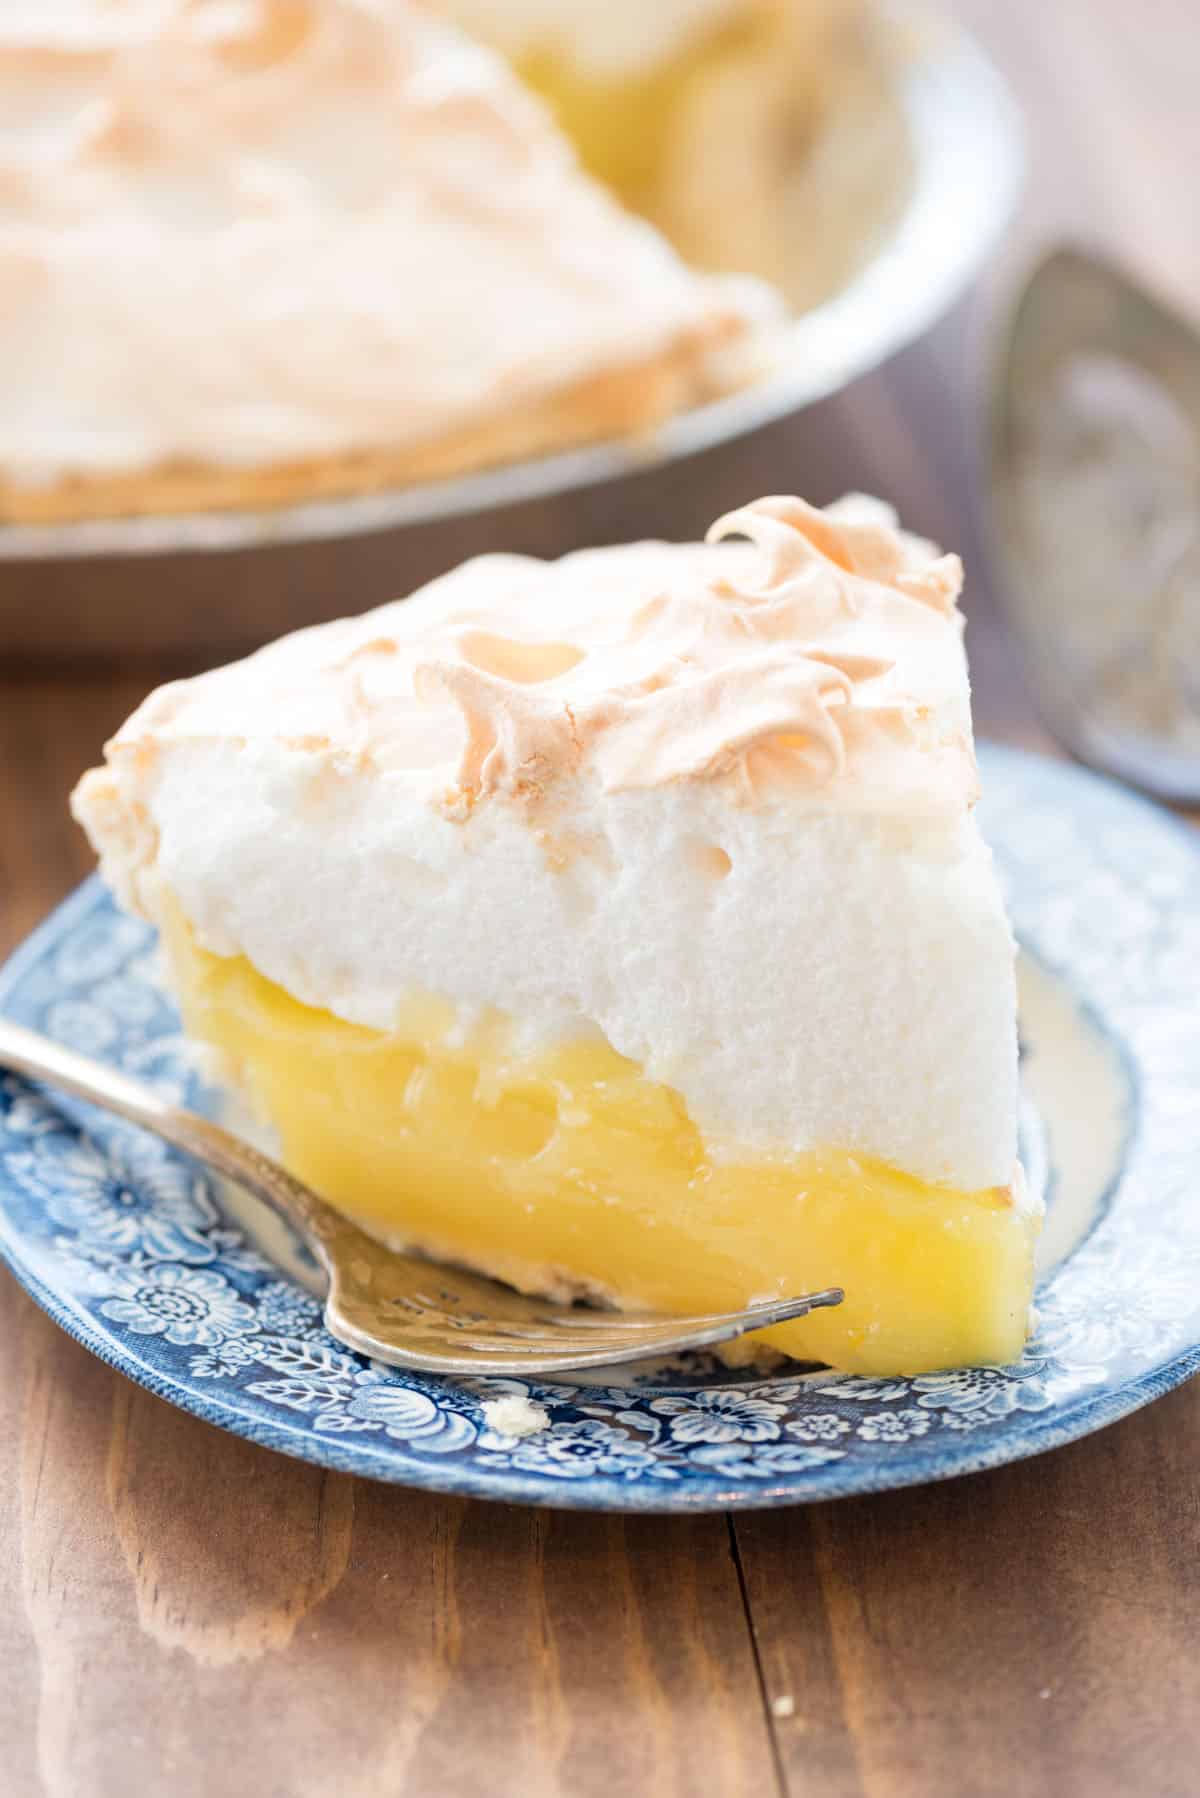
When I was a kid (and even still), whenever pie is mentioned around my dad, he brings up my Great Aunt Tootsie’s Lemon Meringue Pie. He talks about how the crust was amazing and the filling was so smooth and perfect. A few years ago, I got an envelope full of hand written recipes and newspaper clippings that had been shoved in my Nana’s recipe book. One of them was for my Aunt Tootsie’s Lemon Meringue Pie!
Making Lemon Pie and meringue can be an involved process but as long as you read the recipe and follow my instructions, this pie will become your family favorite too. With the crunchy flaky pie crust, lemon curd like filling and sweet pillowy meringue, it’s the best Lemon Meringue Pie recipe you’ll ever eat!
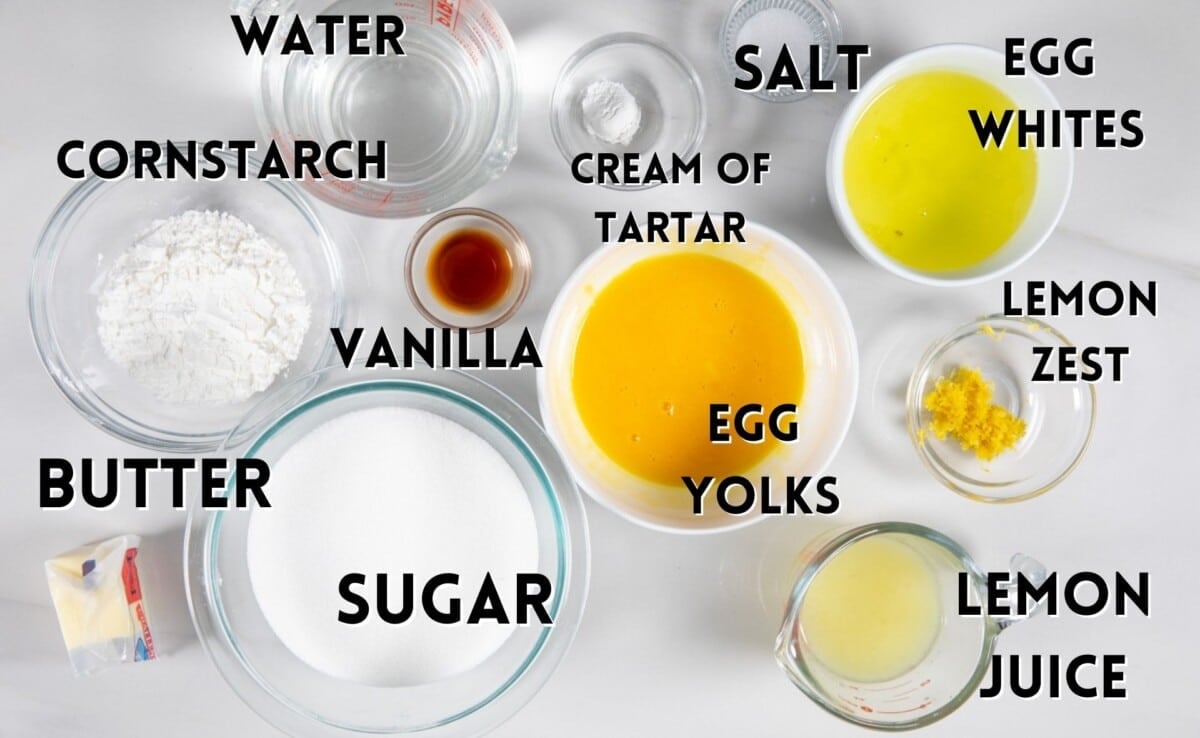
Ingredients Needed
- Pie Crust – You can use a store bought crust (frozen or refrigerated) or my all butter pie crust (it’s the best one in the world and easy to make!)
- Cornstarch – this aids in thickening the lemon curd
- Egg Yolks – the egg yolks are the body of the custard. Use large egg yolks that are room temperature.
- Lemon Zest and Lemon Juice – the zest is where most of the lemon flavor comes from and the juice should be fresh lemon juice!
- Egg Whites – You’ll need these for the meringue topping.
- Cream of tartar is a crucial ingredient in getting the stiff and stable peaks for the egg whites in the meringue.
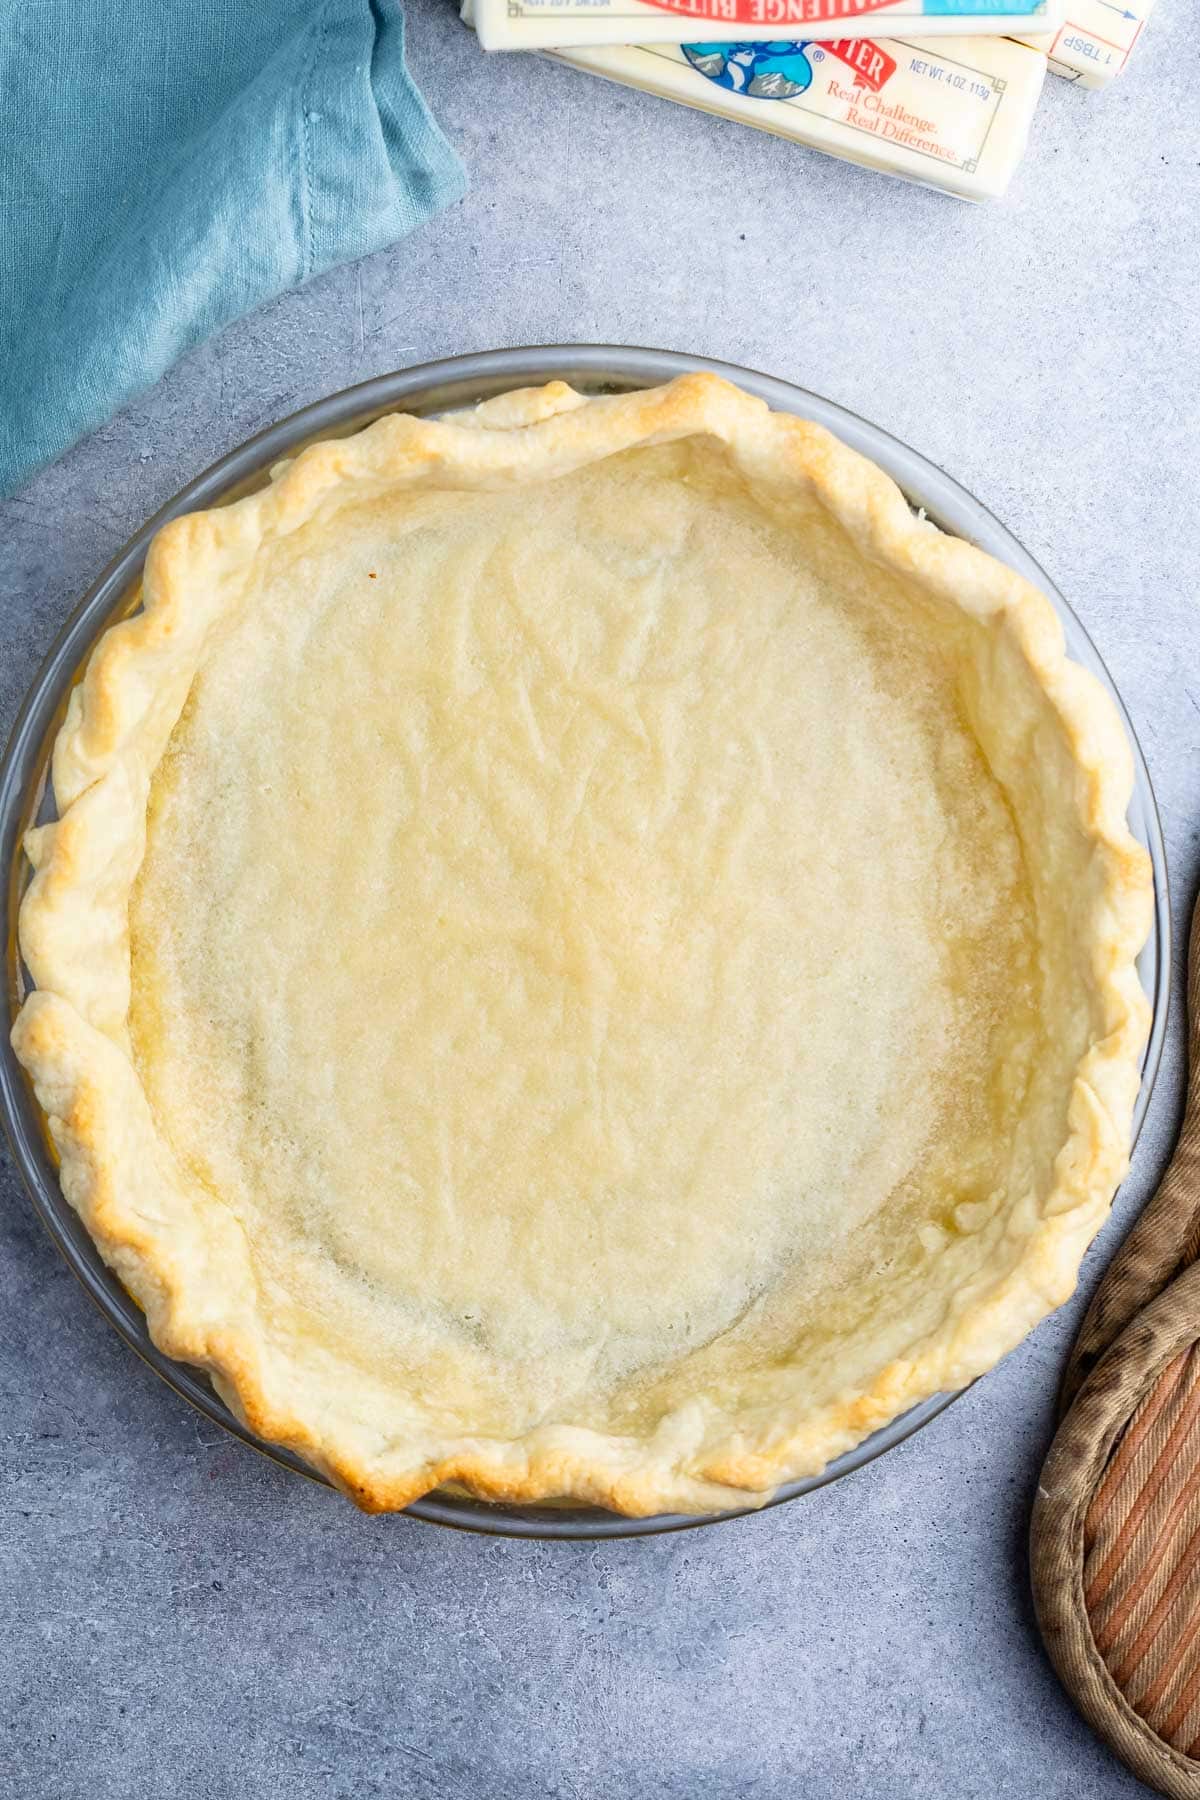
How to Prepare The Crust
Lemon Meringue Pie is one of those custard-like pies that require you to partially blind bake the crust. The filling is already cooked when it goes into the crust and the meringue bakes just a short amount of time, so your crust needs to be almost all the way done before you assemble the pie.
To blind bake the crust, you’re going to put it in the 9-inch pie plate and line it with parchment paper. Then fill the pie with beans or pie weights and bake it at 425°F. The time it takes to bake your crust depends on the recipe you’re using.
How to make Lemon Meringue Pie
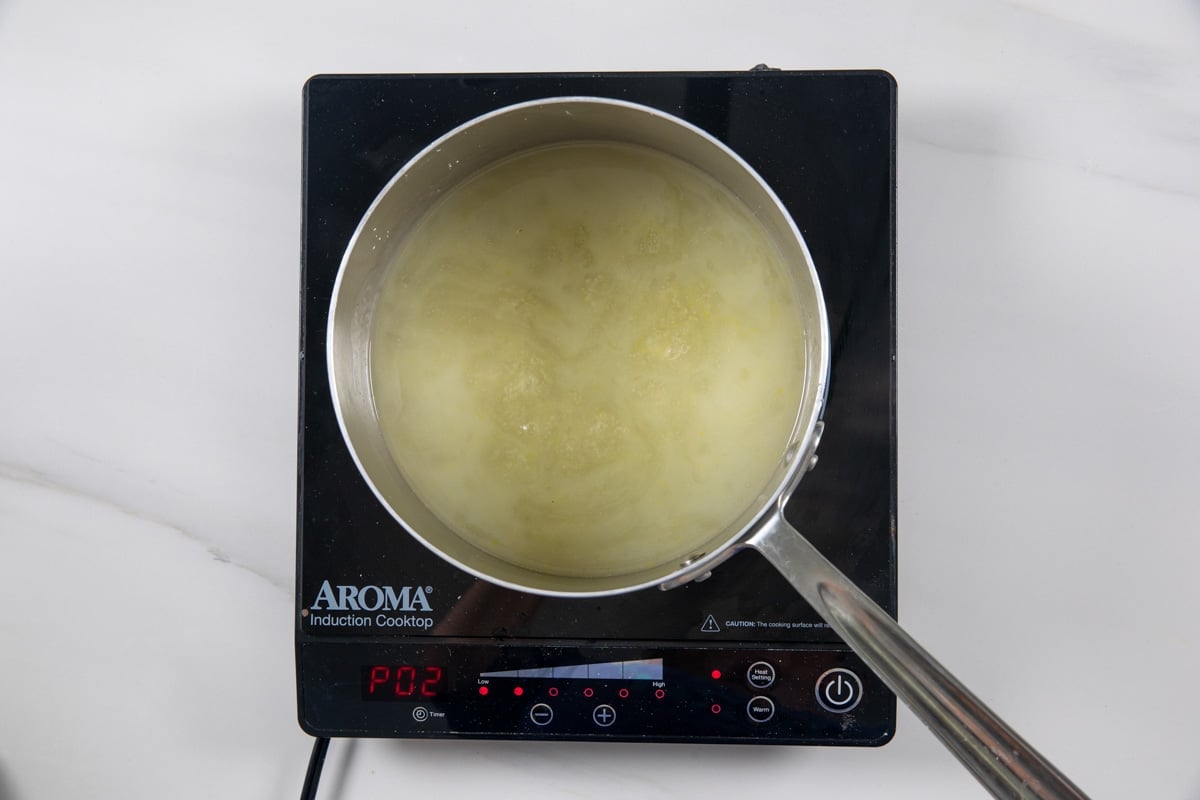
1. Whisk the filling ingredients together in your saucepan, cooking over medium heat, stirring often (like you’re making pudding), until the mixture is thick and bubbly.
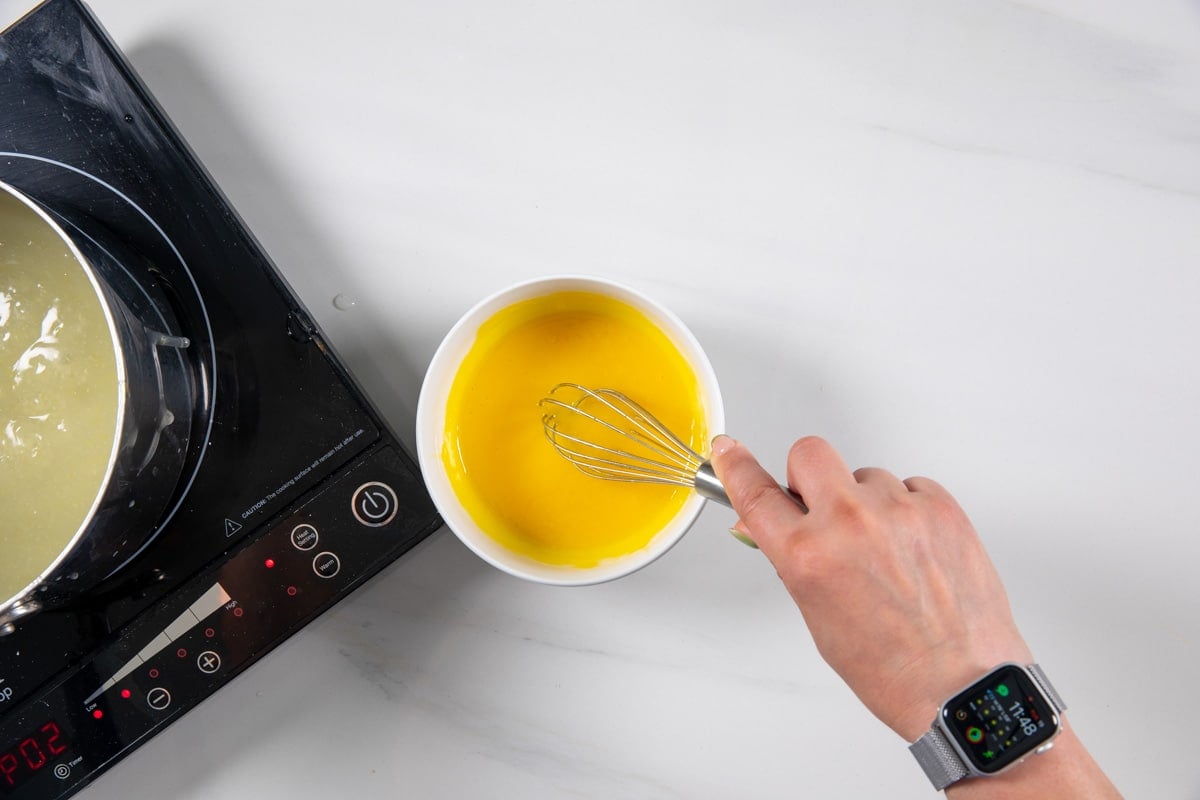
2. Pour a bit of the lemon mixture into the beaten eggs whisking constantly. Then pour the entire egg mixture into the lemon mixture while whisking.
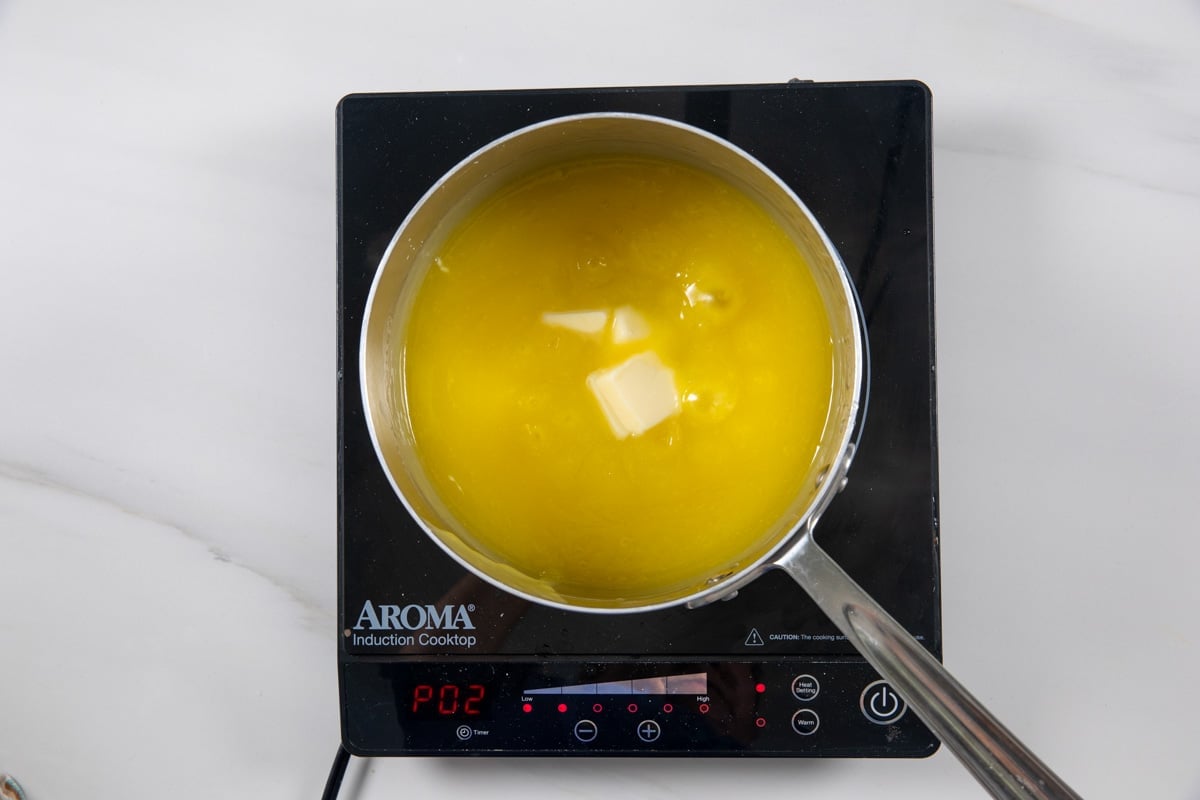
3. Keep cooking for 2 minutes, remove from heat and stir in some butter and then your mixture will be ready.
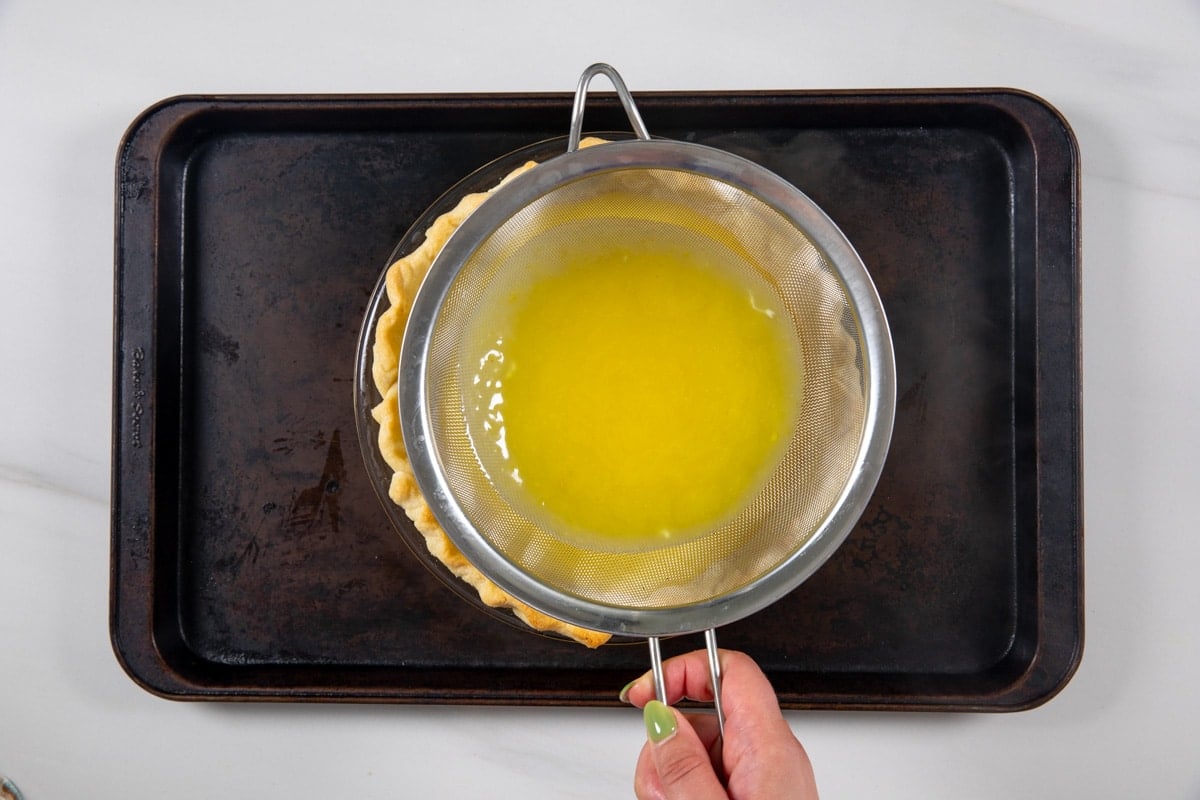
4. I always strain my filling through a fine mesh strainer just in case little pieces of egg have cooked.
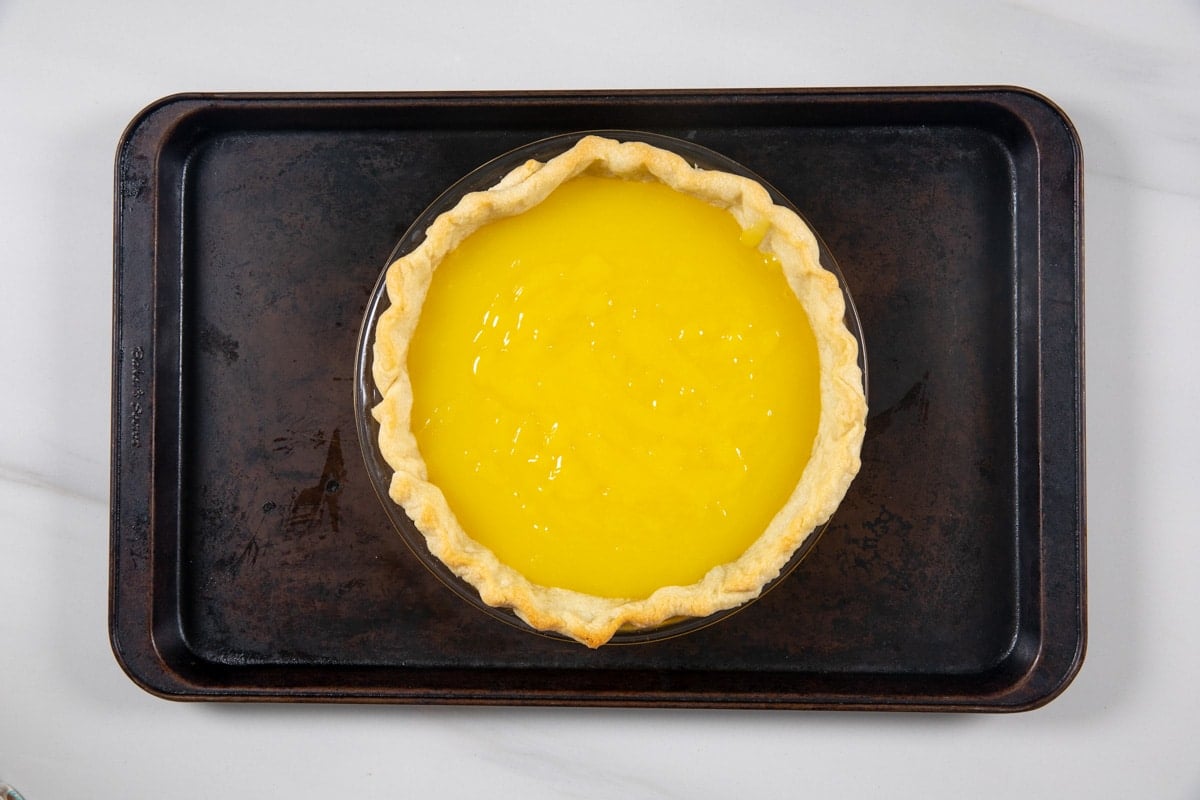
5. Place the filling in the pie crust and immediately make the meringue. You don’t want the pie to cool too much before adding the meringue and baking the pie. The heat from the filling will make the meringue “cook” to the top of the pie.
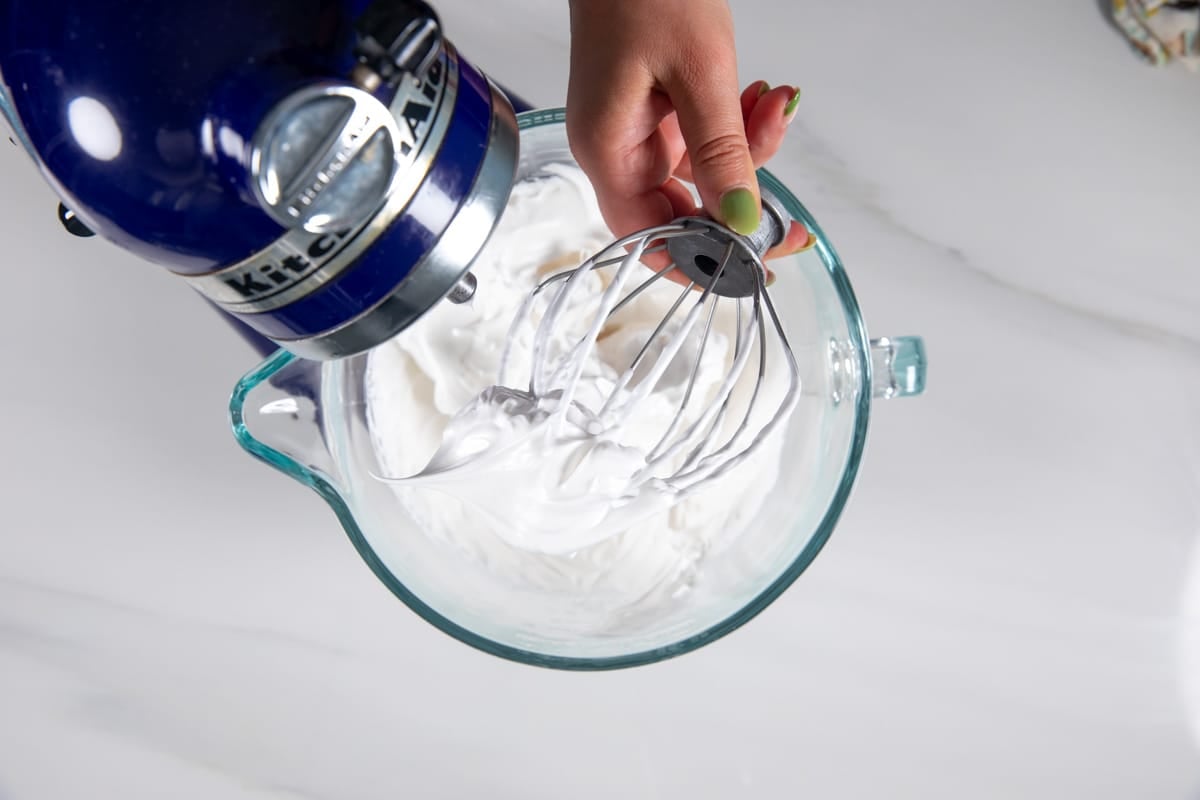
6. How to make meringue: You’ll beat the egg whites on medium high speed until soft peaks form before adding the sugar. Soft peaks means that the egg whites are fluffy, but the peaks will just start to hold if you turn the whisk upside down. Once you add the sugar and beat the egg whites until stiff peaks form, you’ll see they are glossy and the peaks hold their shape.
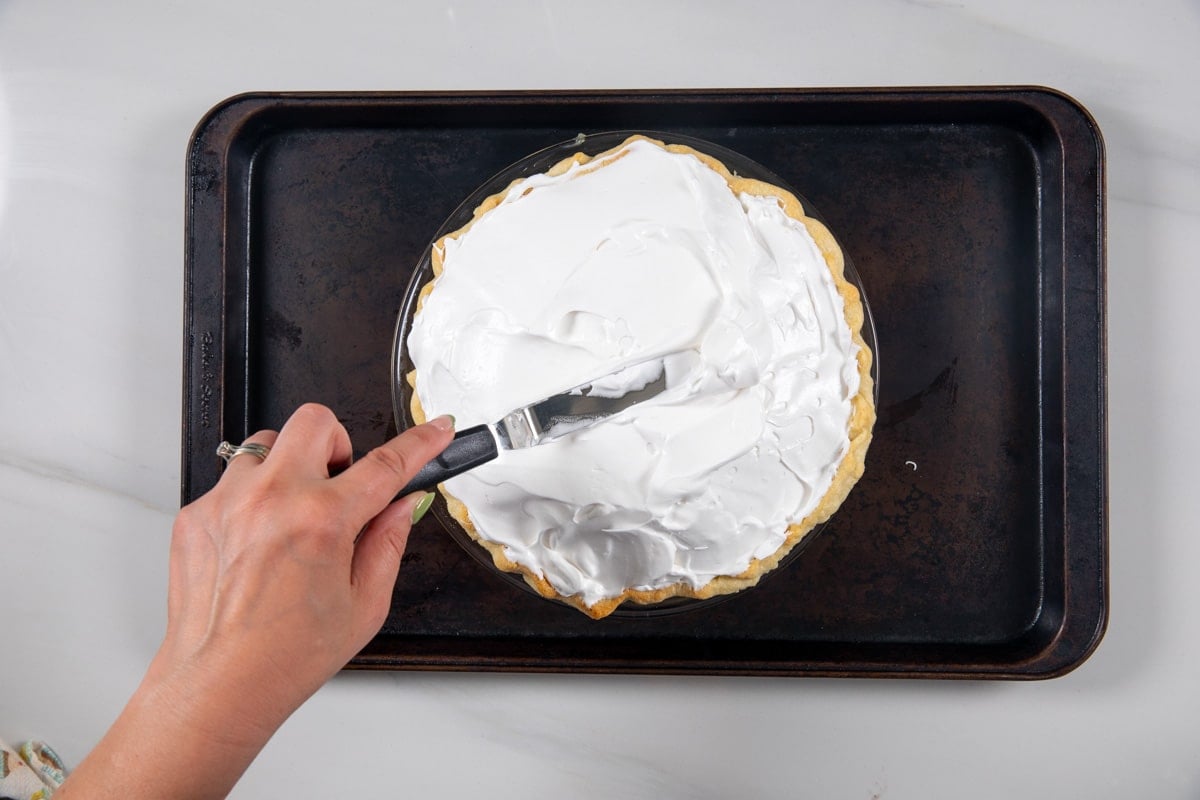
7. Add the meringue on top of the still-hot filling of the pie and swirl the tops into pretty peaks. Make sure to completely seal the meringue to the pie crust edges. Leave NO gaps to avoid weeping. Bake the pie, then completely cool before slicing. This kind of meringue is made by beating egg whites with sugar and then baking on top of the pie and it’s like eating sweet clouds.
What is tempering eggs?
A scary part about making a lemon curd like this is tempering the egg yolks.
Tempering eggs is just a fancy way of saying that you’re getting them ready to put in the hot custard mixture. If you just pour them into the hot lemon mixture, they’ll scramble (ew) so we have to do it slowly.
Pour a bit of the hot mixture into the egg yolks, whisking constantly. Then, pour the egg yolk mixture back into the pot, whisking constantly. Then you can continue making your filling without worrying about scrambled eggs.
Storing Lemon Meringue Pie
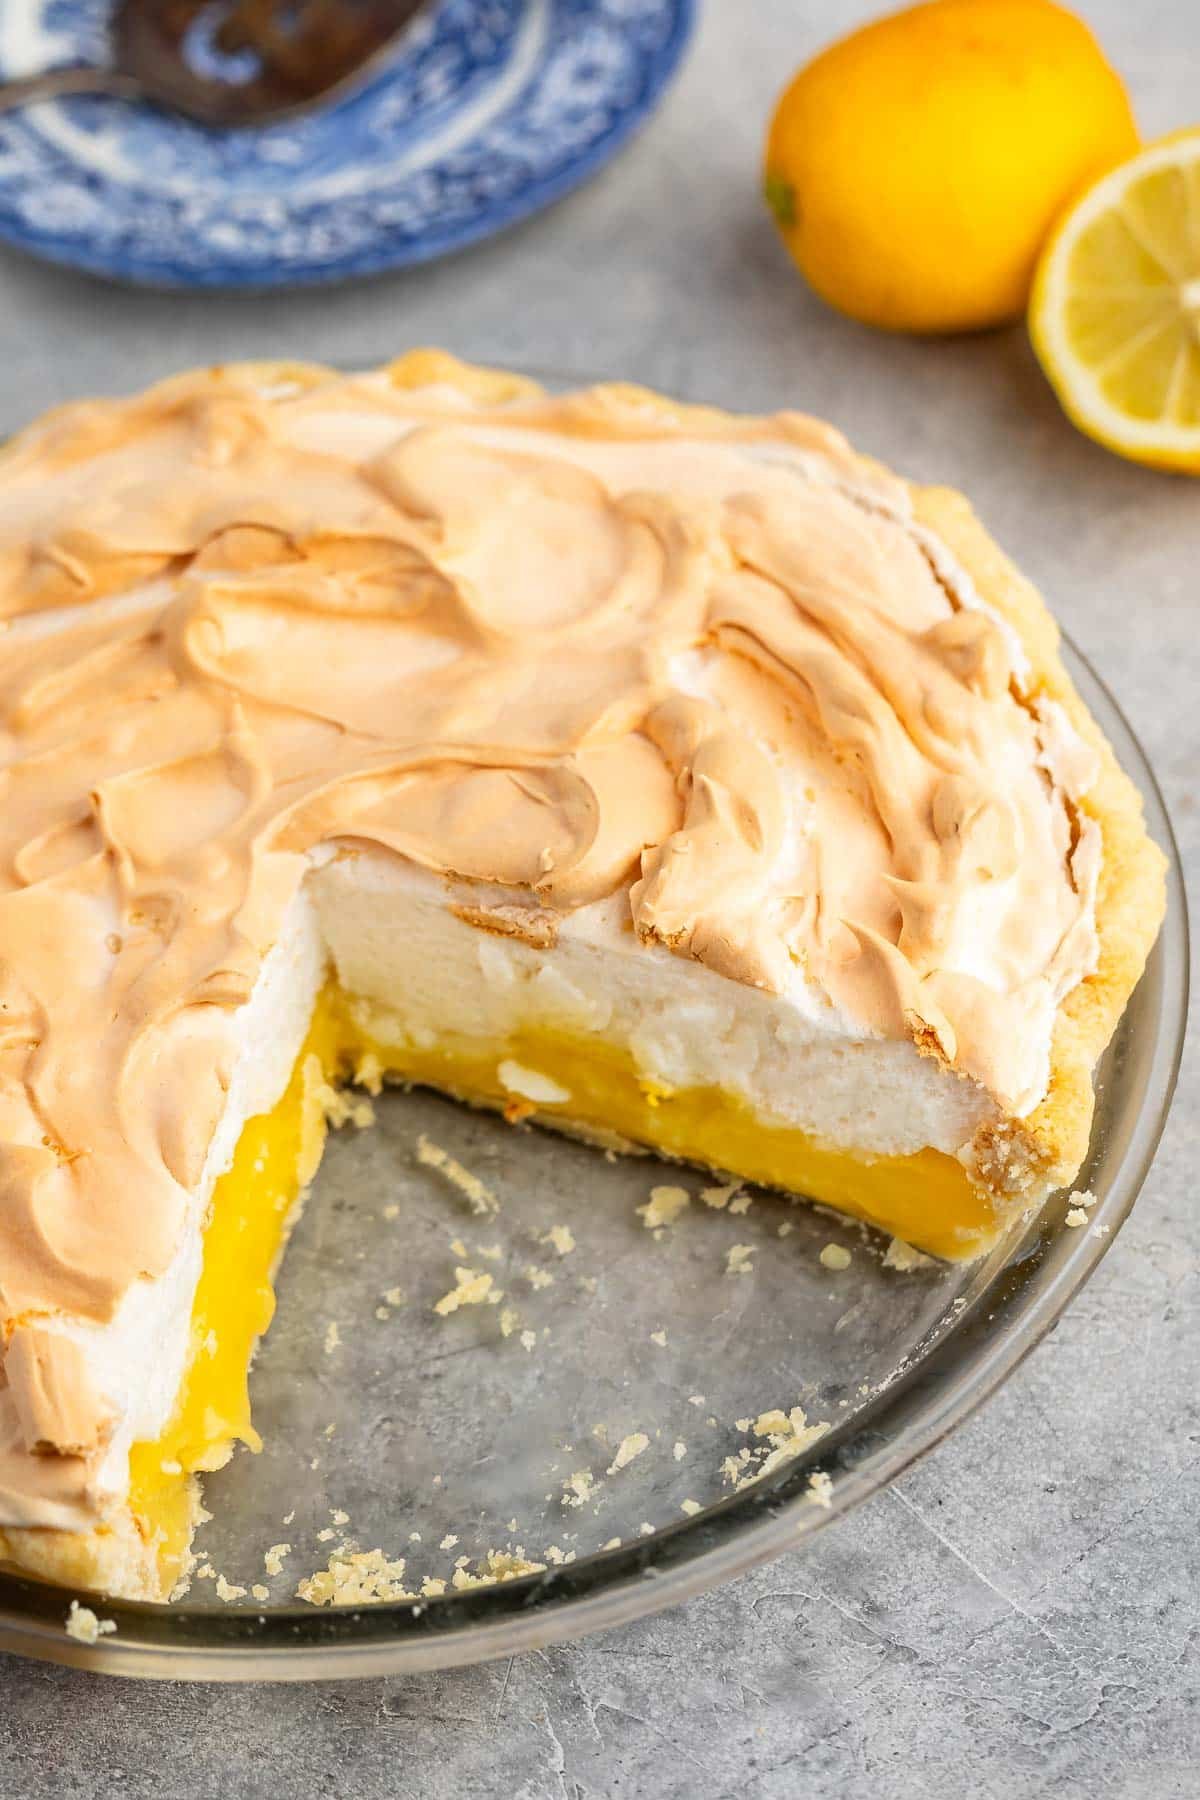
The meringue will deflate and get a bit weepy after a day so it is recommended that you make your pie the same day it’s going be eaten. There is lots of chill time involved so make sure to plan accordingly. I do not recommend making lemon meringue pie ahead of time.
It’s not recommended to freeze this pie.
Expert Tips
- Make sure you have all your ingredients assembled and ready before you start. Whisk your egg yolks in a small bowl and set aside so they’re ready to temper.
- Make sure there are NO egg yolks in your whites. When separating your eggs, err on the side of white-in-yolk but not yolk-in-white if that makes sense. Egg whites don’t whip right if they have the fat from the yolk in them.
FAQs
You can prepare the crust a day ahead but make and assemble the pie the day of. It won’t last more than about 24 hours before weeping.
Make sure it’s stiff peaks and make sure that you are topping the pie while the filling is still hot. And make sure the meringue touches the edges of the crust with no holes or gaps. This will ensure you do not have a watery pie – however it will weep after a day (meringue doesn’t last that long).

Aunt Tootsie’s Lemon Meringue Pie Recipe
Recipe Video
Ingredients
For the filling:
- 1 All Butter Pie Crust pre-baked and cooled (or a pre-made crust from a pack of two or frozen)
- 1 ½ cups (355ml) water
- 1 ½ cups (300g) granulated sugar
- 5 tablespoons (40g) cornstarch
- ½ cup (118ml) fresh lemon juice
- 1 tablespoon lemon zest
- ½ teaspoon salt
- 4 large eggs yolks
- 3 tablespoons (42g) unsalted butter
For the meringue:
- 4 large egg whites
- ½ teaspoon cream of tartar
- 1 teaspoon vanilla extract
- ½ cup (100g) granulated sugar
Instructions
- Preheat oven to 425°F. Place crust in 9-inch pie plate.
- Partially blind bake the crust: poke holes in the bottom of the crust with a fork. Line the crust with parchment paper and fill with dried beans or pie weights (dried rice and lentils work too). If you're using my pie crust recipe, bake about 20 minutes, checking that the crust is browned (but the bottom won't be completely done yet, that's ok). If you're using a Pillsbury crust, it'll only take about 10 minutes to partially bake. Carefully remove parchment and pie weights.
- Lower oven temperature to 300°F.
- Whisk water, sugar, cornstarch, salt, lemon juice, and lemon zest in a medium saucepan. Place over medium-low heat and cook, stirring often, until it’s thick and bubbly.
- Place egg yolks into a medium sized bowl. Whisk them gently. Once the lemon mixture is thick and bubbly, carefully pour about half the lemon mixture into the egg yolks, whisking constantly, then place the egg mixture back into the pan with the remaining lemon mixture, continuing to whisk. You want to avoid scrambling the eggs. Bring to a gentle boil, then cook for 2 minutes. Remove from heat and stir in the butter until melted.
- Strain the mixture to remove any bits of egg. Pour mixture into the prepared pie crust. Cover with plastic wrap while you prepare the meringue and keep it hot (the meringue needs to go onto hot filling).
- Place egg whites, cream of tartar, and vanilla in the bowl of a stand mixer fitted with the whisk attachment (or you can use a large bowl with a hand mixer). Beat on high speed until soft peaks form (if you remove the beaters the tips curl slightly) and then continue mixing while gradually adding the granulated sugar. Continue mixing until stiff peaks form (they’ll be glossy and stand straight).
- Spread the meringue on the top of the lemon mixture in decorative peaks, being sure that the meringue touches the crust and no lemon shows through. Bake about 30 minutes or until the meringue is browned. Cool at room temperature for one hour, then chill at least 5 hours before slicing.
Recipe Notes
- Have all your ingredients ready to go when you start; have your egg yolks beaten.
- The meringue needs to go on top of warm pie filling so make the meringue as soon as the filling is done being made.
- Make sure the meringue touches the crust – no holes or gaps – to avoid weeping.
- The pie will last about a day in the fridge – the meringue will start to weep after about 24 hours – it’s best eaten the day it’s made.
- If you don’t like this kind of meringue topping, you can use my marshmallow meringue frosting (it’s more like a Swiss meringue) instead. In that case, completely blind bake the pie crust, add the filling, let it cool, then top it with that frosting and use a kitchen torch to brown the tops.
Recipe Nutrition
This simple Lemon Meringue Pie is the best! One of our family favorites – made the old fashioned way with a creamy lemon filling and meringue on top! I’ll show you step by step with photos and video just how easy it is to make this homemade pie!







My crust made exactly like your recipe:1st time the crust was almost unchewable. I think I baked it too long. The second time I made it it was kind of chewy and soft. I do not know what I did wrong to get this result.
I made the recipe for Thanksgiving. It was a BIG hit!!!! Everybody loved it. It was the first pie that was gone!!! It was so so yummy and deliciously amazing!!!!! Thank you for sharing the recipe. #thebestpieever
Hi great recipe tasted amazing, the only problem i had was too loose; once i re- did it and added more cornstarch we had a hit so thank you.
This pie was a hit with my family! It was perfect… a good balance of tart and sweet, very flavorful, and not too complicated to make. This is a keeper! Thanks!
I haven’t made a lemon meringue pie for years. I was asked to make one for Thanksgiving and found your recipe. The all-butter pie crust worked perfectly! It was supple, easy to work with, and kept its shape when pre-baked. The filling was delicious-sweet and tart and the vanilla in the meringue gave it lots of flavor. Thank you for the pictures that made it easy to follow.
Featured In
Rate This Recipe
Recipe Ratings without Comment