This post may contain affiliate links. For more information, read my disclosure policy.
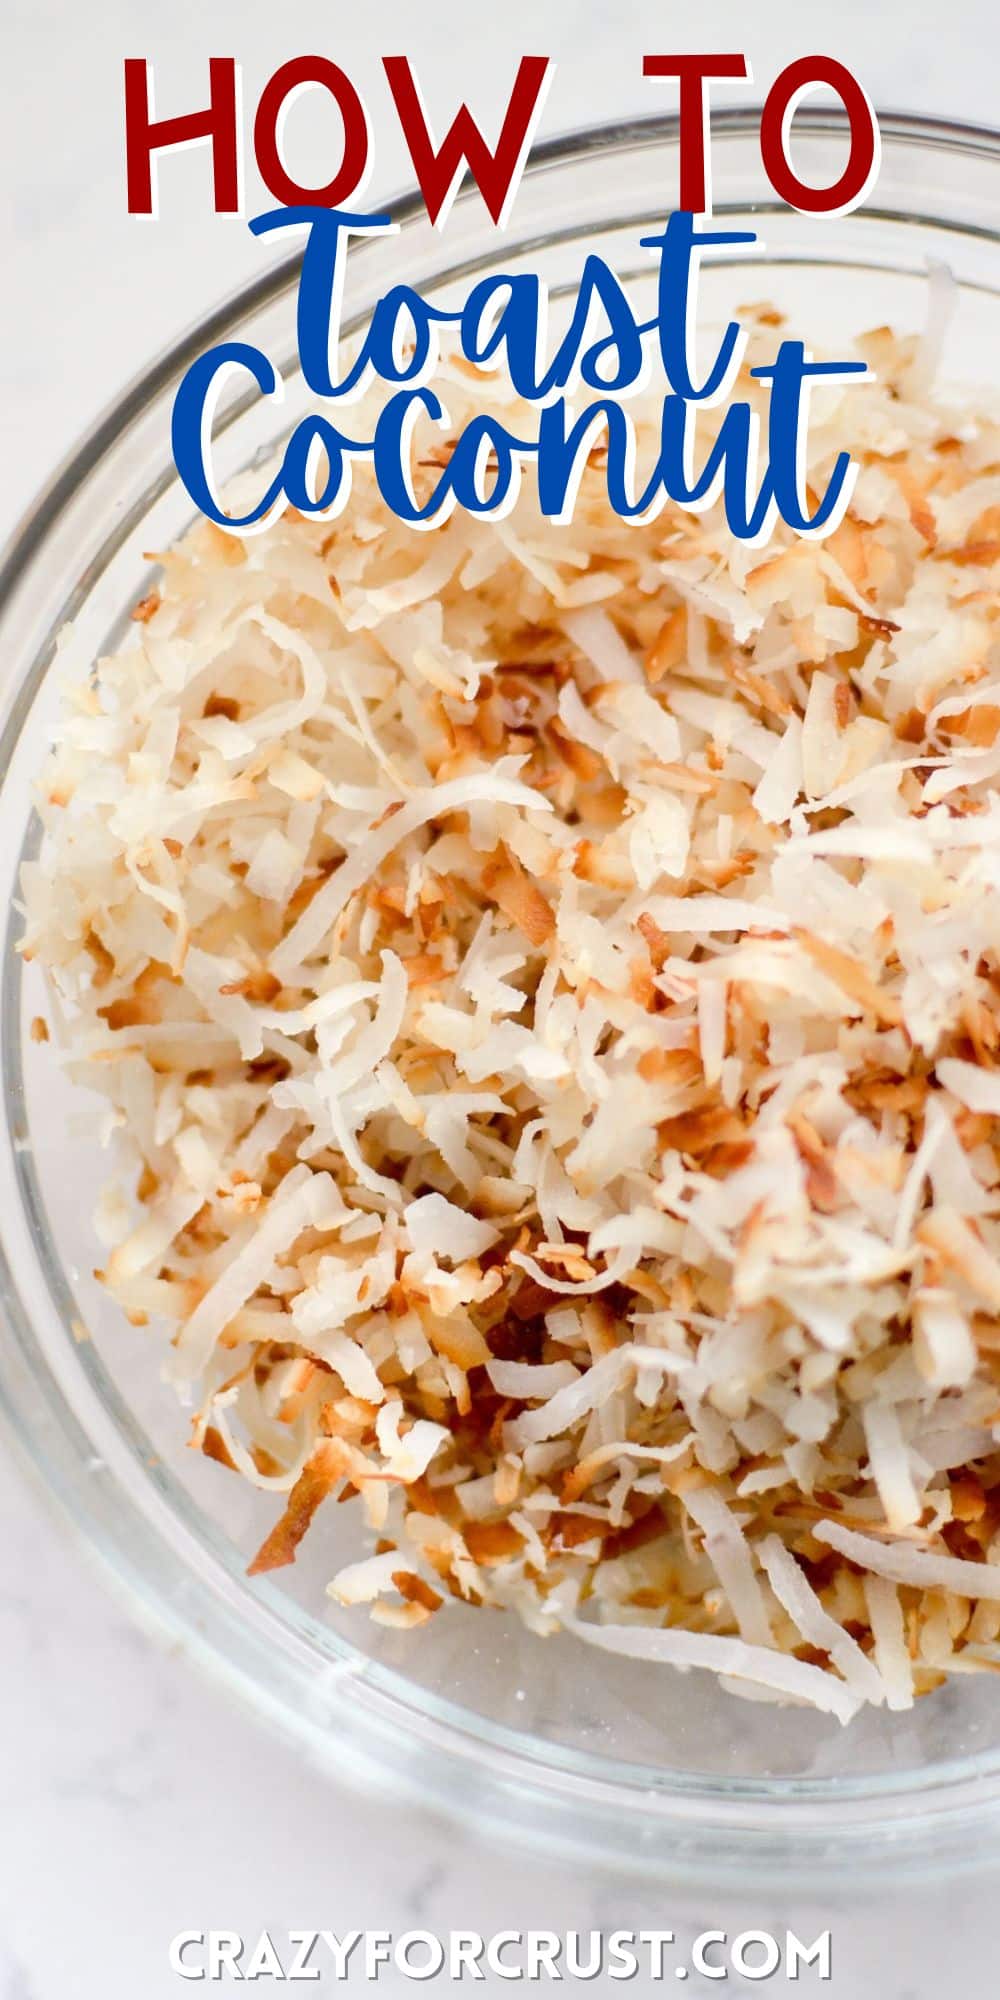
Ever wondered how to make Toasted Coconut? Do it THIS WAY! I’ve been toasting coconut for years and have tried all the methods (stove, microwave, oven) and this is the easiest way to do it without burning it. You can toast coconut for any recipe if you use my method.
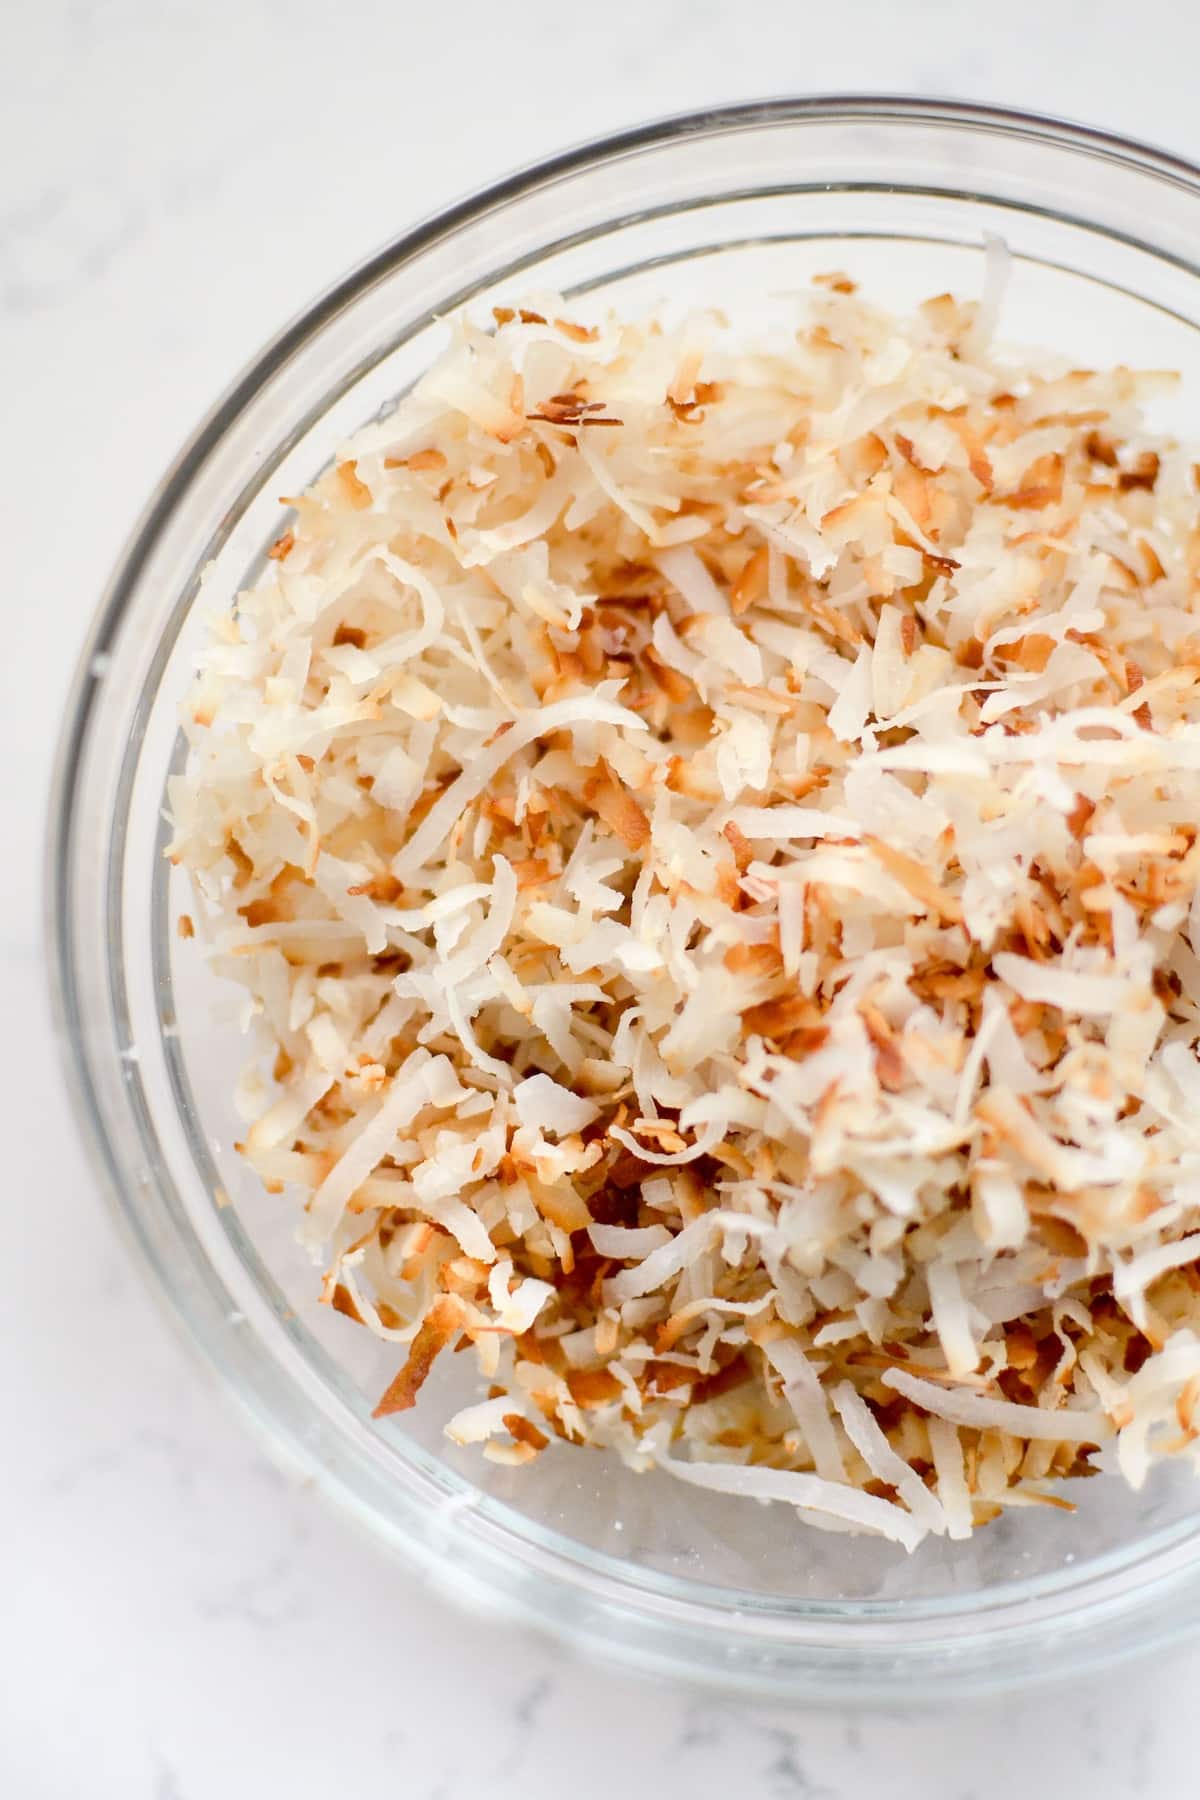
So many recipes call for “toasted coconut” and that can be confusing if you do not know how to do it. Or maybe you have tried it, but it ended up burnt! This post is here to make sure you never face that confusion, or burn smell, again. I have tried just about every possible way to toast coconut, and this is the best way with the best flavor!
Best Way to Toast Coconut
I’ve tried toasting coconut in the microwave and in the oven, but my favorite way to do it is on the stovetop. I find that cooking coconut (or nuts) on the stove top method makes me pay more attention to them, ensuring that it doesn’t burn. Burned coconut smells horrible so doing the stovetop method is the easiest way to avoid that!
I always start with sweetened shredded coconut. You can use any brand or any type of basic coconut. This is what you buy in the baking aisle (also called angel flake). You can also do this with unsweetened coconut if that’s what your recipe calls for.
How to Toast Coconut on a Stove Top
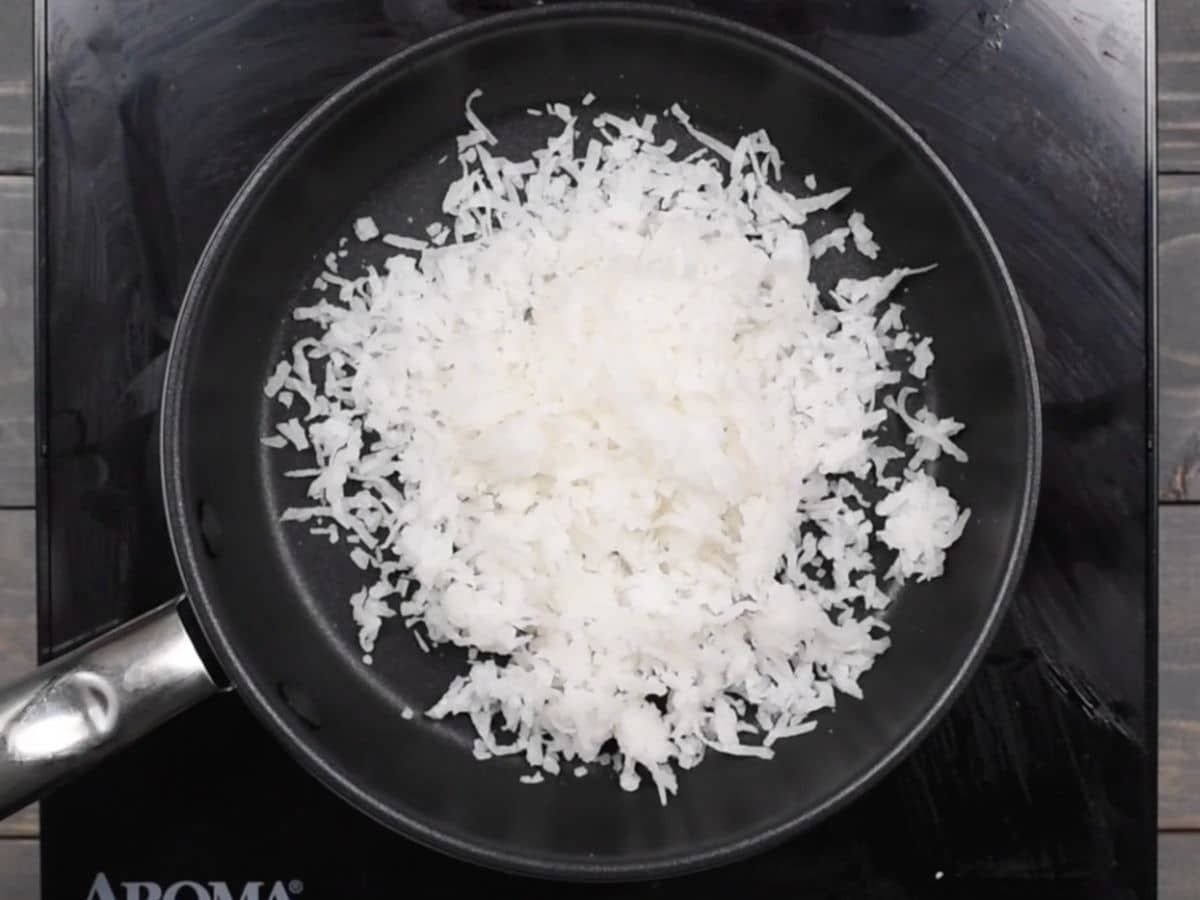
- Use a frying pan or large skillet on the stove instead of baking it in the oven. It’s easier to watch and keep it moving this way.
- Use medium-low or low heat to cook it.
- Stir almost constantly until it begins to brown. Do not walk away from the stove; coconut goes from golden brown to burned very quickly.
Expert Tips
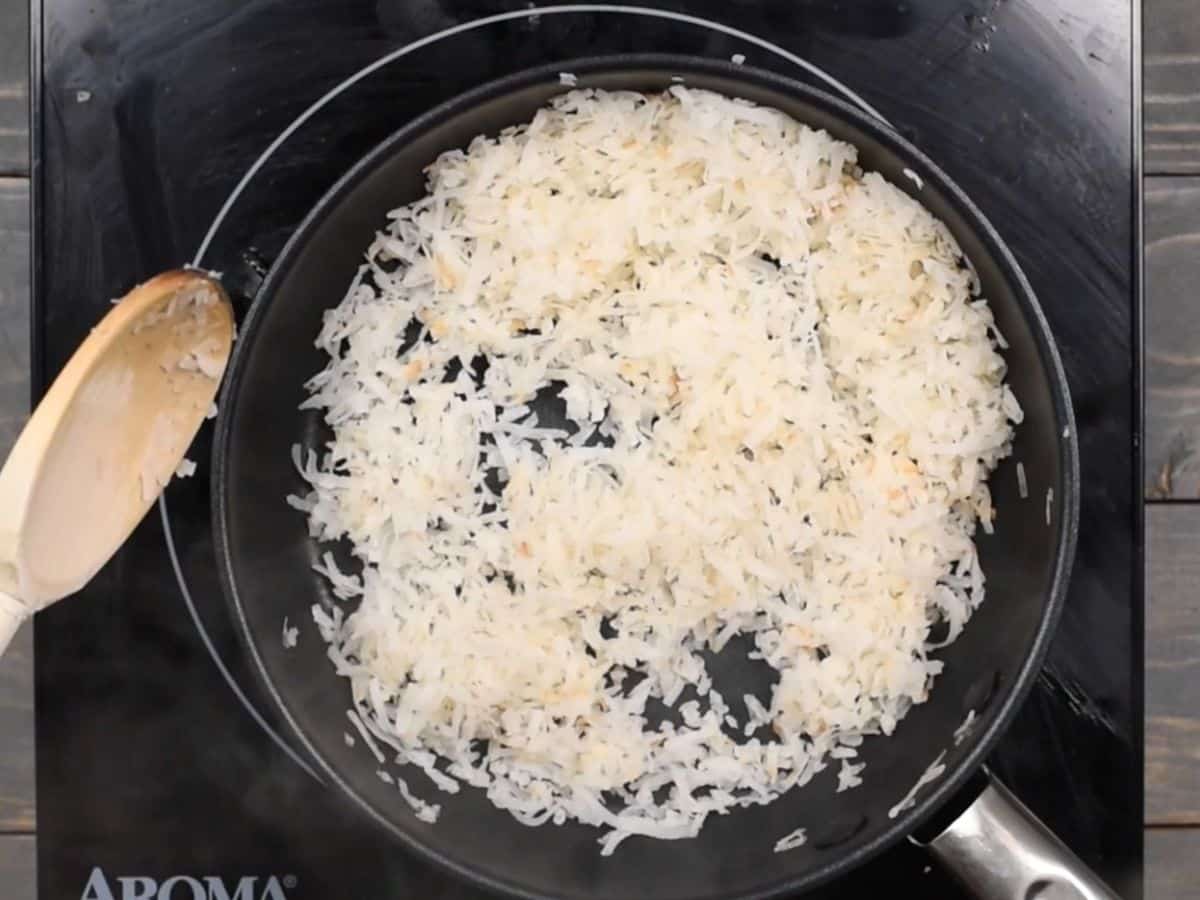
- Always keep stirring your coconut while you’re toasting it. Otherwise it will burn!
- Make sure to stir the sides of the pan and keep it turning from the bottom so it toasts evenly.
- Once it’s brown, immediately remove it from the heat and transfer from the hot pan to a plate or bowl to cool completely to room temperature. If you leave it in the hot pan it will continue to cook and possibly burn.
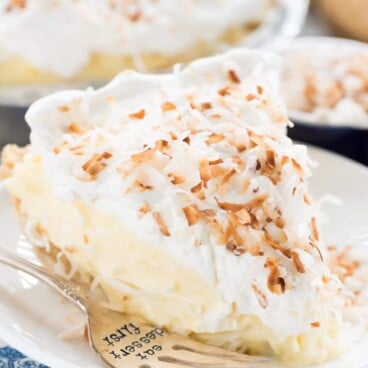
- Put this toasted coconut on top of a smoothie bowl, yogurt parfaits, or any pies and cakes that use coconut like coconut cream pie! It is a great topping for any coconut desserts
FAQs
It’s best to store toasted coconut in an airtight container or bag. I always put it in the refrigerator as well, which makes it last longer. It will last 3-4 weeks in the refrigerator.
You can keep this recipe in the freezer for up to 3 months.
How To Toast Coconut Recipe
Recipe Video
Ingredients
- 1 cup shredded sweetened or flaked coconut
Instructions
- Place a small frying pan over medium-low heat. Add the coconut and break up any chunks using a wooden spoon.
- Cook, stirring almost constantly, until the coconut begins to steam and brown. Turn the heat to low and continue stirring constantly as the coconut browns.
- Do not walk away – it will go from brown to burned very fast.
- As soon as the coconut is browned to your liking, immediately remove pan from heat and remove the coconut from the hot pan to a bowl or plate to cool.
- Use as desired for garnish. Store in an airtight bag or container in the refrigerator for up to 2 weeks.
Recipe Notes
- Do not walk away from the stove. It will seem like your coconut isn’t browning but then all of a sudden it does and will burn fast.
- Stir constantly to avoid hot spots that burn.



Did this yesterday for a pie! Except my recipe should say” go ahead and burn the first batch, wipe pan, watch second batch very carefully, moving with spatula constantly!!!” I seem to do this every time! Love your blog, Dorothy.
Burnt and stinks for 3 days…yep been there!
Great tutorial! 🙂
I love toasted coconut but I can not stand the smell of coconut cooking in the oven. I would have never thought of toasting this way and it just makes sense. THANK YOU, THANK YOU, THANK YOU for this tip.
I love the “do not walk away from the stove” tip. That is true for so many things and yet you’ll only be gone for a second…oops!
I am SO making this. Buying coconut chips are crazy expensive. This only requires one ingredient and it’s so easy!
Charmaine Ng | Architecture & Lifestyle Blog
http://charmainenyw.com
Featured In
Rate This Recipe
Recipe Ratings without Comment