This post may contain affiliate links. For more information, read my disclosure policy.
I love Drumsticks Ice Cream Bars. I don’t love the price. Making your own at home is so much easier – and you can use whatever flavors you have on hand.
Plus, you can make them with sprinkles. I love chopped peanuts, but man. I love my sprinkles too.
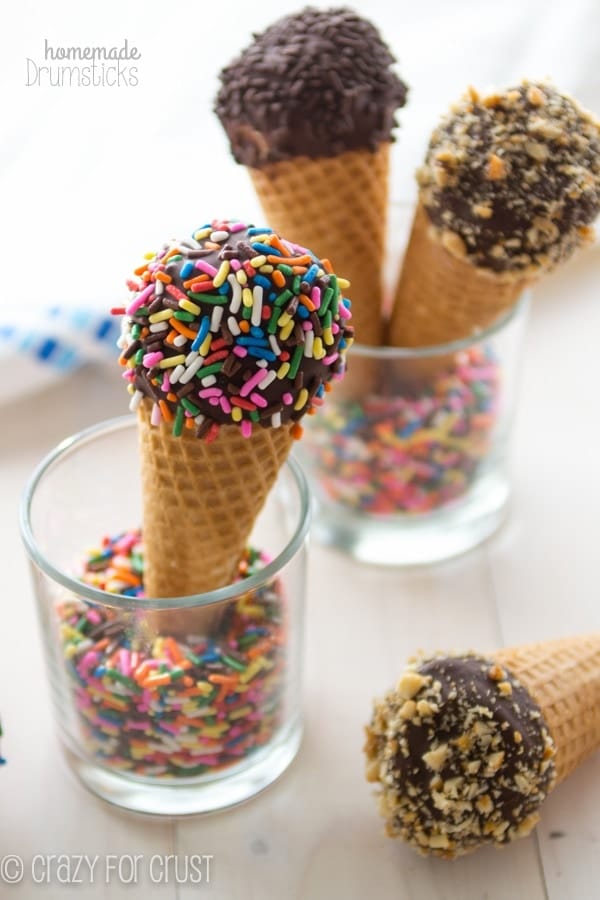
My mom used to buy Drumsticks all the time when I was a kid. I have fond memories of eating off all the nuts that would come loose, then eating off the chocolate. Then I’d manage to eat all the ice cream, even down into the cone. Then I’d nibble the chocolate part of the cone, then eat the cone down to the chocolate tip, then finish it all in one bite.
What? I can’t be the only one who eats Drumsticks that way, right? RIGHT?
**Crickets**
You already know this about me, right? That I’m a weird eater and I’m the Taco Bell vampire?
Well, anyway. I’ve been thinking about how I really want a Drumstick. Then I saw the prices. {Seriously? For 4?}
So I made my own.
It’s kind of perfect I made them just in time for Ice Cream Week, right? Because the best part about making your own Drumsticks is how you can personalize them to your liking.
But there is one thing you cannot skip when you’re making DIY Drumsticks: the chocolate tip. It’s just not a Drumstick without it!
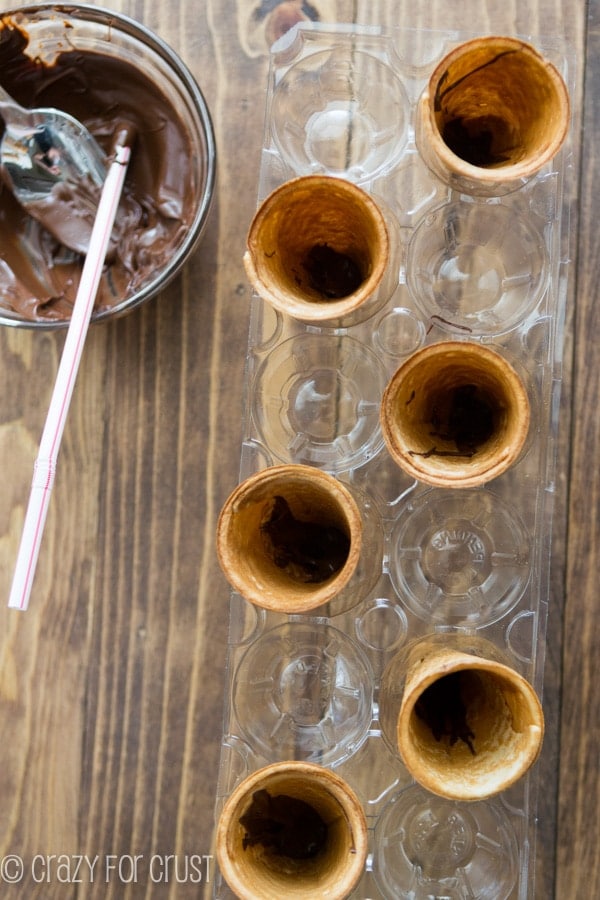
I filled the bottom of each cone with a little bit of melted chocolate. I was having a hard time figuring out how to stand them all up when I got the idea to use an egg carton. I poked out holes in the bottom (where the eggs go) and stuck each cone through.
{Note: this worked for the chocolate part, but not the ice cream part. You’ll need to find small glasses or other containers for when you add the ice cream. I also saw someone who took a complete egg carton and poked holes in the top, then stuck the cones in. Of course, I found that after I was done! I found that tall 2 oz shot glasses were the perfect fit for my sugar cones.}
Add some chocolate to each cone, then freeze so it will harden.
Then get crazy.
The best part about making a copycat Drumstick is being able to use your own flavor combos. Use your favorite flavor ice cream and your favorite toppings.
Since it’s been ice cream week, I have lots of ice cream laying around. I’ve also made lots of other ice cream that I would die to have in a Drumstick.
I made a few different kinds for you:
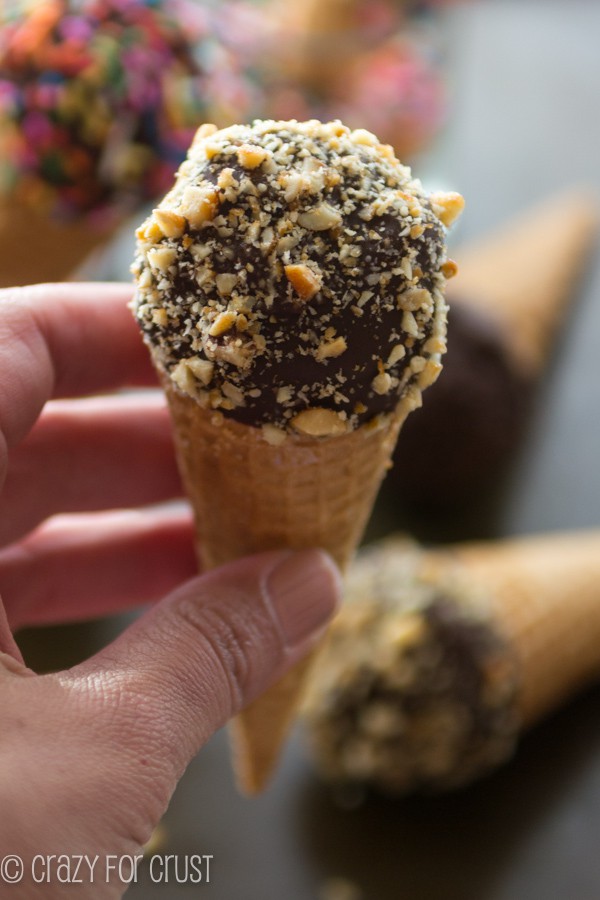
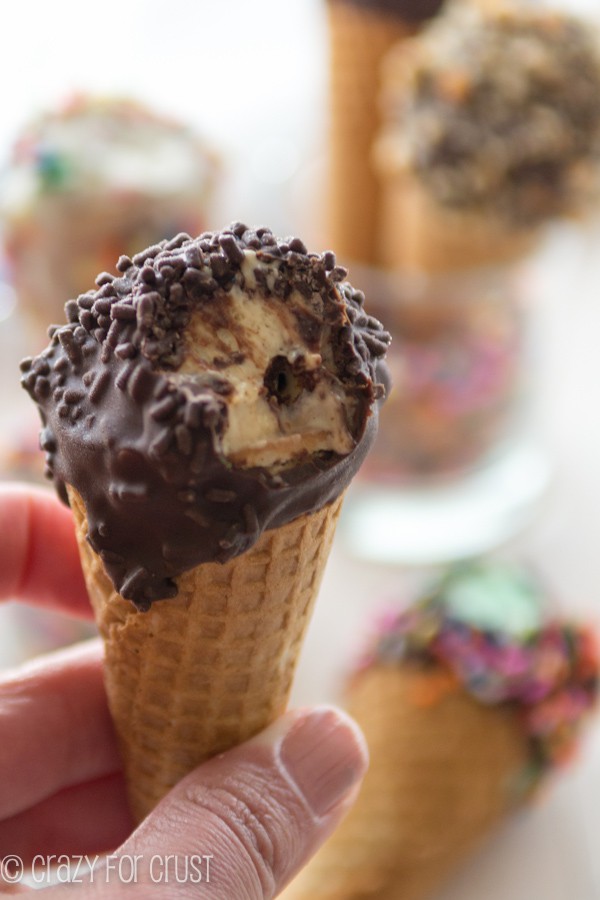
I made traditional, with vanilla frozen yogurt and topped with peanuts. Maple Bacon Crunch Ice Cream would have gone good here too – especially if you topped it with toffee bits.
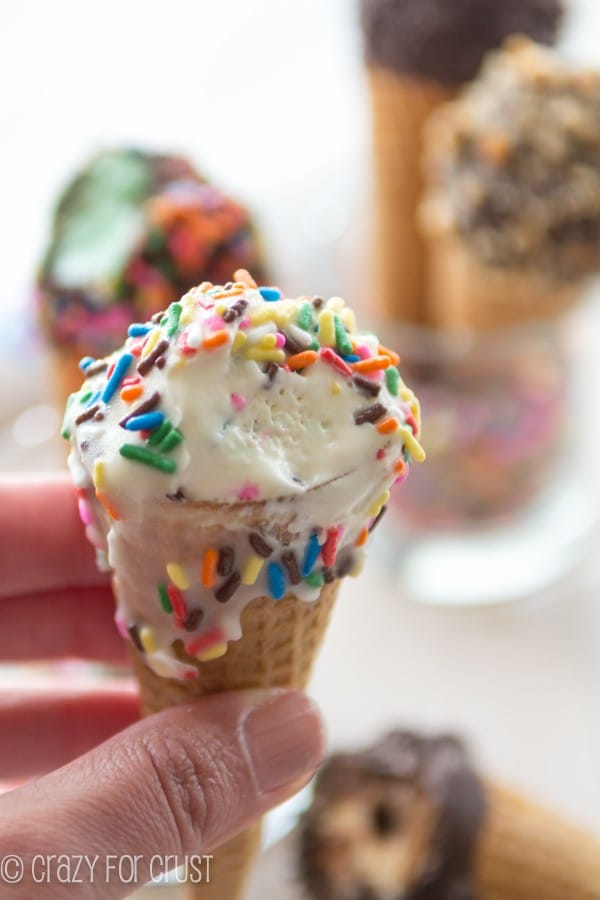
It’s a hard job to take a bite out of every Drumstick you made to show the insides, but someone had to fall on the sword. I volunteered for the job. 😉
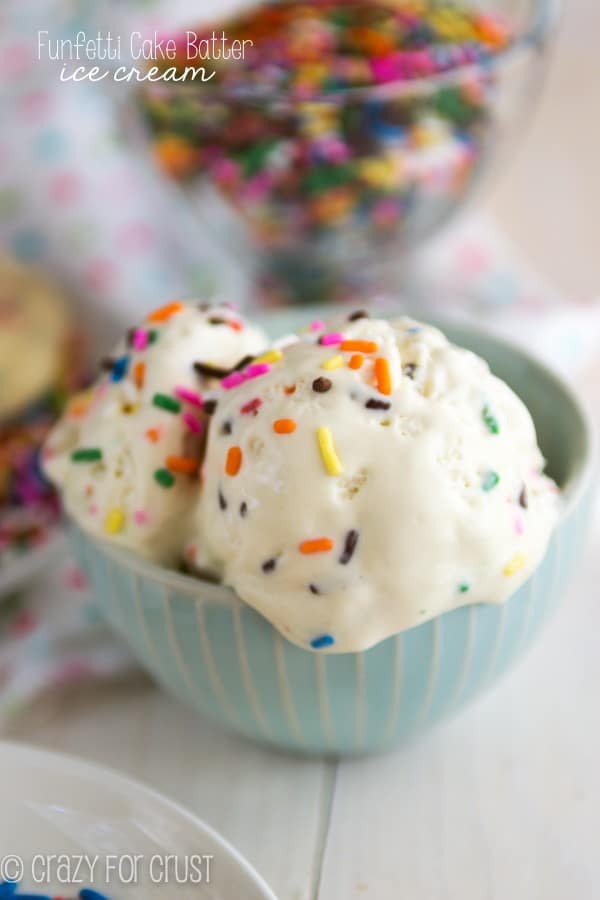
My favorite: I made Funfetti Drumsticks! Use Cake Batter Ice Cream and dip them in Funfetti Magic Shell, then top with sprinkles.
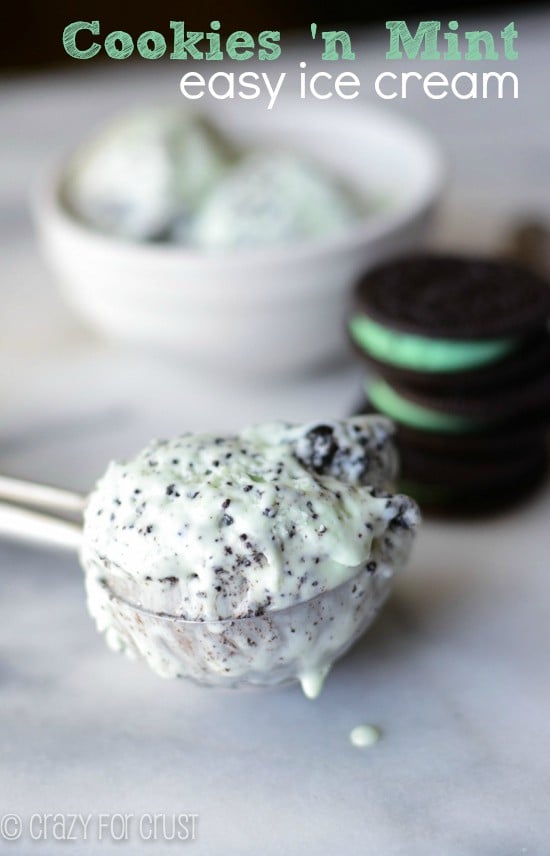
Jordan’s favorite: Mint Chip Drumsticks. You could also use Cookies ‘n Mint Ice Cream…
Peanut Butter Brownie Drumsticks, using Peanut Butter Brownie Ice Cream. Might I also suggest Easy Dulce de Leche Ice Cream here?
Anyway you make them, homemade Drumsticks are the best. And they’re cheap, because you most likely have most of the ingredients on hand.
Plus, like I said, it’s fun to put sprinkles on them!
Don’t forget to go check out Ashton’s Ice Cream Recipes this week for ice cream week!
For more ice cream recipes check out my Ice Cream Pinboard!

Homemade Drumsitcks
Ingredients
- 1 3/4 cups chocolate chips divided
- 12 sugar cones
- Ice Cream in desired flavors (about 1/4 cup per cone)
- 1/4 cup vegetable oil
- 1 1/3 cups sprinkles or chopped nuts for topping
Instructions
- Gather your supplies. You’ll need small glasses or containers for each cone. Tall 2 ounce shot glasses are perfect for this, depending on the size of your sugar cones.
- Place your sugar cones in their holders.
- Place 1/2 cup chocolate chips in a microwave safe bowl. Heat on high power in 30 second increments, stirring between each, until smooth. Place a small amount of the melted chocolate in the bottom of each cone. I used a drinking straw to push the chocolate down to the bottom of the cone. Freeze the cones for 5 minutes.
- While the cones are freezing, let your ice cream warm up a bit on the counter.
- Remove cones from the freezer. Fill each with ice cream, making sure to have a rounded scoop at the top. I found it best to make at most 2 before returning the cones to the freezer. Use your favorite ice cream flavor!
- Freeze the cones for at least 30 minutes, until the ice cream is re-hardened.
- Place remaining 1 1/4 cups chocolate chips in another microwave safe bowl. Add the vegetable oil. Heat on high in 30 second increments, stirring between each, until smooth.
- Transfer the chocolate to a short drinking glass for easy dipping.
- Set out your sprinkles or chopped nuts, near the sink or garbage.
- Working in batches, remove 2 cones from the freezer. Dip upside down in the chocolate and tap off the excess. Hold upright and sprinkle with sprinkles or nuts, over the garbage can to keep the mess to a minimum. Place the cones back in the freezer.
- Once the topping is hardened, place the cones in a airtight container. These are best served within a few days so the cone doesn’t get soggy.
Funfetti Cake Batter Ice Cream
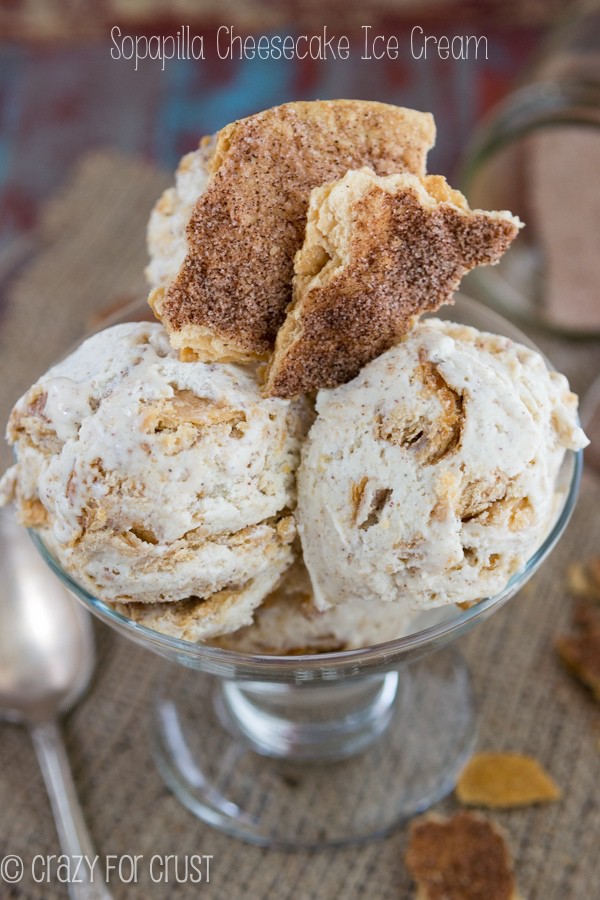
Sopapilla Cheesecake Ice Cream
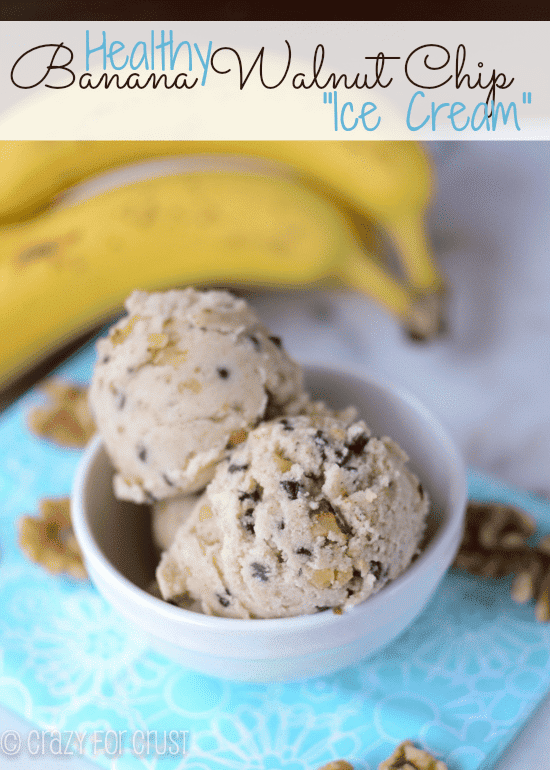
Healthy Banana Walnut Chip Ice Cream
Sweets from friends:
Homemade Cookie Butter Drumsticks by I Wash You Dry
Drumstick Cupcakes by The Domestic Rebel
Layered Caramel Crunch Pops by Cupcakes & Cashmere




Love this diy version! Such a fun summertime treat!
I bought some Drumsticks last week and it just about killed me to pay $6 for 4 of them! These look WAY better and so much cheaper! Awesome recipe, as usual, Dorothy!
Girl, you are my hero. I am all about the drumstick. Love!
What a great nostalgic treat, Dorothy! I never thought to make homemade drumsticks! These look amazing and super easy! Pinned. 🙂
Ohmygahhhh, you’re killing me here. I don’t need to know that I can make my favorite treats at home… it’s better for my diet if I just keep believing that I have to make the 35 mile drive to town to buy them. 🙂
LOL, right????
Featured In
Rate This Recipe
Recipe Ratings without Comment