This post may contain affiliate links. For more information, read my disclosure policy.
These easy decorating hacks will upgrade your Gingerbread House Kit! No matter what kind you’re making, dress up your decorating with my easy ideas and sprinkles!
This post is sponsored by Wilton. I’ve been using their Gingerbread House Kits for years and wanted to share some of my secrets.
I’ve been buying and decorating Gingerbread House Kits with Jordan since she was 2, and it’s one of the traditions she looks forward to every year. We always decorate our house a few days before Christmas and then use it as the centerpiece for our Christmas brunch table.
I find that buying a pre-made kit is just so much easier than the alternative. I love making gingerbread, but I’ve found that regular gingerbread recipes don’t produce sturdy-enough pieces to hold up as a house, and those graham cracker versions are just not right. They’re called gingerbread houses… they should be made of gingerbread!
Since we’ve been decorating these houses for over 10 years, I wanted to share some of the tips, tricks and decorating ideas I’ve found that help a lot. These kits are easy to put together, but they do require some attention up front to make sure they’re sturdy enough for decorating.
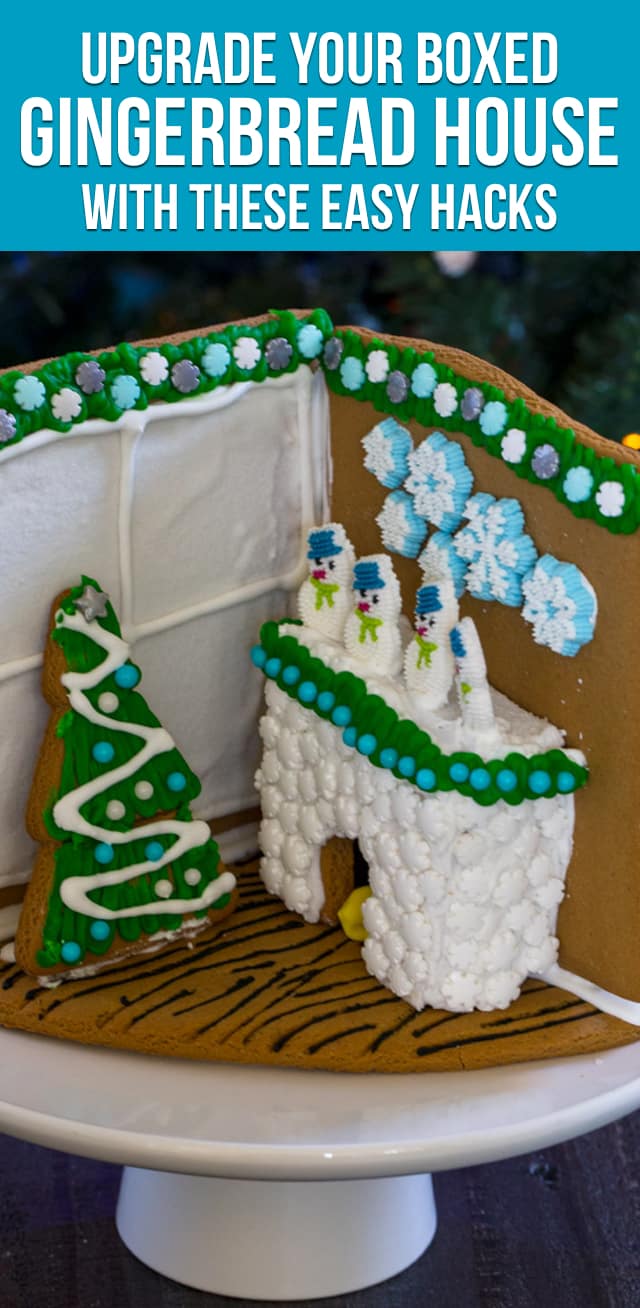
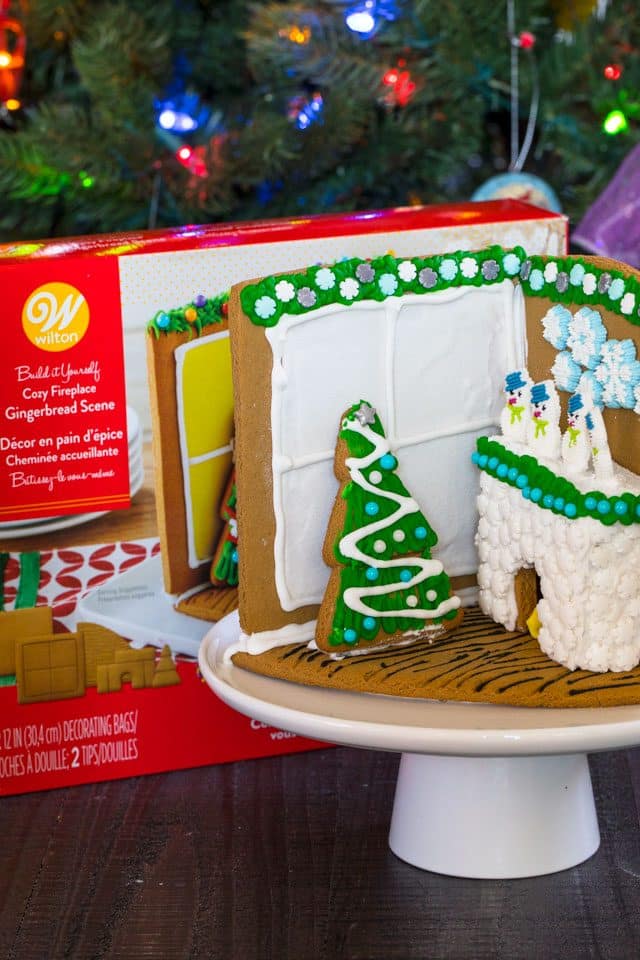
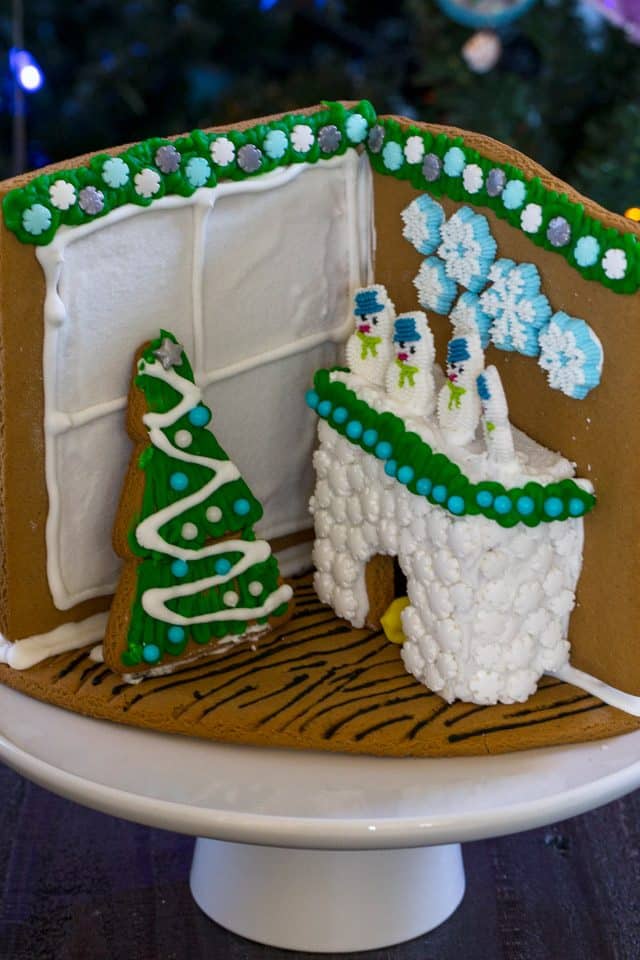
This year Wilton has some cute Gingerbread Scenes in addition to their traditional houses. I decorated the Cozy Fireplace Gingerbread Scene and it was so fun to put my decorating skills to use on someone else’s living room.
A gingerbread house kit is the perfect way to dress up a holiday table, and it’s easy to assemble with my simple hacks!
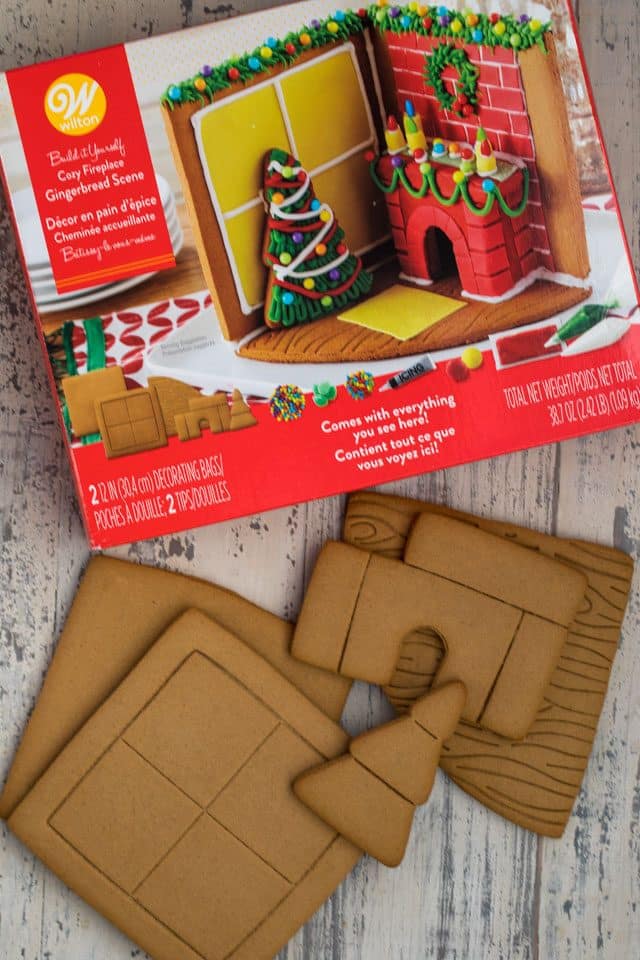
The first thing you should always do is open up your kit and make sure all the pieces are intact. If not, use the royal icing recipe below to glue pieces back together.
The kit comes with frosting, but I always make more. The frosting in the kit is very thick and does the assembly job perfectly but I prefer making my own icing. This kit comes with everything you need to make the scene, including different color frostings and fondants.
Okay, let’s talk about Gingerbread House Kit Hacks!
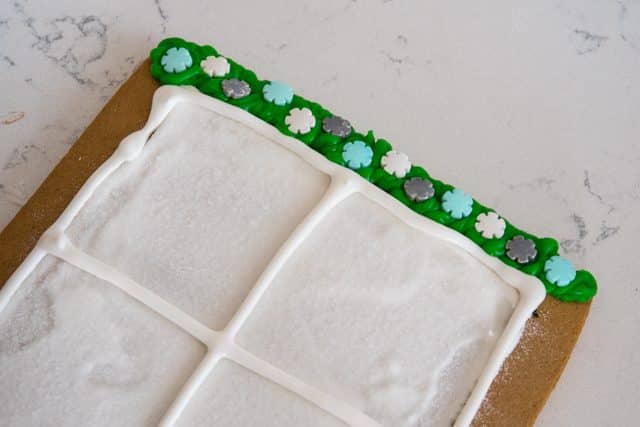
Decorate before you assemble.
If you’re making a Gingerbread Scene instead of a house, it’s important to do some of the decorating before you assemble it.
Don’t skip letting it dry.
I tend to want to rush and get it all done, but it’s so much better if you do it slowly.
Pick a color scheme.
I decided to decorate my scene using blue, silver and white. The inspiration came from our adopted family (the one who lost their home in Paradise, California). They’re slowly rebuilding their lives and her dad bought them a Christmas tree. She asked for blue, silver, and white decorations because they like to have a theme.
I loved that color scheme idea, so I went to the craft store and bought some Wilton sprinkles. They have lots of blue and silver for Christmas and winter.
Here are the sprinkles and candies I used:
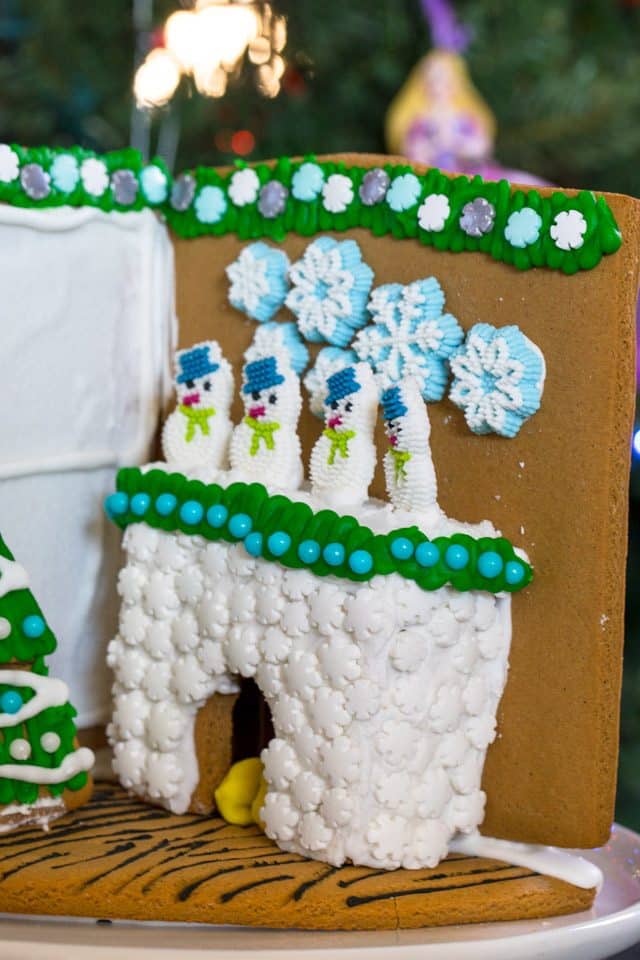
- Sugar Snowmen for the mantle decor.
- Sugar Snowflakes for the wall decor.
- Holiday sprinkle set for the garland, ornaments, and star on the tree.
- Snowflake sprinkles from the Wilton holiday set for the tiles on the fireplace.
- Meringue powder to make the royal icing (see below).
Make your own royal icing.
Royal icing is super easy to make, especially with Wilton. Traditionally, it uses egg whites, but if that freaks you out, you can do it the easy way – like I do – using Wilton Meringue Powder. It’s an egg white substitute that creates a simple royal icing without any hassle (See the Wilton recipe below.)
Use sprinkles to create fun decor!
Sprinkles are my happy place; I have an entire drawer full of different styles and colors. I always pull them out for gingerbread house decorating.
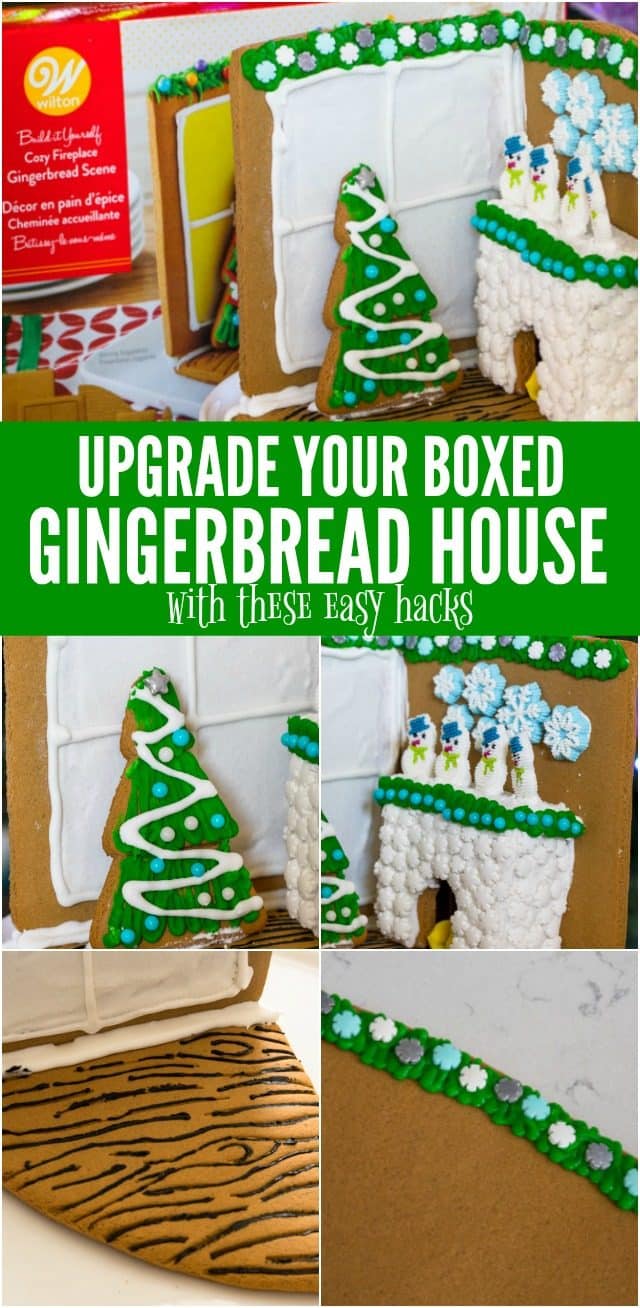
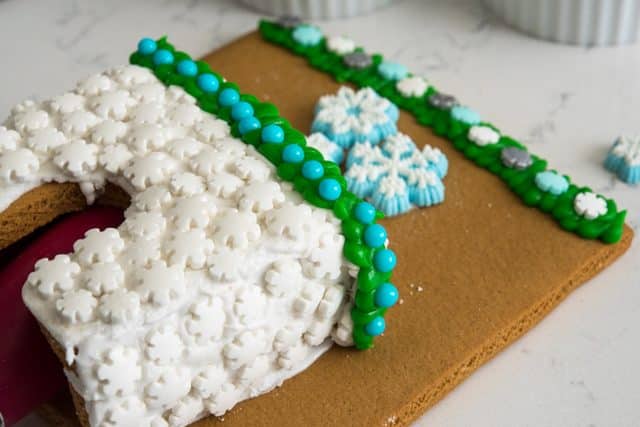
I used snowflake sprinkles to create brickwork on the fireplace and blue pearls to create a lighted garland on the mantle.
Snowflake sprinkles in the color theme also became a ceiling garland.
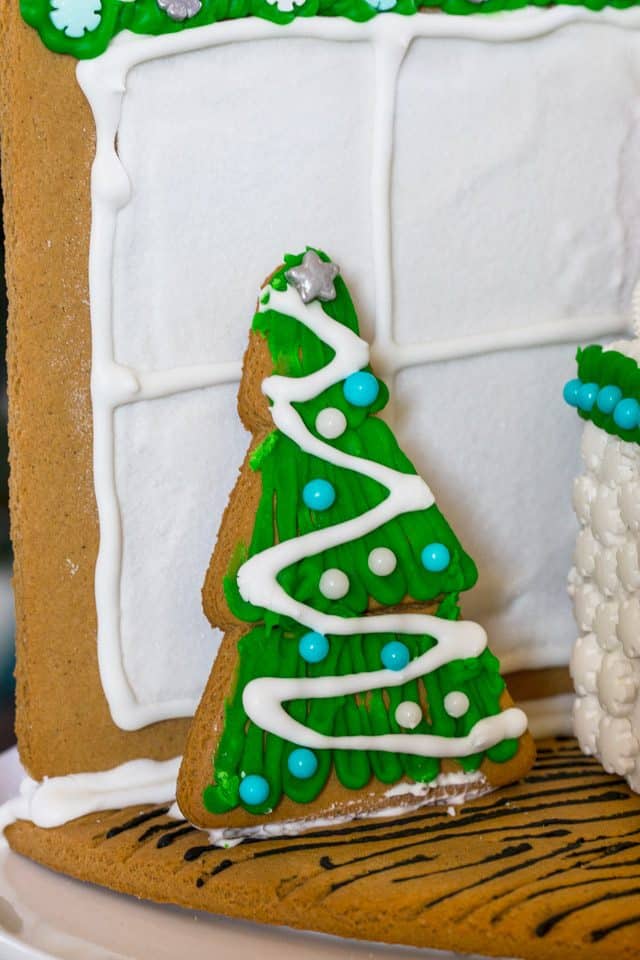
The blue and white pearls also became ornaments on the tree, with a silver star sprinkle as the tree topper.
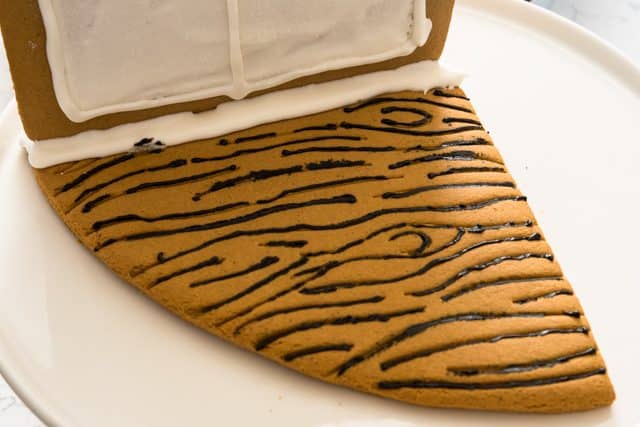
The kit came with a black icing tube, and I used it to create a faux wood grain on the floor of the cozy scene.
To assemble the house, use the insert that comes with the scene, or use a cake stand like I did. Go slowly; you’ll need to attach it in pieces and let it harden. The most important hack:
Have patience!
If you don’t wait long enough to assemble your gingerbread house it will fall apart. Let it dry!
Sugar cake decorations make fun gingerbread house decorations too!
I used sugar snowmen and sugar snowflakes, both Wilton cake decorations, to create a scene on the mantle and wall. I want to shop where this family does because that wall hanging and those decorative snowmen are super cute.
Find more decorating ideas from Wilton. What tips and tricks do you use when decorating gingerbread houses? Share in the comments!
Want even more? Subscribe to Crazy for Crust to get new recipes and a newsletter delivered to your inbox. And stay in touch on Facebook, Pinterest, Twitter, and Instagram for all my latest updates.

Eggless Royal Icing
Ingredients
- 3 tablespoons Wilton Meringue Powder
- 4 cups powdered sugar
- 5 tablespoons water plus more as needed
- Food coloring, optional
Instructions
- Place meringue powder, powdered sugar, and 5 tablespoons water in the bowl of an electric mixer. Beat at medium speed until icing forms peaks and loses its glossy sheen, about 7-10 minutes.
- Add a teeny bit of water as needed for thinner frosting.
- Keep frosting covered with a damp towel. This stuff dries fast and hard!
Recipe Nutrition
**Did you make this recipe? Don’t forget to give it a star rating below!**
Cutout Sugar Cookies would be great with royal icing too.
