This post may contain affiliate links. For more information, read my disclosure policy.
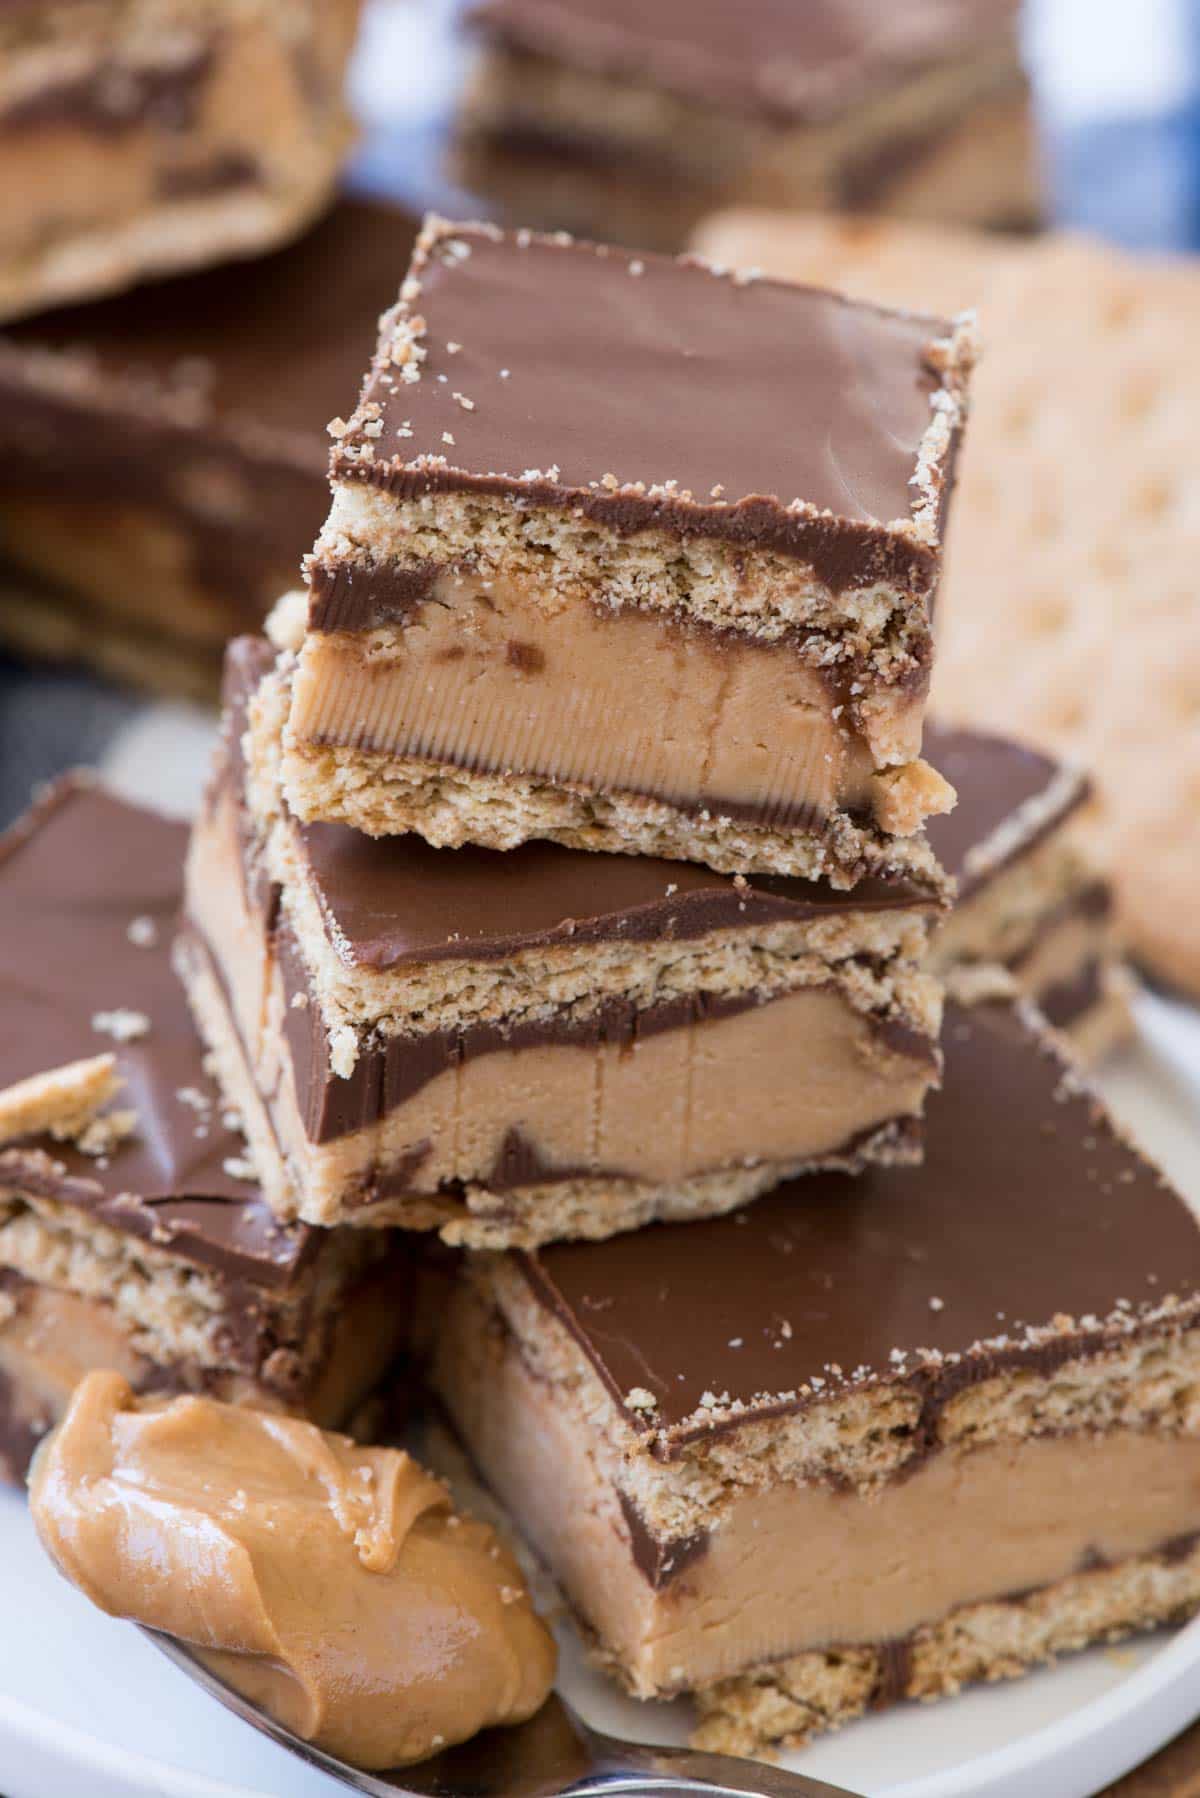
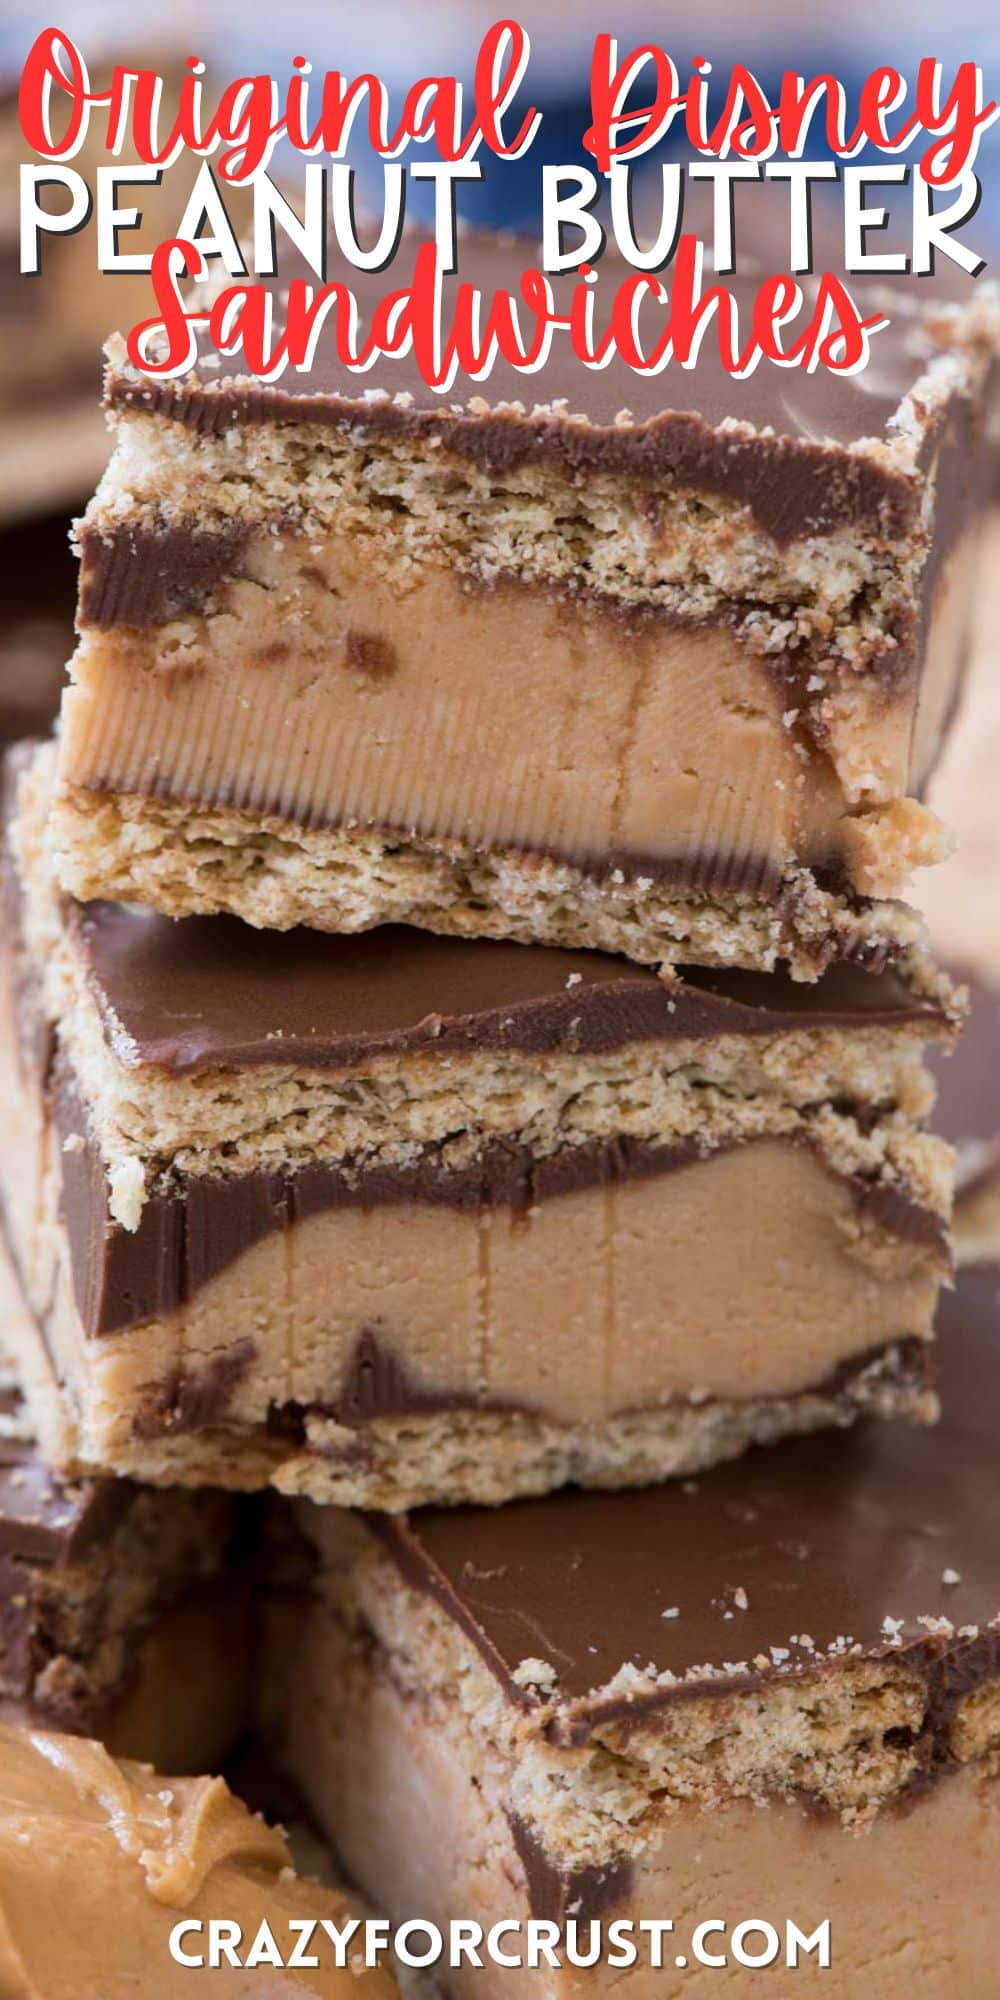
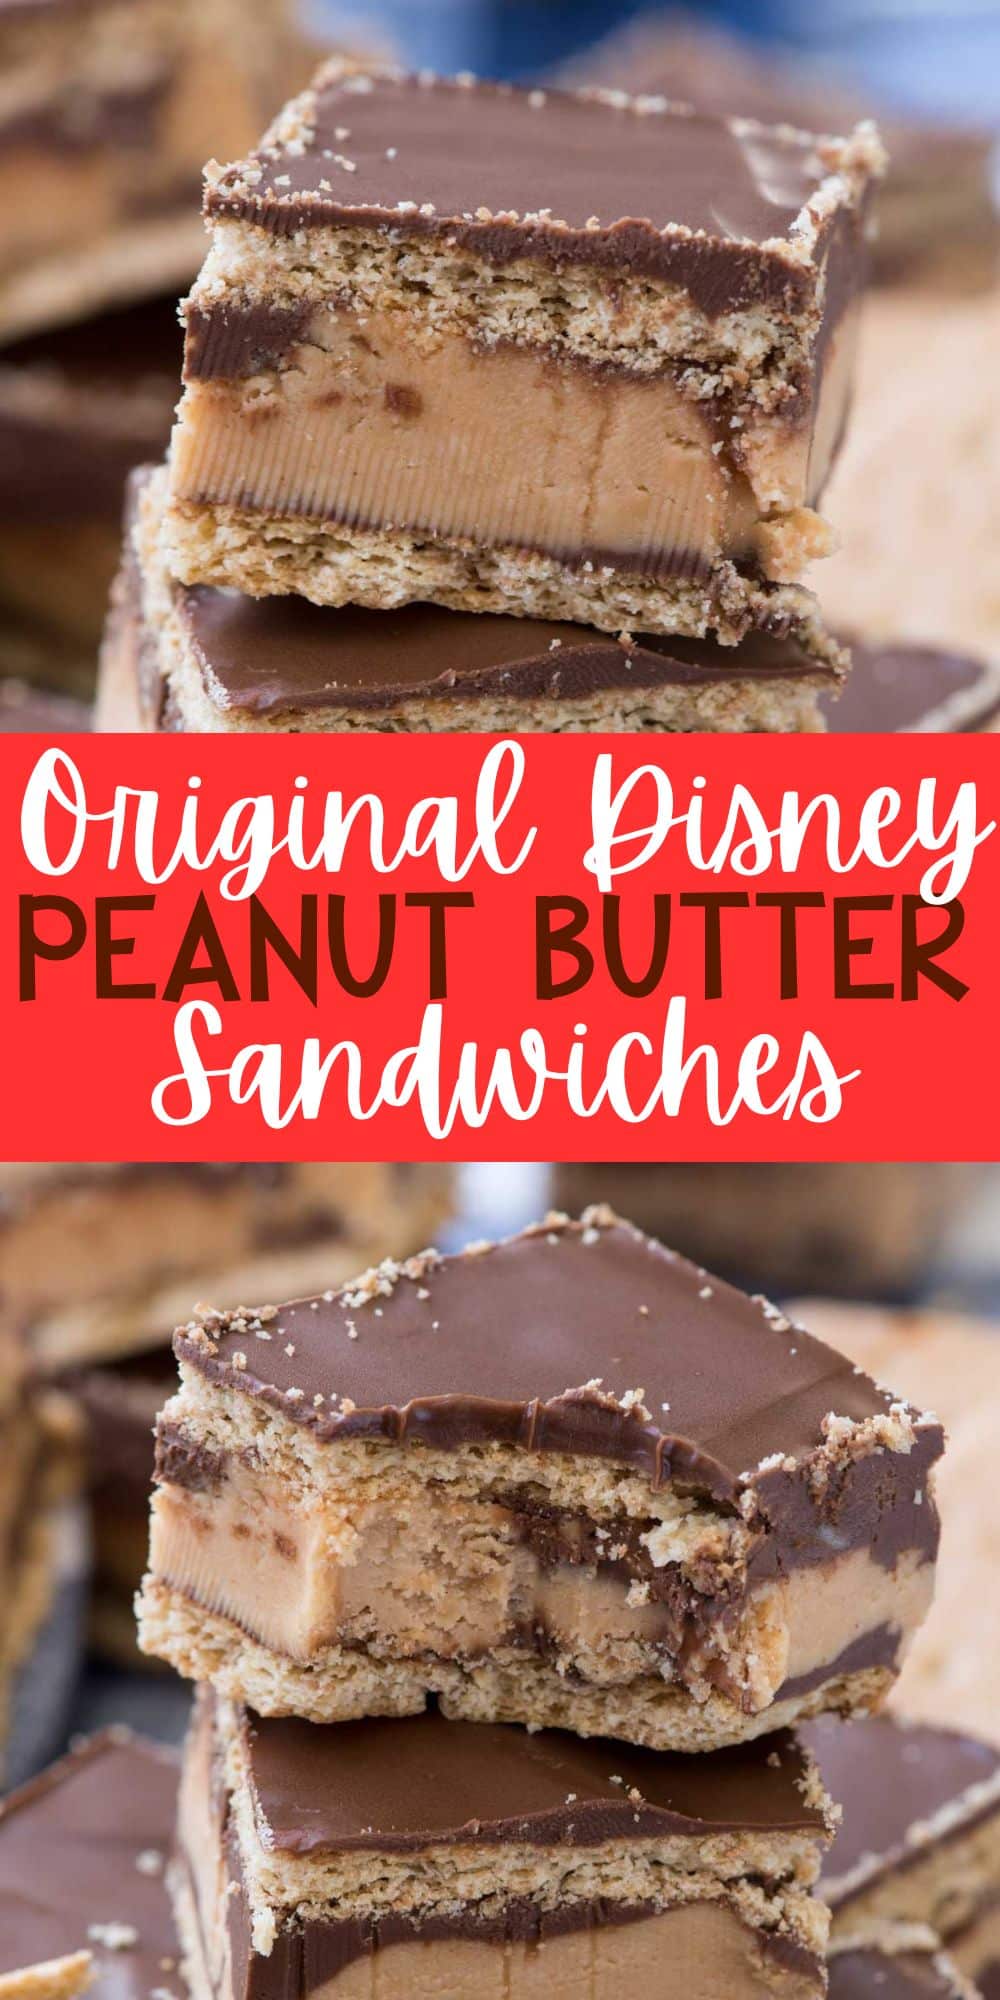
Love the old school Disneyland Peanut Butter Sandwich Bars? This is a copycat recipe – of the OLD one with graham crackers. If you’re missing that thick peanut butter layer sandwiched between graham crackers and coated with lots of rich chocolate you MUST make these!
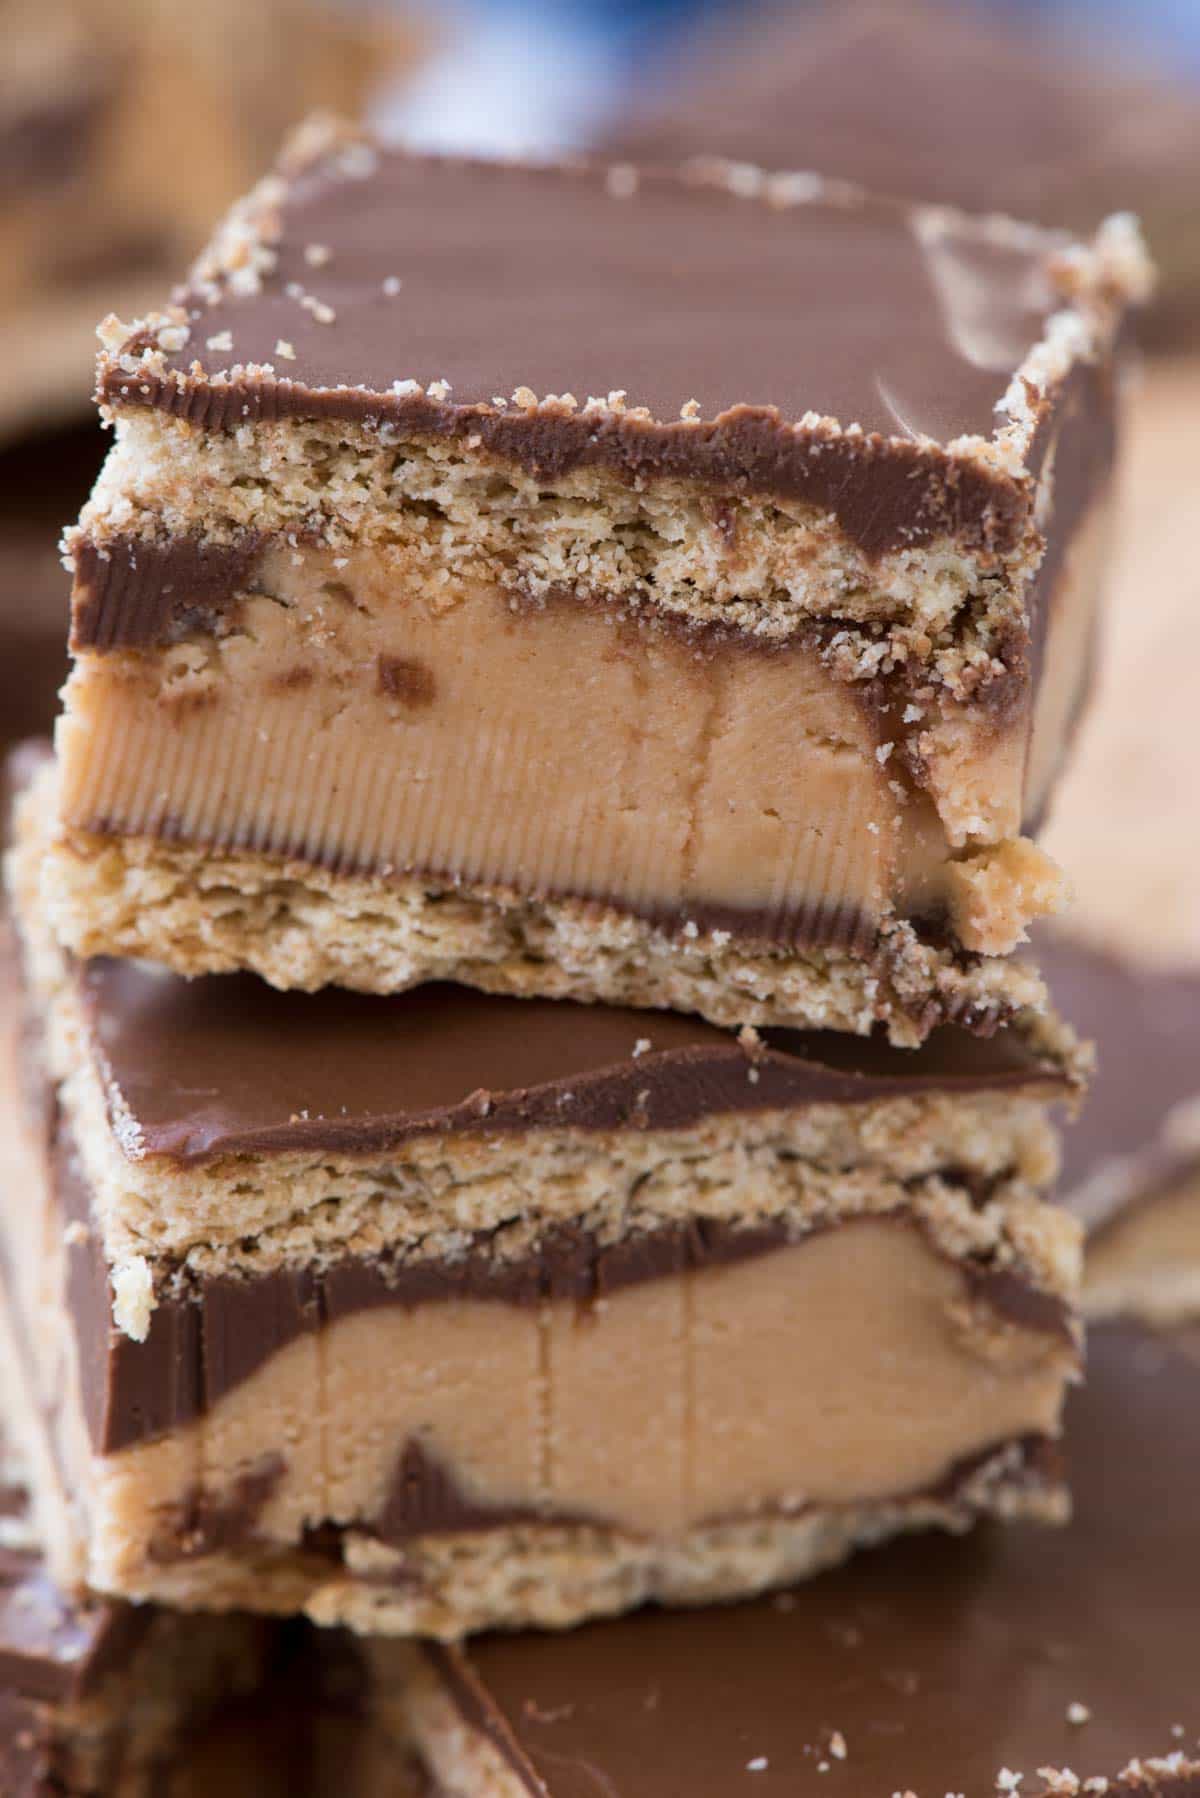
What is a Disneyland Peanut Butter Sandwich?
A few years ago Disneyland changed their peanut butter sandwich recipe so now you can make this copycat recipe at home for whenever you’re craving the old candies!
Although this is a Disney copycat recipe, it does not taste exactly like their peanut butter bars: they’re even better. They’re even easier to make than the original peanut butter sandwich because they’re bars – no dipping needed!
It’s a giant peanut butter sandwich that’s layered with graham crackers and coated in chocolate. In other words, heaven. These no-bake peanut butter bars are actually perfect. They easily come together and are magically delicious.
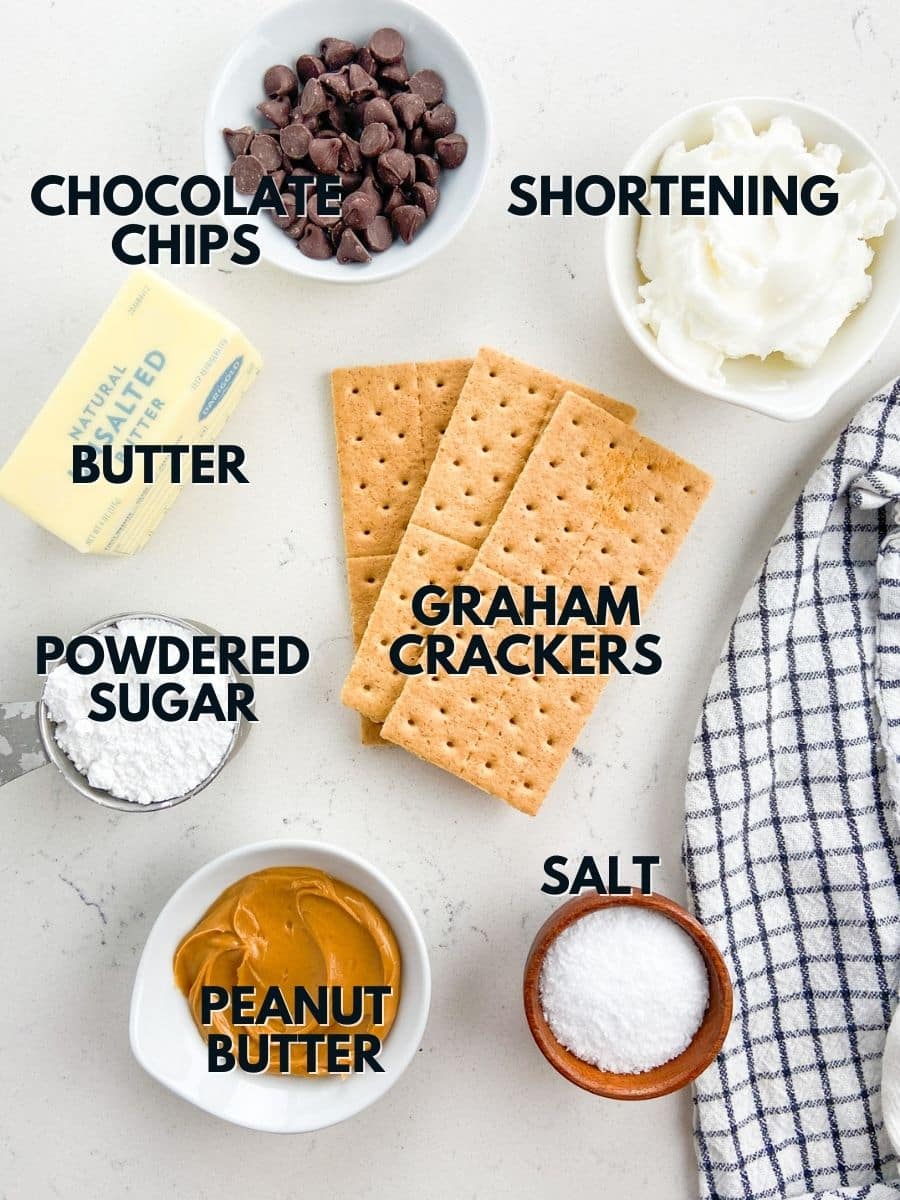
Ingredients Needed
- Peanut butter: It’s much easier (and less messy) to use creamy peanut butter that’s no-stir.
- Butter: at room temperature so we can easily mix it in with our ingredients
- Powdered sugar: I’m using powdered sugar instead of regular because when we mix our ingredients together, it’ll create a crumbly texture.
- Graham crackers: I’m using 4 full graham cracker sheets. Use any brand of graham crackers you like.
- Chocolate chips: we’ll coat this over the layered dessert to coat it like the old school recipe (or kind of like peanut butter bars).
- Shortening: I highly encourage you to add shortening if you can because it helps bring this peanut butter bar together. If you don’t have this ingredient, then you could use vegetable oil.
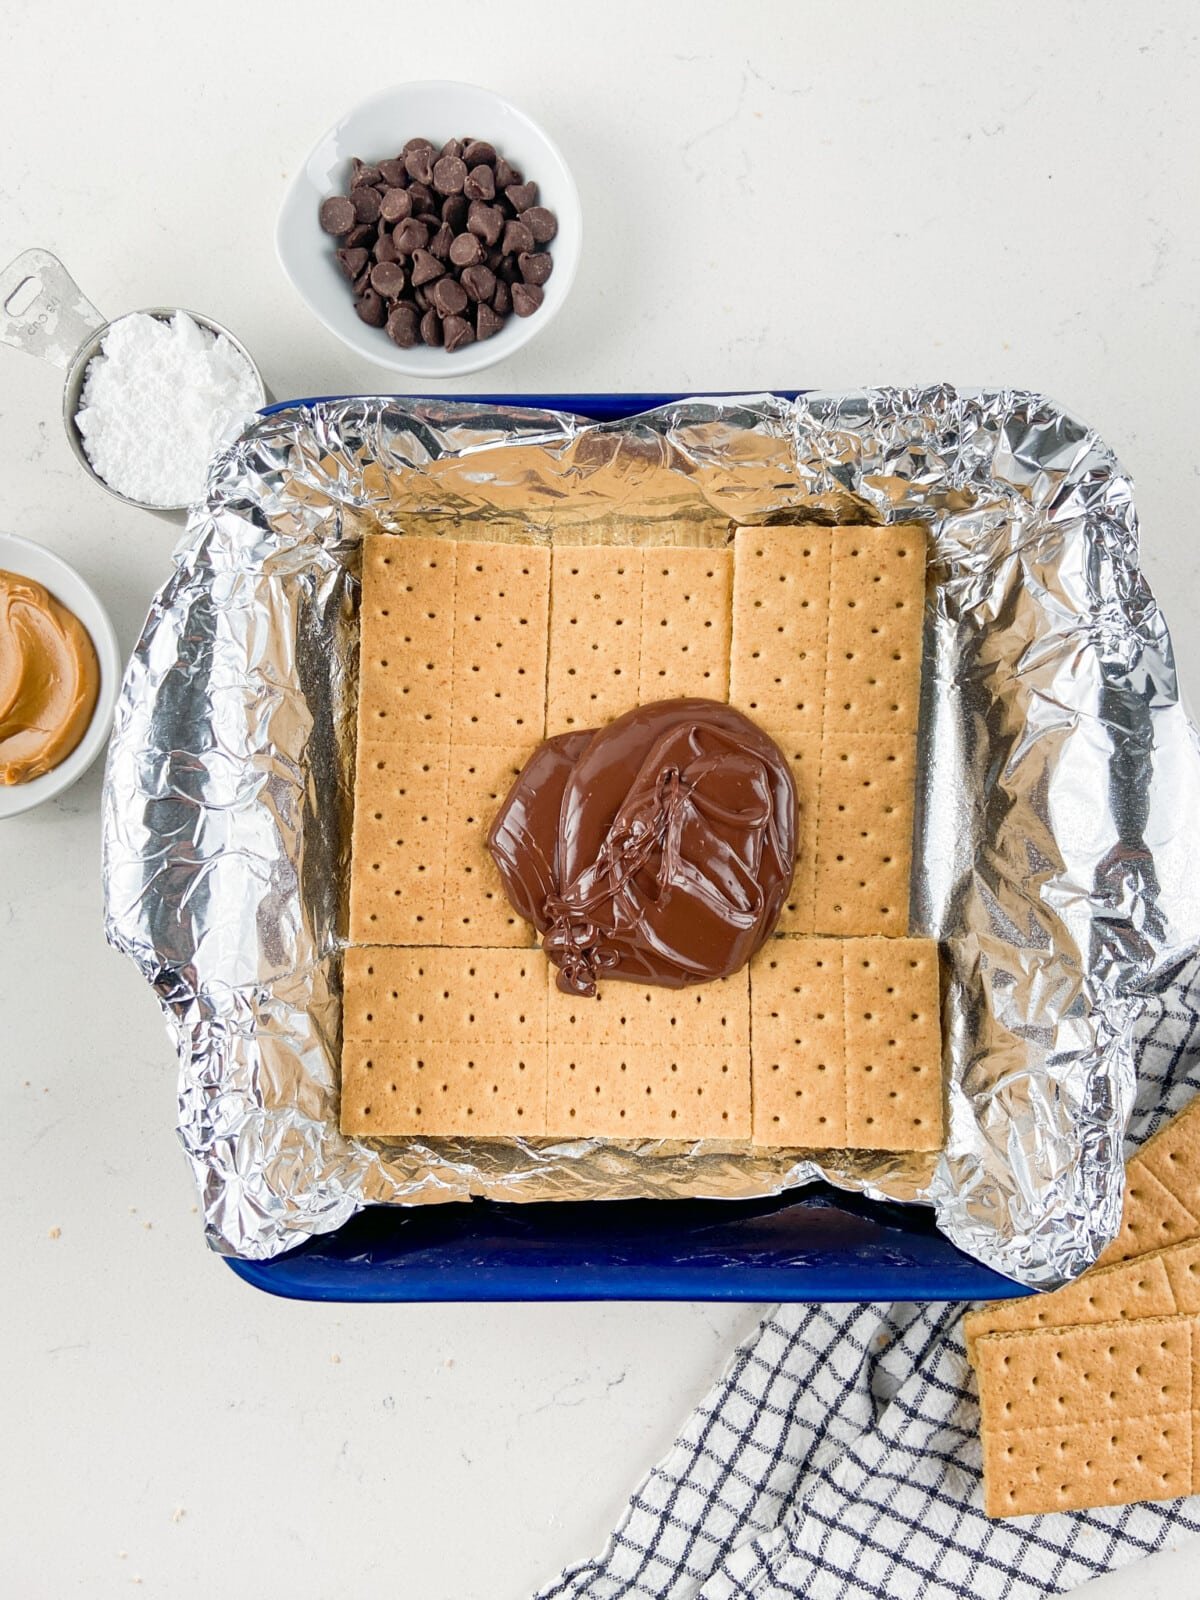
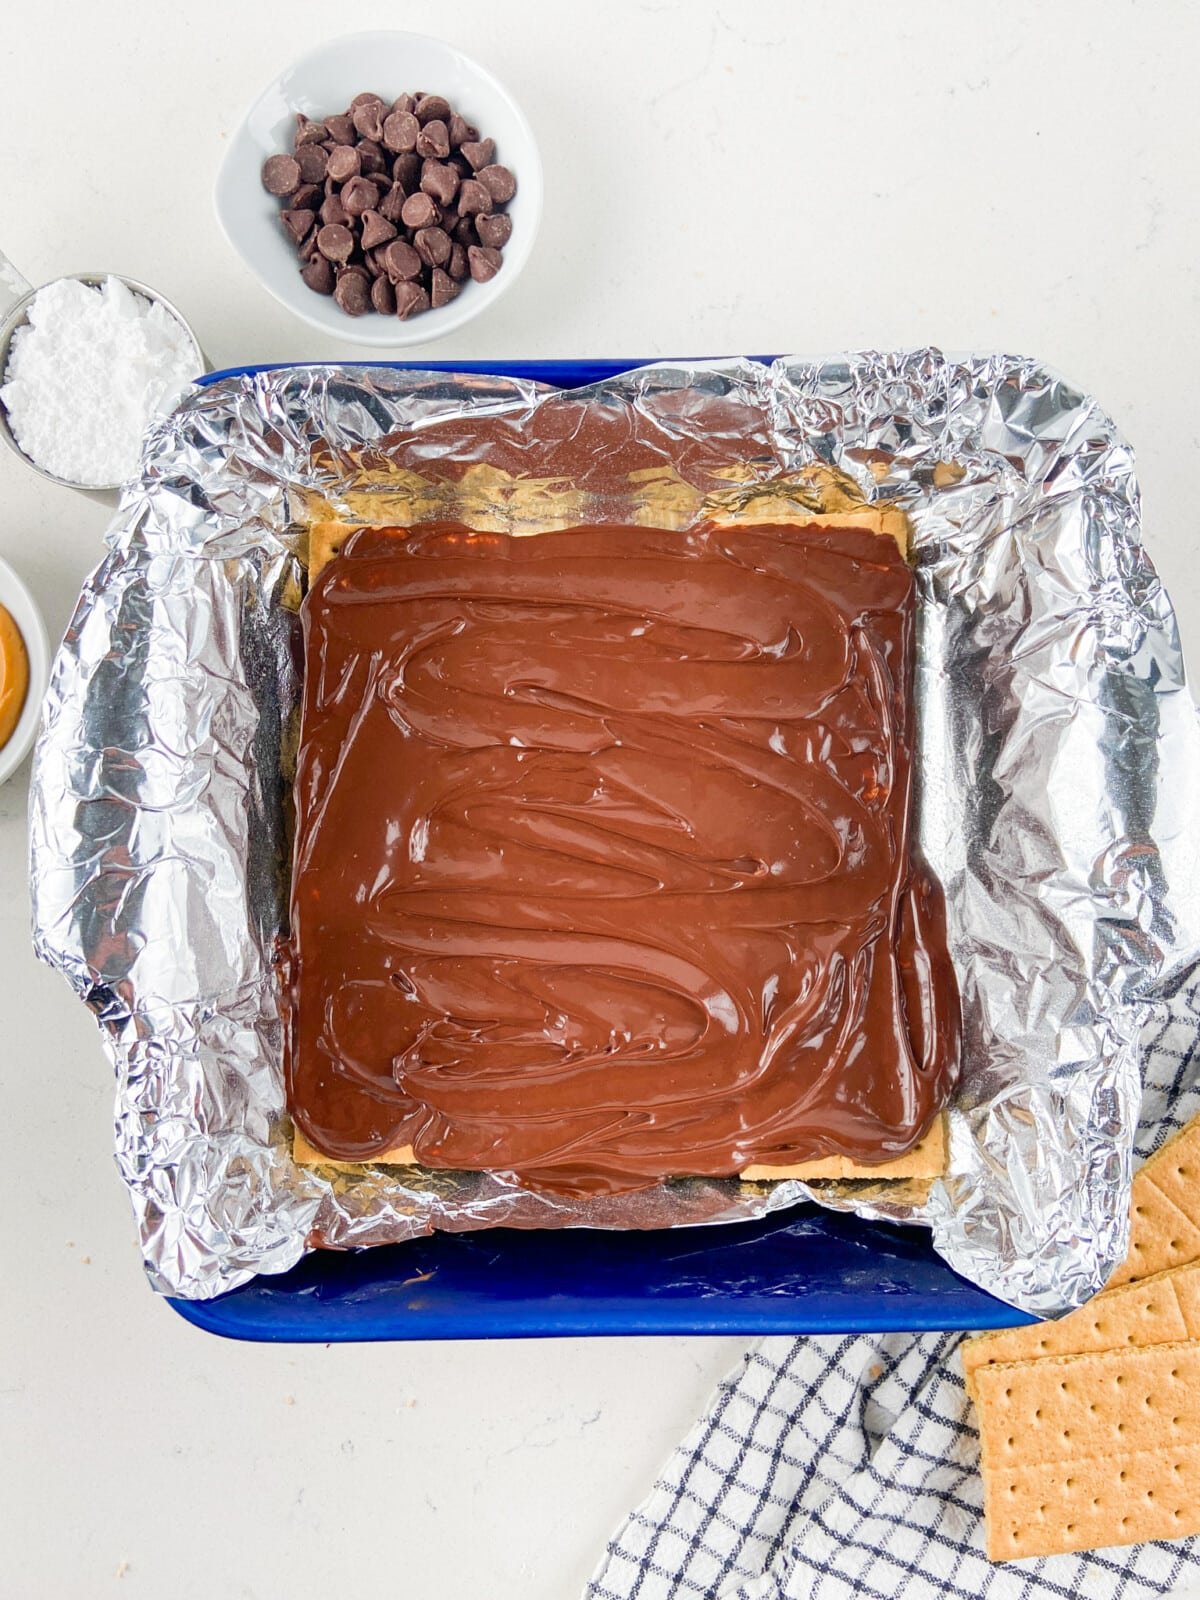
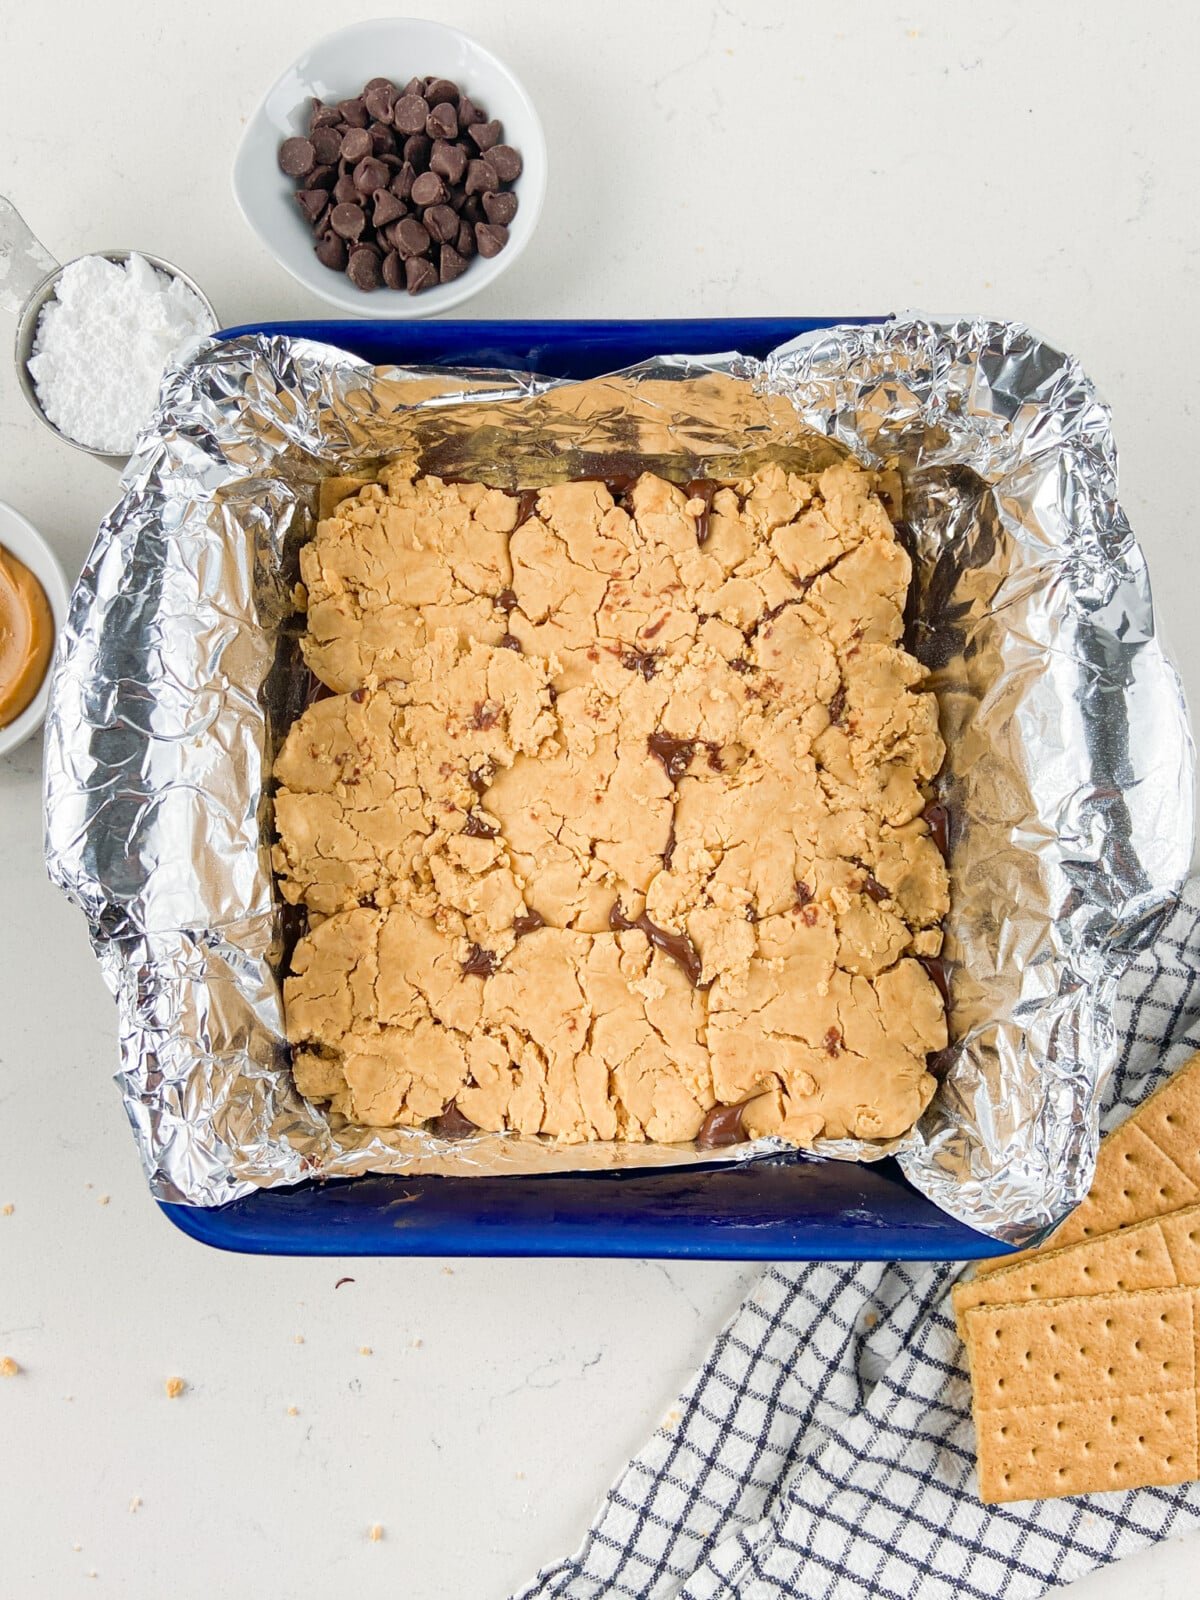
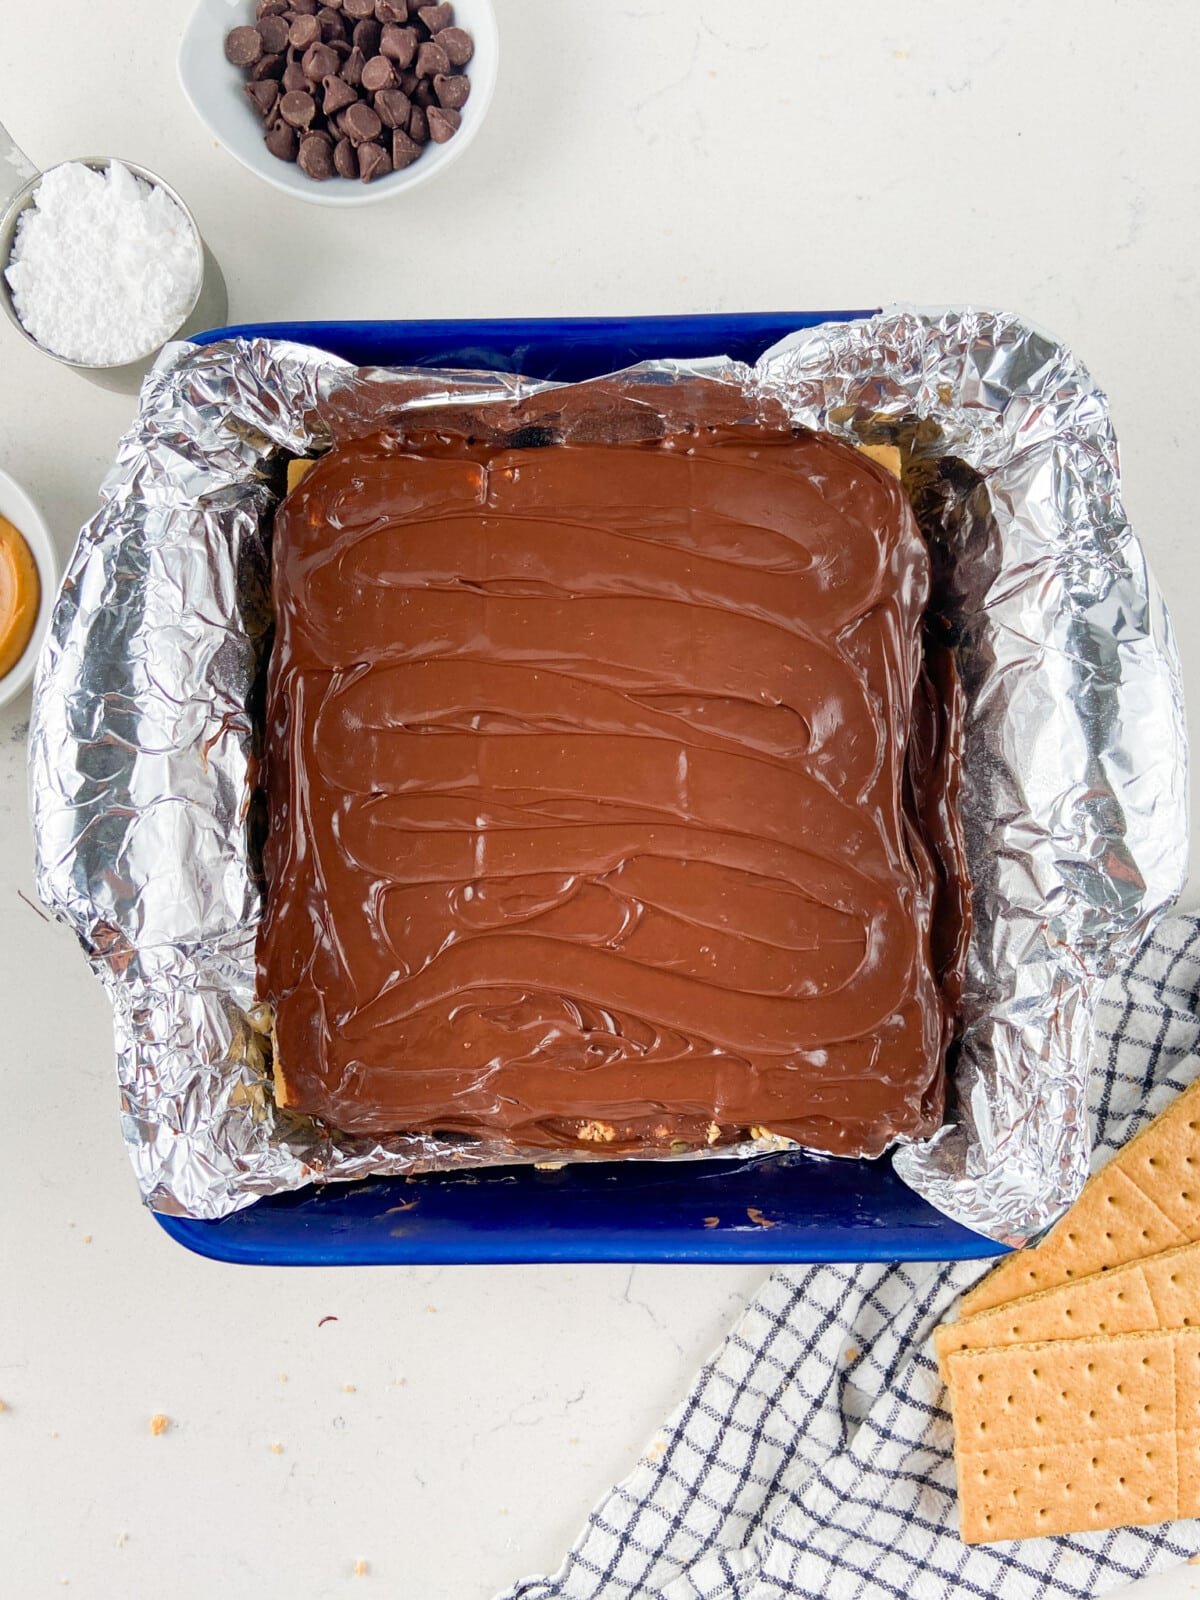
How to make Copycat Peanut Butter Sandwiches
- Line a 9×9″ square pan with foil or parchment paper and spray with nonstick cooking spray.
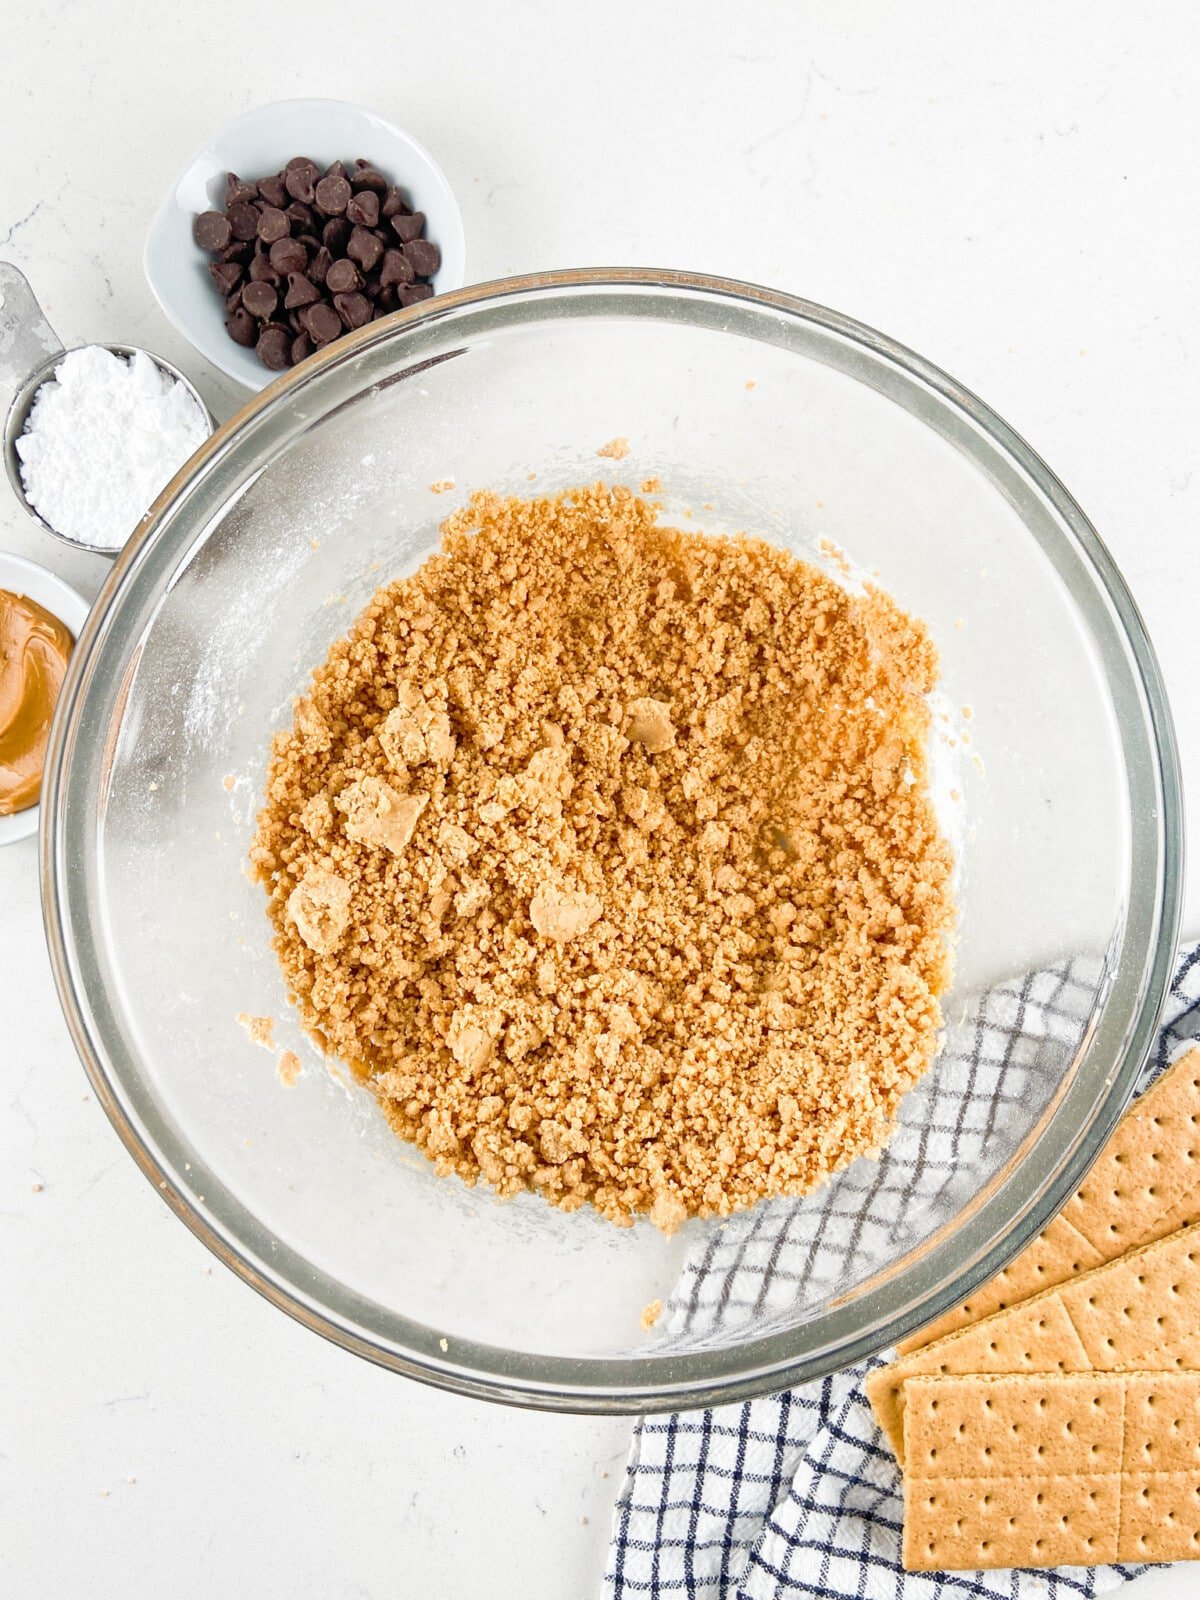
- Beat together peanut butter, butter, salt, and powdered sugar with a hand mixer until smooth.
- Test the mixture – it should be crumbly and not sticky. You should be able to form a ball easily without falling apart. If your peanut butter mixture is sticky, just add up to 1/2 cup more powdered sugar.
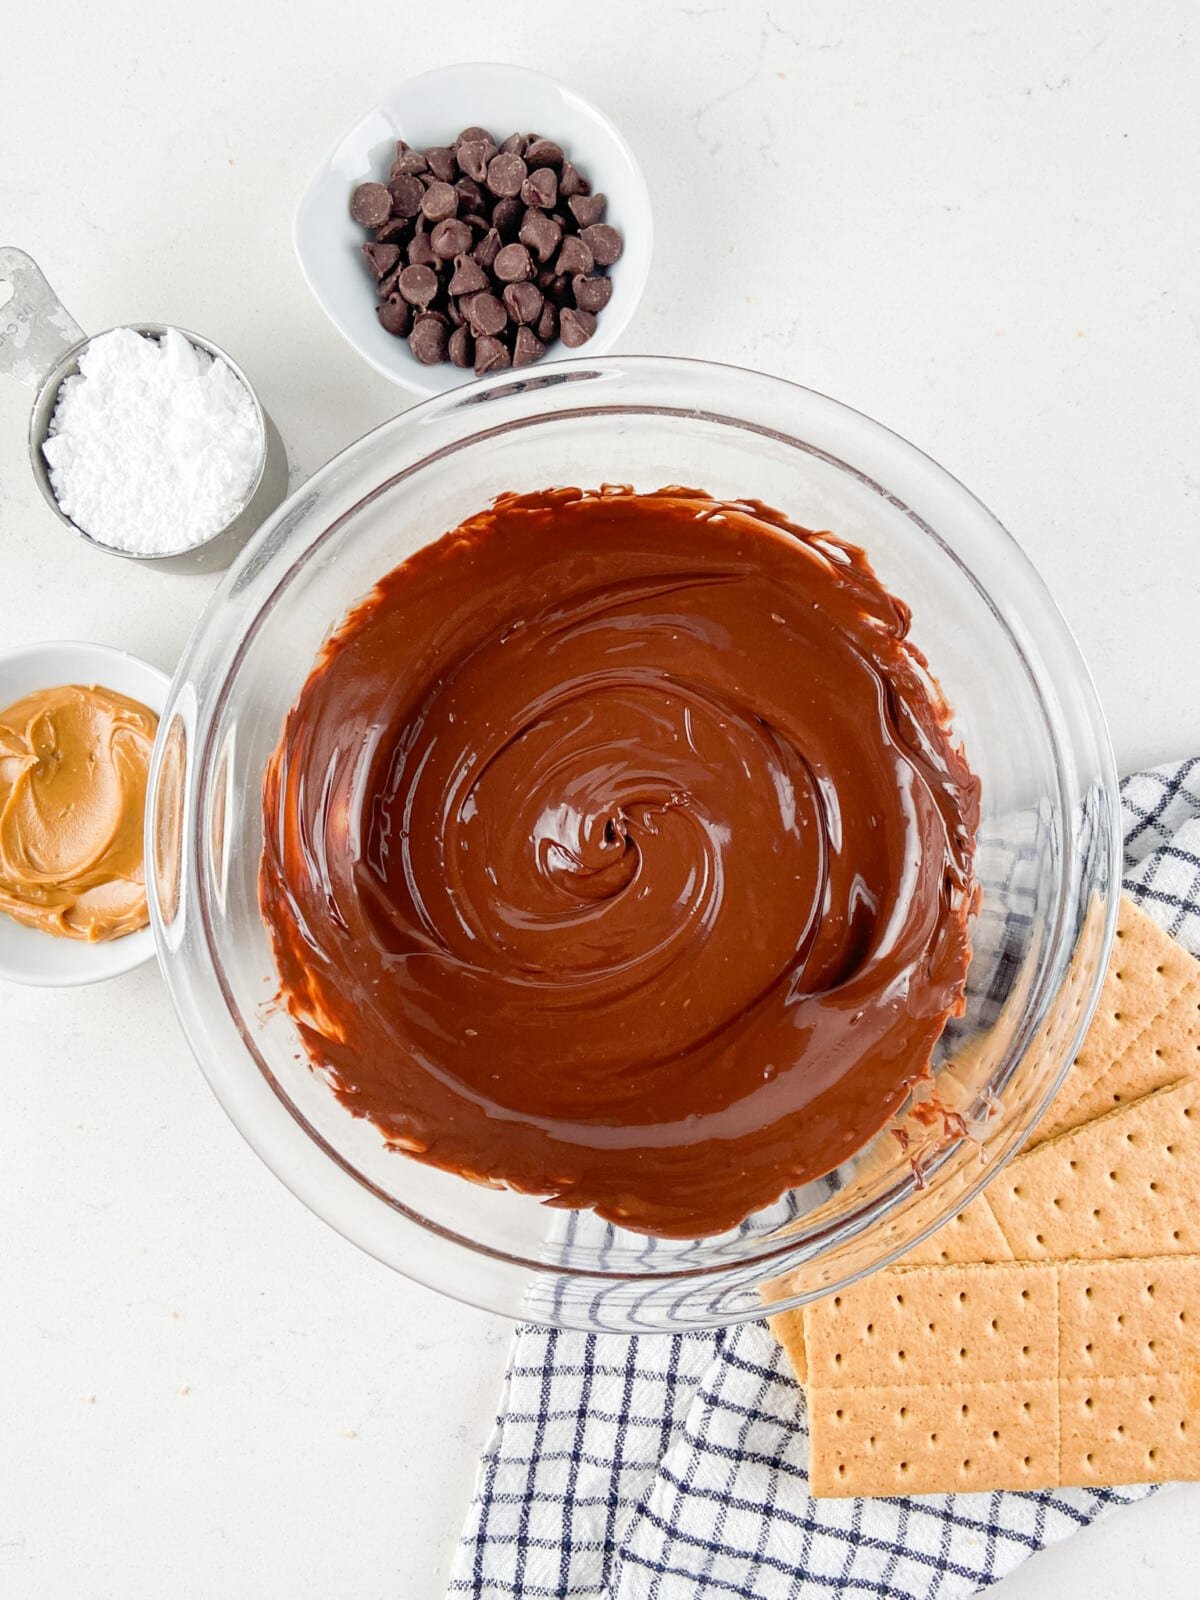
- Heat chocolate chips and shortening in a microwave-safe bowl. Heat in 30-second increments, stirring between each, until melted and smooth.
- Spread melted chocolate over half the graham crackers on the bottom of the prepared pan in a single layer.
- Scoop out balls of the peanut butter mixture, flatten them between your hands, and place them evenly over the chocolate. Smooth out carefully with your fingers so it’s as even as possible.
- Spread another of the chocolate mixture over the top of the peanut butter, then layer with another layer of graham crackers. Spread the rest of the remaining chocolate over the top.
- Chill to set, for at least 1 hour.
- Slice into bars.
Expert Tips
- It’s much easier to cut these if you line the pan with foil or parchment paper for easy removal. Just don’t forget the nonstick cooking spray.
- Since these peanut butter bars are covered in chocolate, I suggest cutting them into squares and storing them in an airtight container in the refrigerator. It’s much easier this way instead of cutting one piece at a time.
- Use crunchy peanut butter for a crunchy peanut butter sandwich bar!
- These taste best at room temperature or a bit cooler, but if you leave them out too long they’ll melt (especially in summer). Store them in the refrigerator!
FAQs
Yes! I do prefer melting the chocolate and layering instead for a less messy process but you absolutely can dip.
Store in the refrigerator inside an airtight container.
Yes, you can. In an airtight container or a sealed ziplock bag, freeze your Peanut Butter Sandwiches for up to 1 month.
Disneyland Peanut Butter Sandwich Bars
Recipe Video
Ingredients
- ¾ cup (200g) creamy peanut butter
- 4 tablespoons (57g) unsalted butter softened
- ¼ teaspoon salt
- 1 ½ – 2 cups (160-226g) powdered sugar
- 10-12 graham cracker sheets
- 2 cups (340g) chocolate chips
- 3 tablespoons shortening
Instructions
- Line a 9×9″ square pan with foil or parchment paper and spray with nonstick cooking spray.
- Beat together peanut butter, butter, salt, and 1 ½ cups (160g) of powdered sugar with a hand mixer until smooth. The mixture will be crumbly. Test the mixture – it should not be sticky and should form a ball easily without falling apart. If needed, add up to ½ cup (57g) more powdered sugar. (I used 1 ¾ total cups (203g).)
- Place chocolate chips and shortening in a microwave safe bowl. Heat in 30 second increments, stirring between each, until melted and smooth.
- Place half the graham crackers on the bottom of the prepared pan in a single layer. Spread ⅓ of the melted chocolate (113g) over the top. Scoop out balls of the peanut butter mixture, flatten between your hands and place evenly over the chocolate. Smooth out carefully with your fingers so it's as even as possible.
- Spread another ⅓ of the chocolate mixture (113g) over the top of the peanut butter, then layer with another layer of graham crackers. Spread the rest of the remaining chocolate over the top.
- Chill to set, at least 1 hour. Slice into bars. Store in refrigerator.


These did not turn out. The middle was dry. The flavors were good but the middle was not creamy at all. Are the ingredient amounts correct for the pb mixture. I used 3/4 c pb and 4 T butter. And almost 2 cups of powdered sugar. I felt like it need a little liquid or something. Was there an ingredient left out of the list? I want to try these again.
No that should have worked just fine – the measurements are correct. Can I ask what kind of peanut butter and brand you used?
Do you use semi sweet or milk chocolate chips for this?
You can use either one you like.
Love the taste, made them a few times, but they crumble, not easy to cut . Any ideas?
I pull the whole batch out of the pan using the foil, then they seem pretty easy to cut with a butcher knife, an entire row at a time, not cutting off an individual piece. I hope this makes sense.
Yes with things like this that are covered in chocolate I suggest cutting into squares and storing in an airtight container instead of cutting one piece at a time. It’s much easier that way.
They were yummy, only problem was very crumbly due to the graham crackers. They didnt cut well. Will have to tweak that.
My sons wanted to make this so I let them. FIRST OFF, my son brought the wrong kind of peanut butter as our regular one was sold out. He brought natural, it was SOOOO oily & after mixing, it was like syrup, I had about 1/3 cup of Jif so I used the “peanut butter oil”. Though it worked out, I can’t wait to make them again with Jif. They followed the directions until they came to the topping…they made an EXTRA thick coating. They are a hit! Later today, I am making those cute yummy looking cheesecake carrot cake cupcakes for dessert for Easter!
Featured In
Rate This Recipe
Recipe Ratings without Comment