This post may contain affiliate links. For more information, read my disclosure policy.
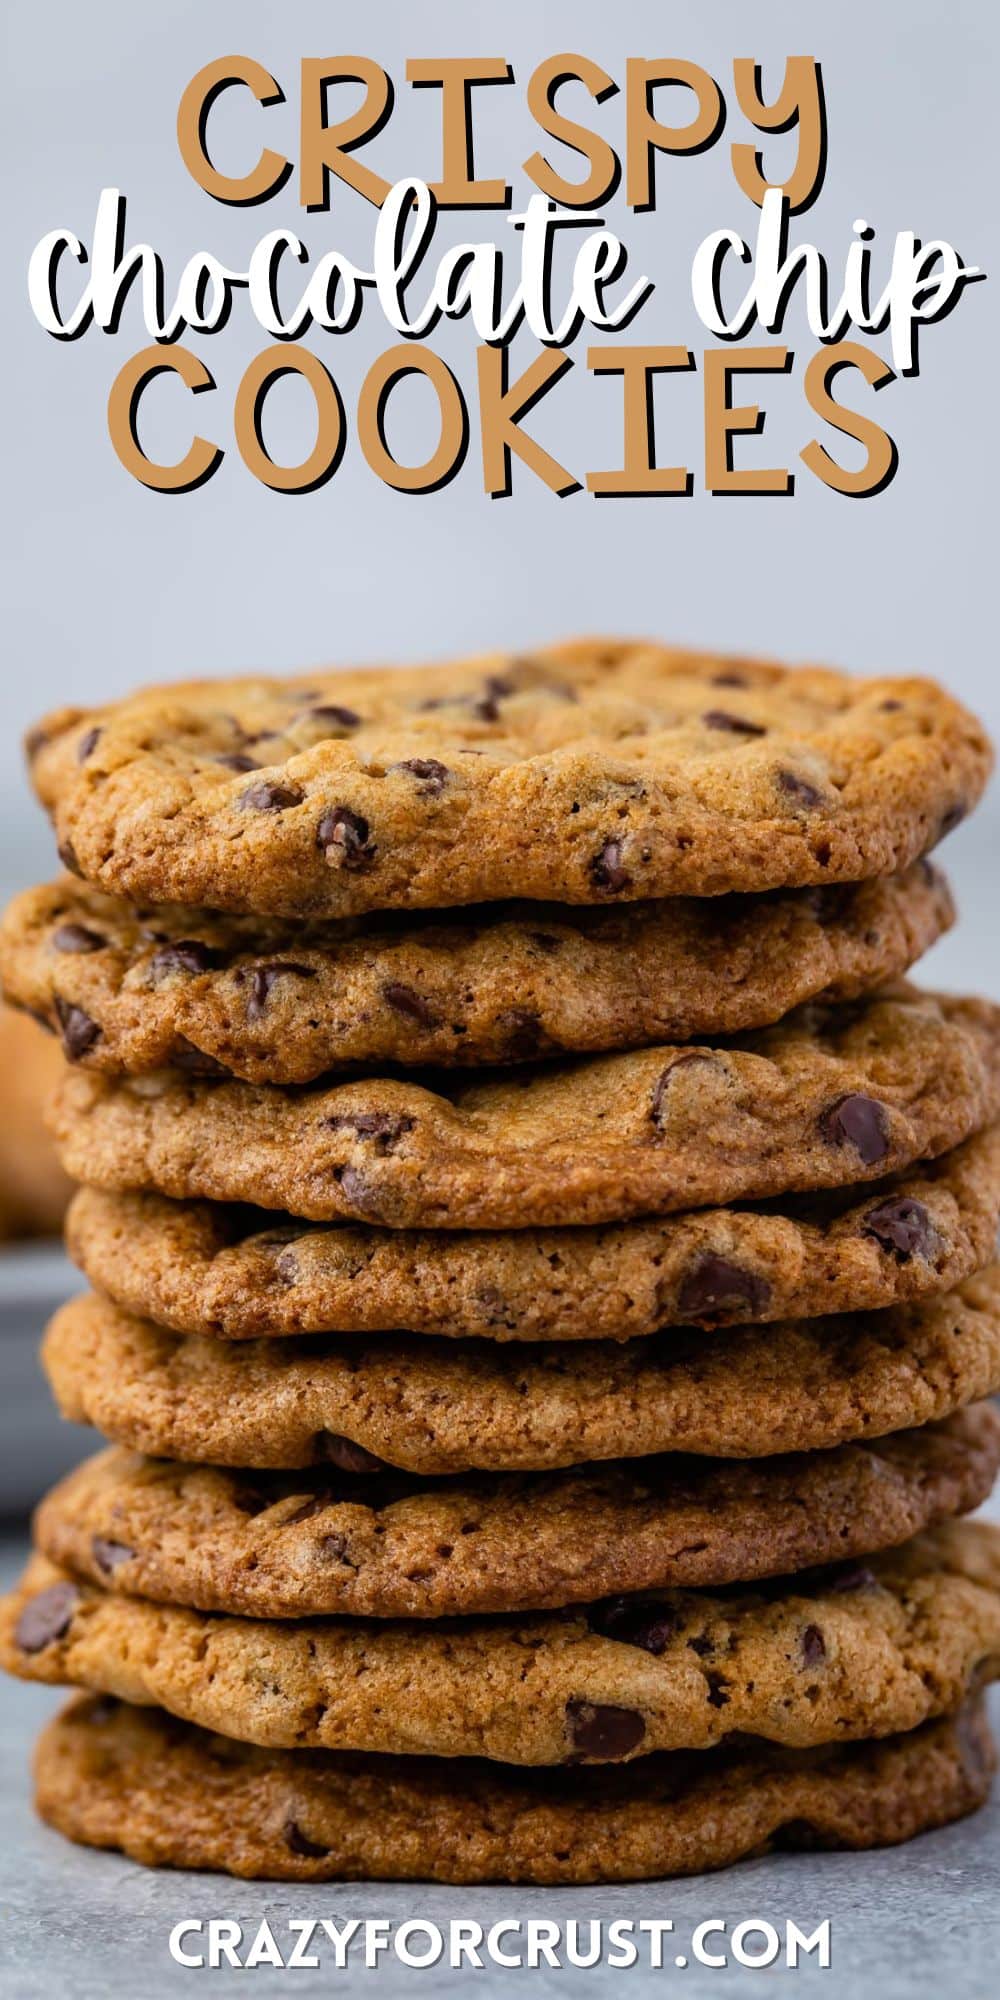
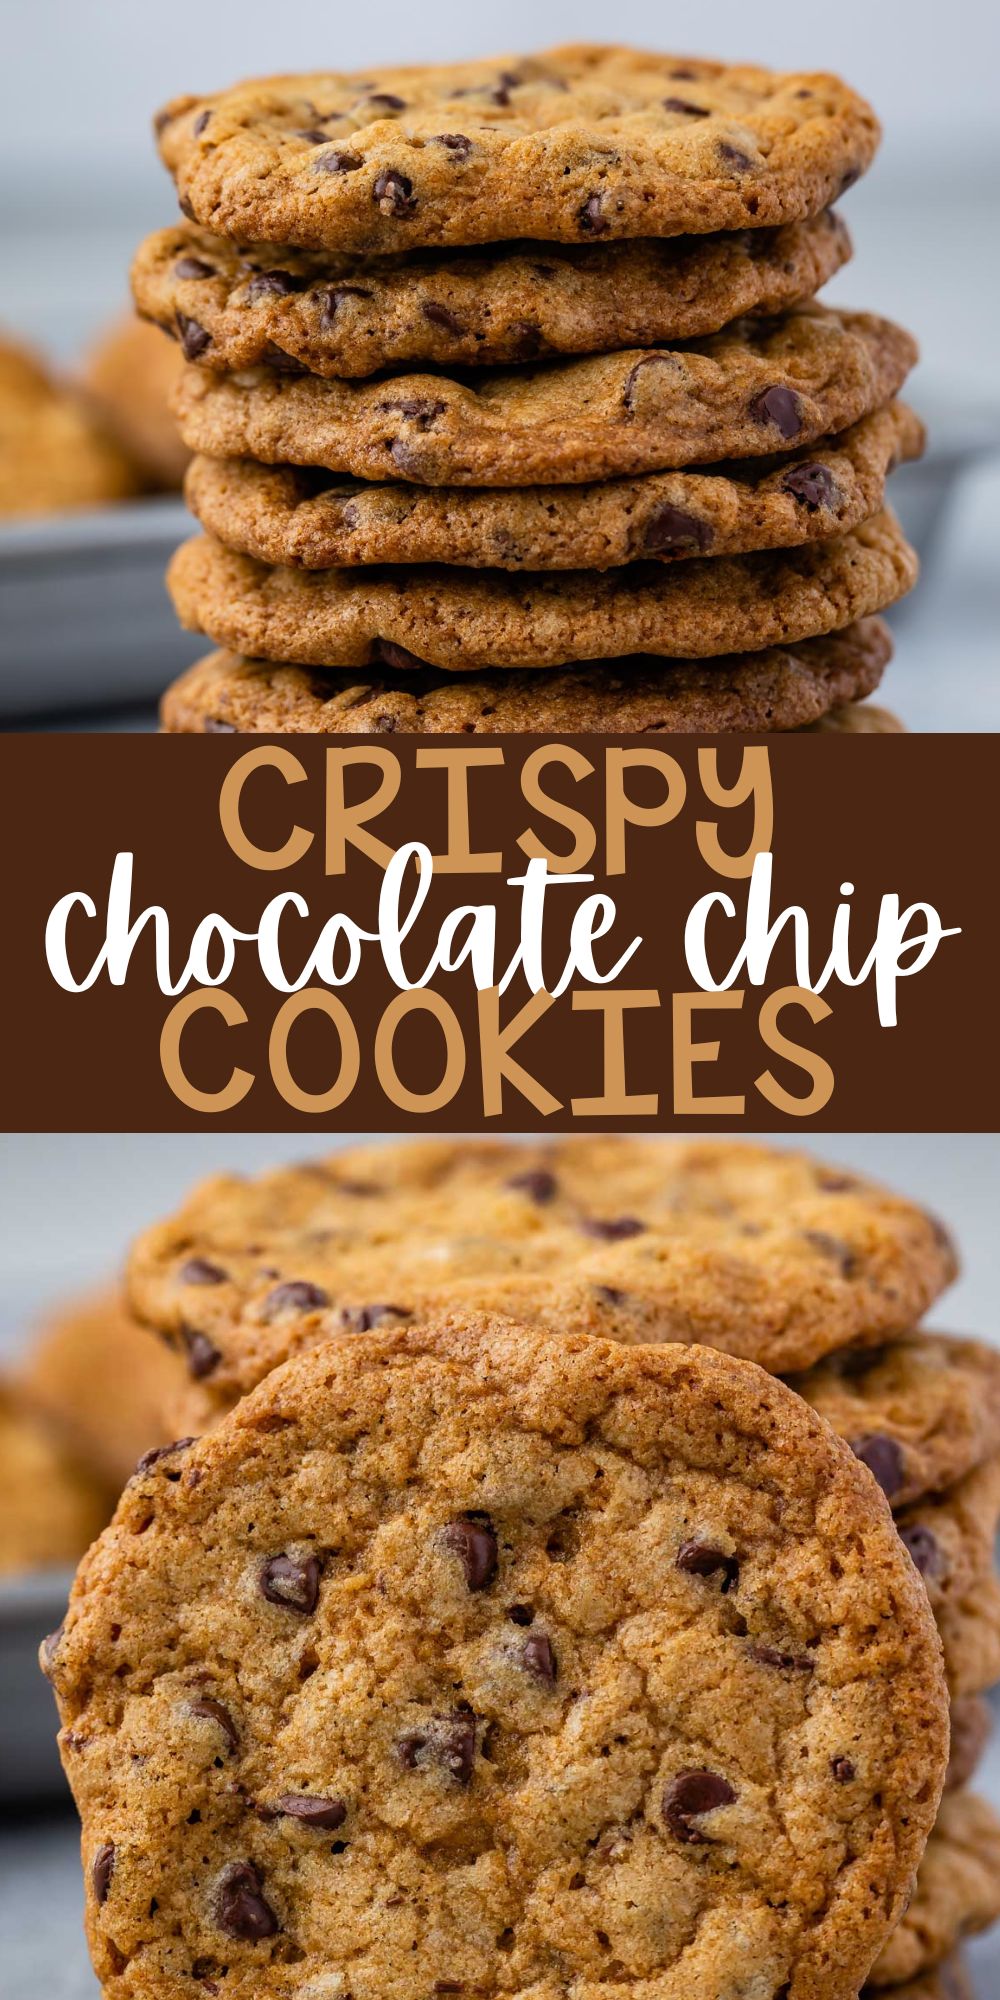
This is the best crispy chocolate chip cookie recipe. After multiple attempts and countless batches of cookies, I’ve finally found the winning combination for the ultimate, crunchy chocolate chip cookie and you’re going to LOVE them!
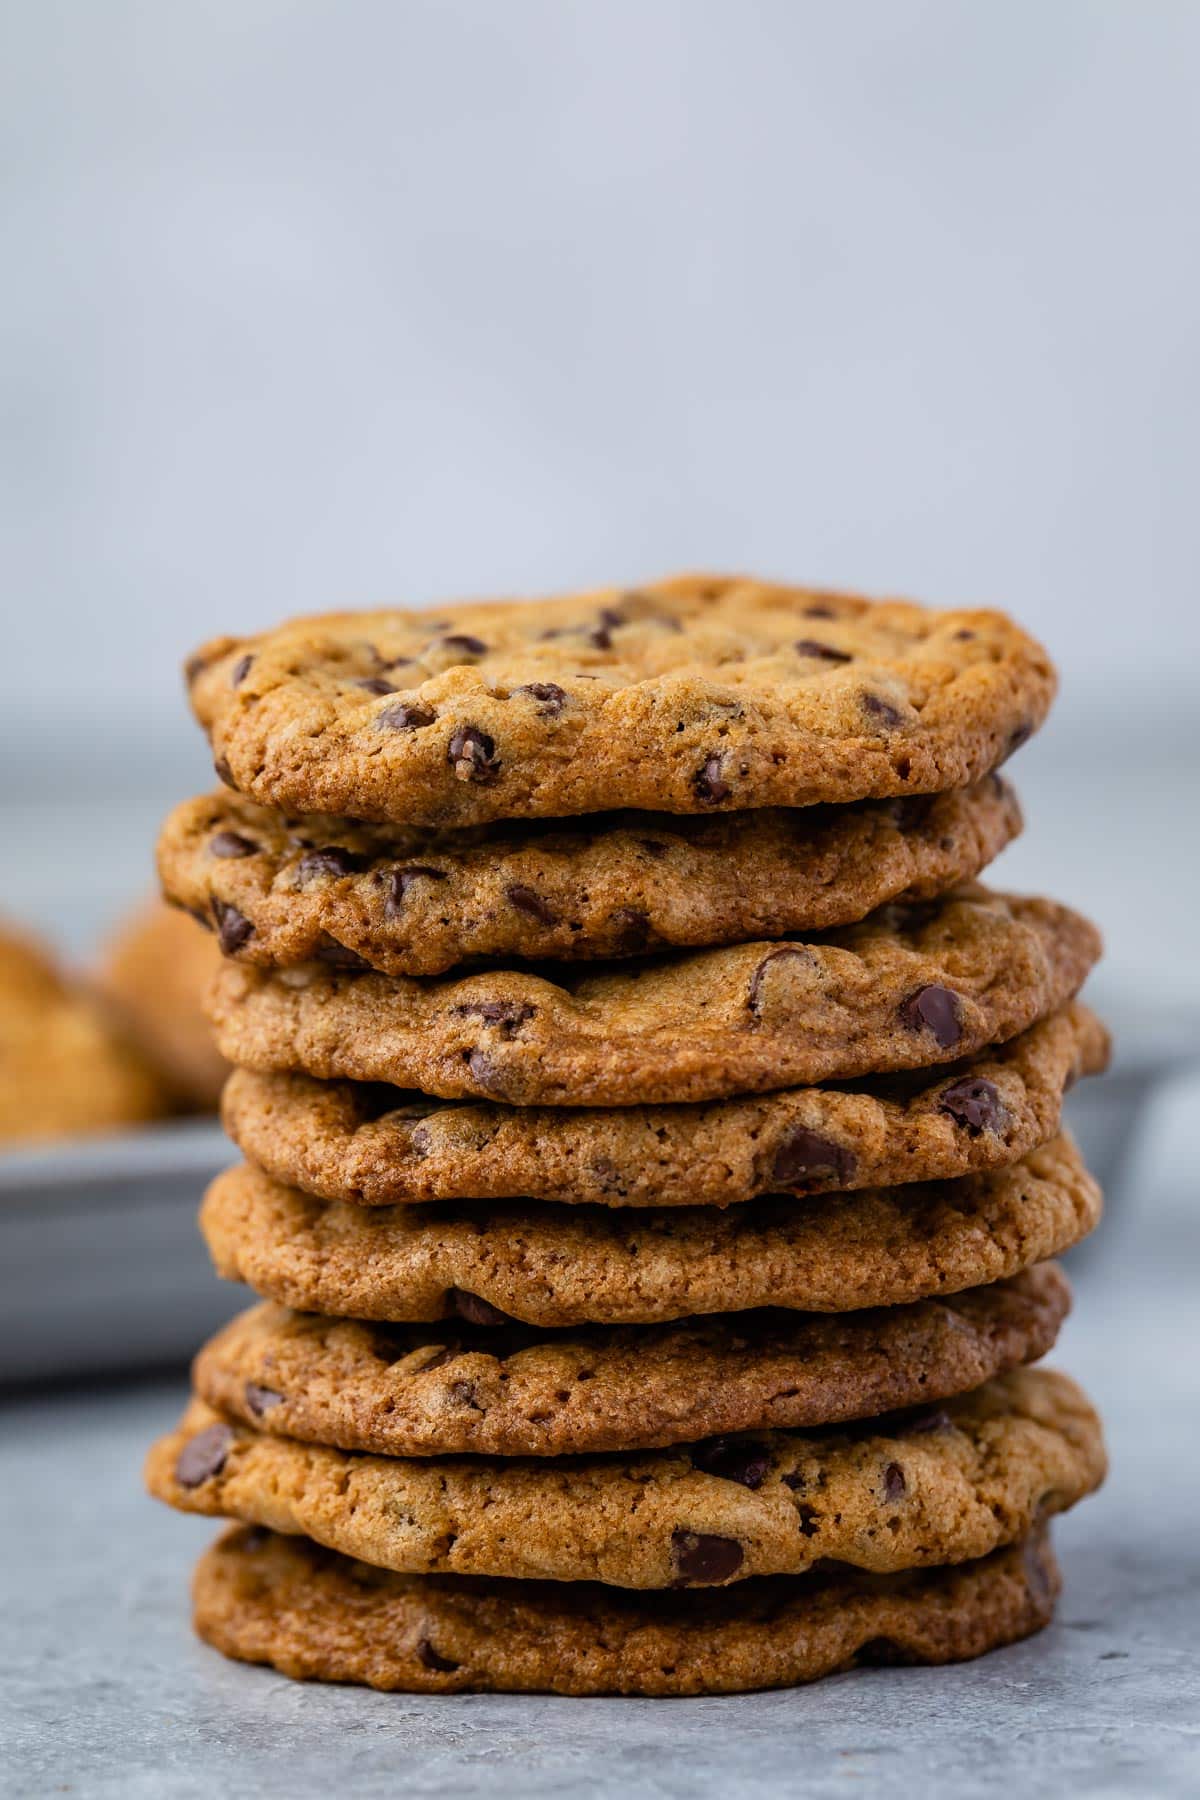
BEST Crispy Chocolate Chip Cookies
I have spent years trying to find the perfect recipe for crispy chocolate chip cookies so, trust me when I say that this is seriously the best crunchy chocolate chip cookie recipe. All it took were several attemps and a little bit of cookie science.
Why you’ll love this recipe
- I have tested this recipe extensively so you know they’ll work
- I have special ingredient tweaks to make them turn out flat and crunchy
- These chocolate chip cookies are SO crunchy!
- They’re even better than Tate’s cookies – I promise.
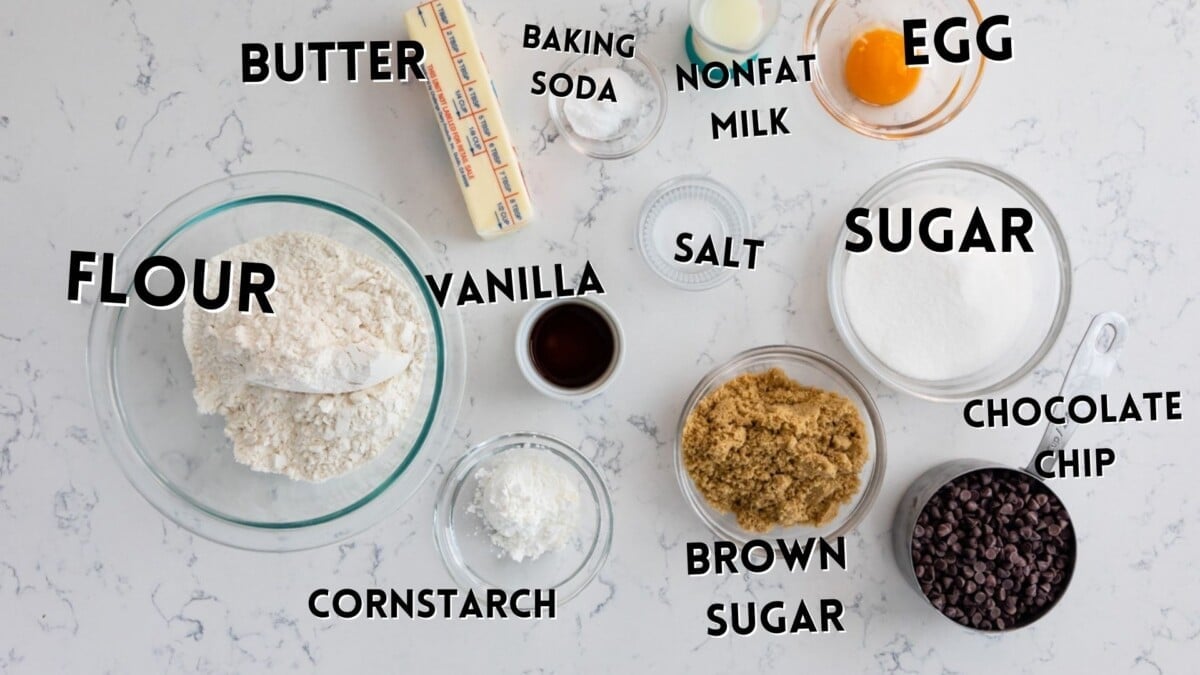
Ingredients Needed
- Cornstarch: When I was testing my cookbook I realized adding a bit of cornstarch can help with making a crunchy cookie. America’s Test Kitchen uses cake flour, but we all know I forget to buy that, so a combination of all-purpose flour and cornstarch are one trick.
- Baking soda: this leavener helps with spread, so I have a little more than my regular cookie recipe.
- Butter: As usual, I used melted butter. But since these are supposed to spread there is no chill time!
- Sugar: I used both granulated sugar and light brown sugar for these cookies.
- Egg yolk: this is the another secret trick to getting the ultimate crunchy cookie. I left the egg white out so there would be less structure to the cookie, allowing them to flatten in the oven.
- Nonfat milk: or any milk but if you want to achieve the best crispy chocolate chip cookies, use nonfat milk. It helps mix our dry ingredients together without adding too much creamy fat from the milk, which in turn keeps the cookie batter dry for a crumbly cookie.
- Chocolate chips: I think mini chocolate chips work best in flat cookies. That way there is chocolate in every bite!
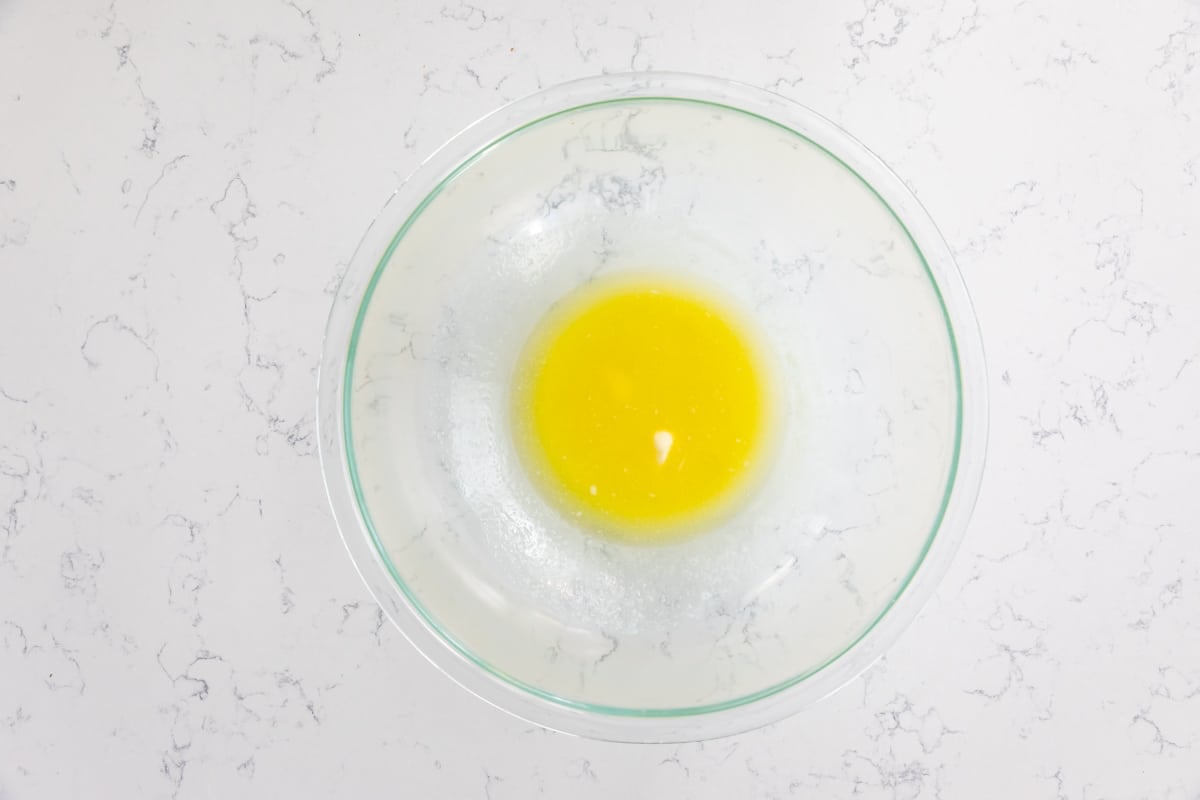
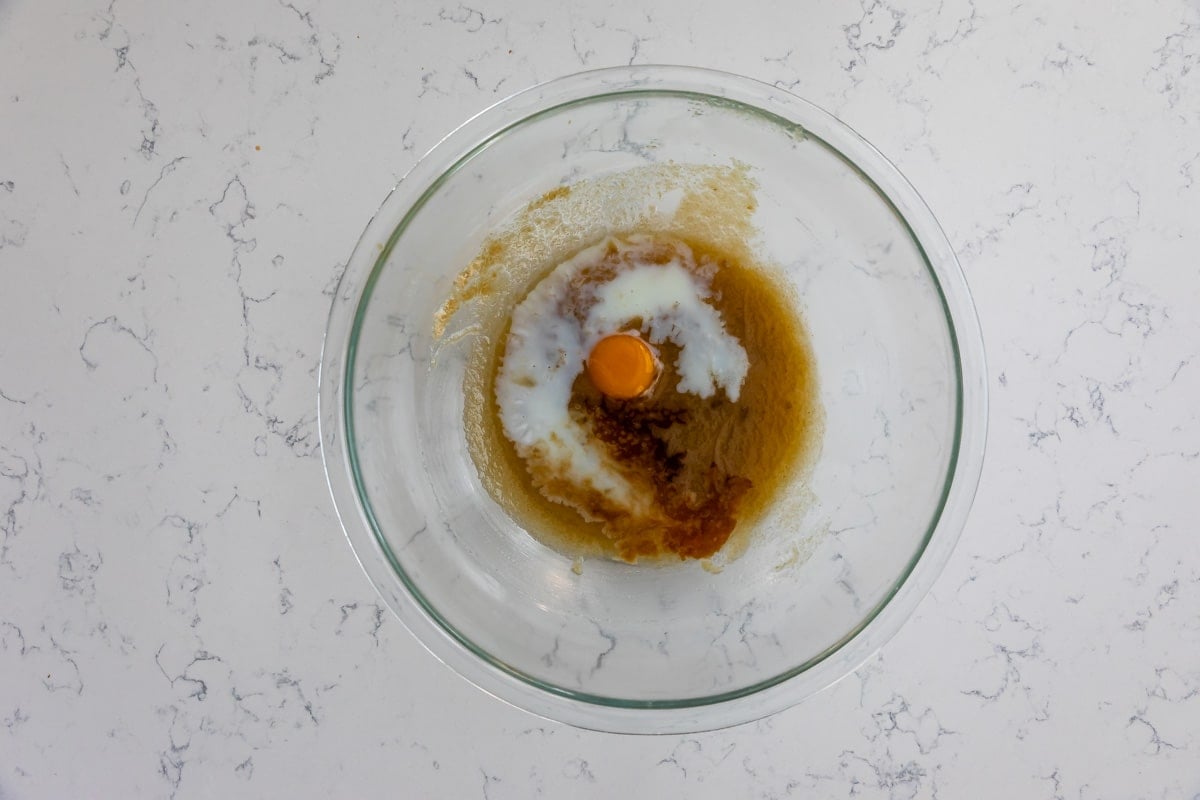
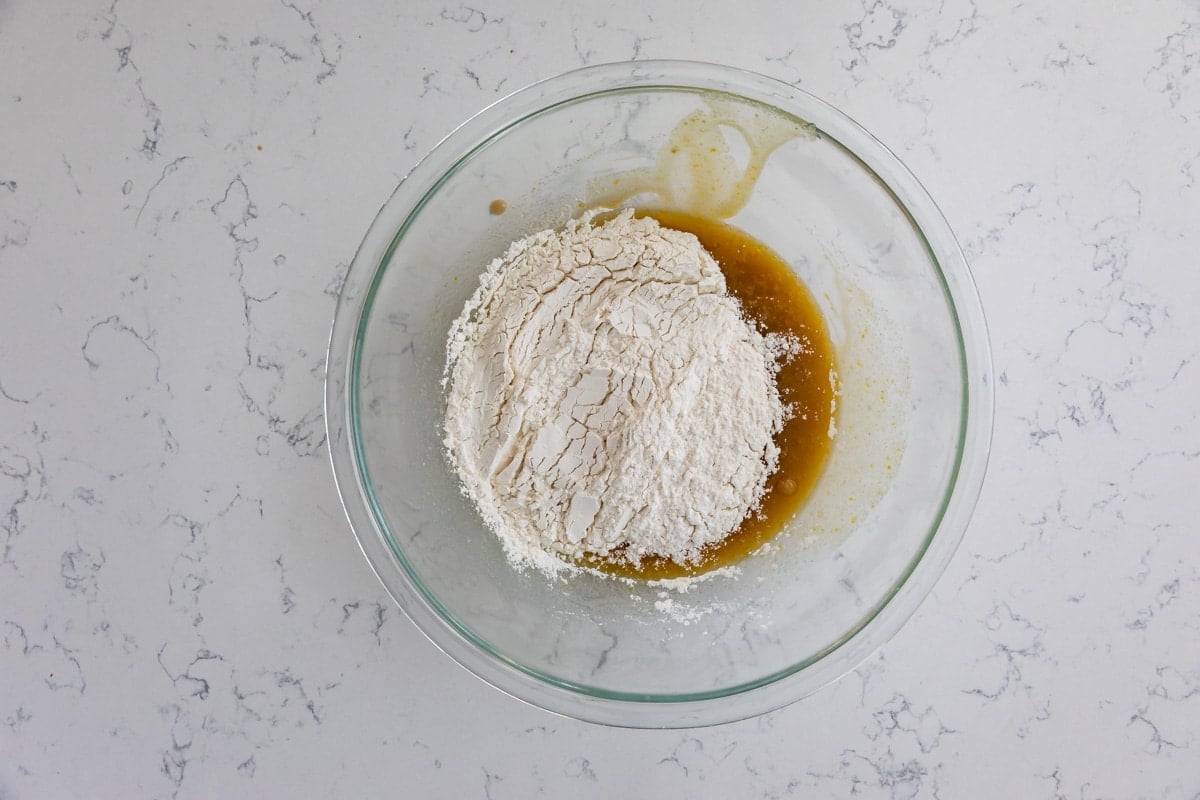
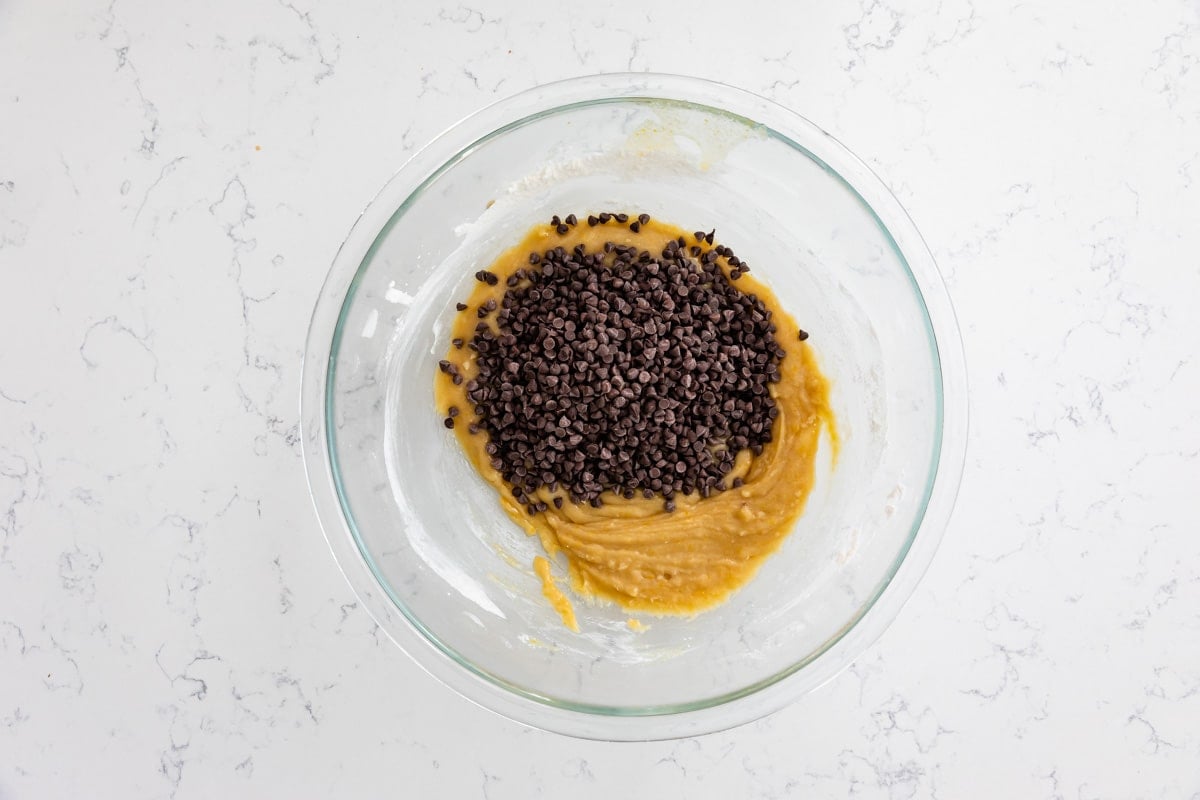
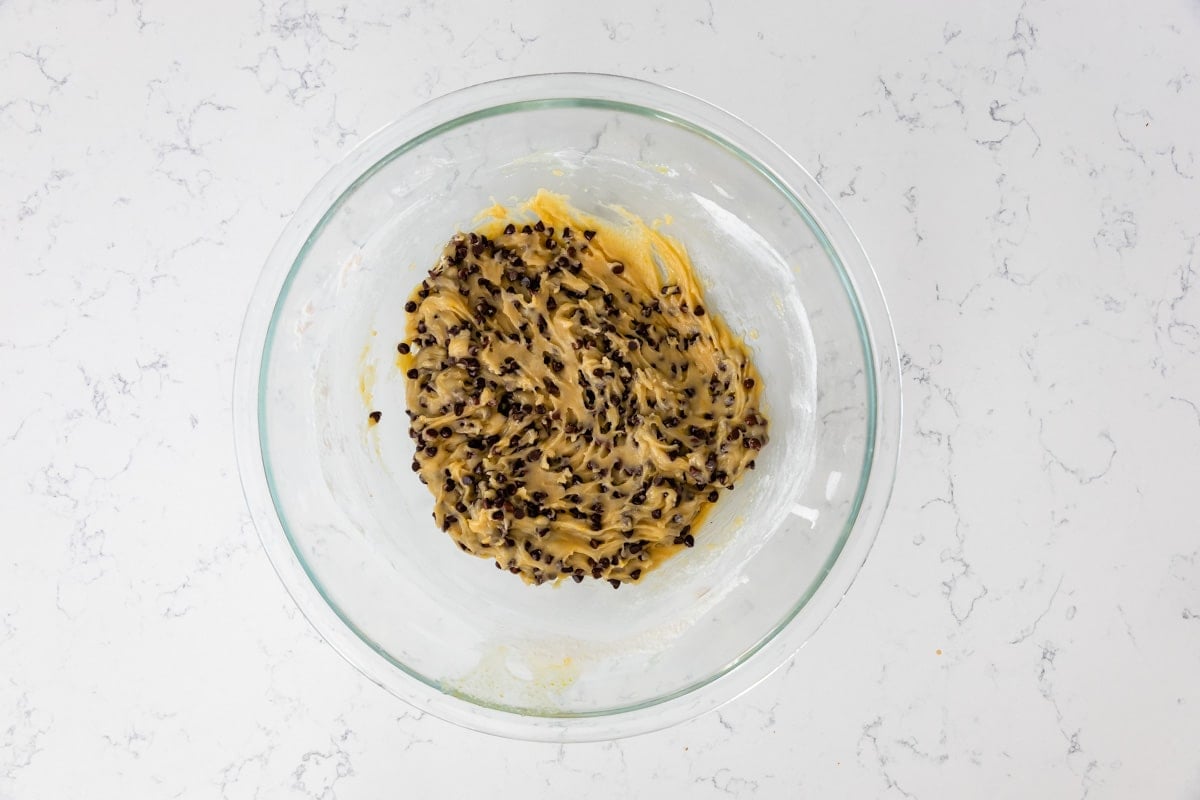
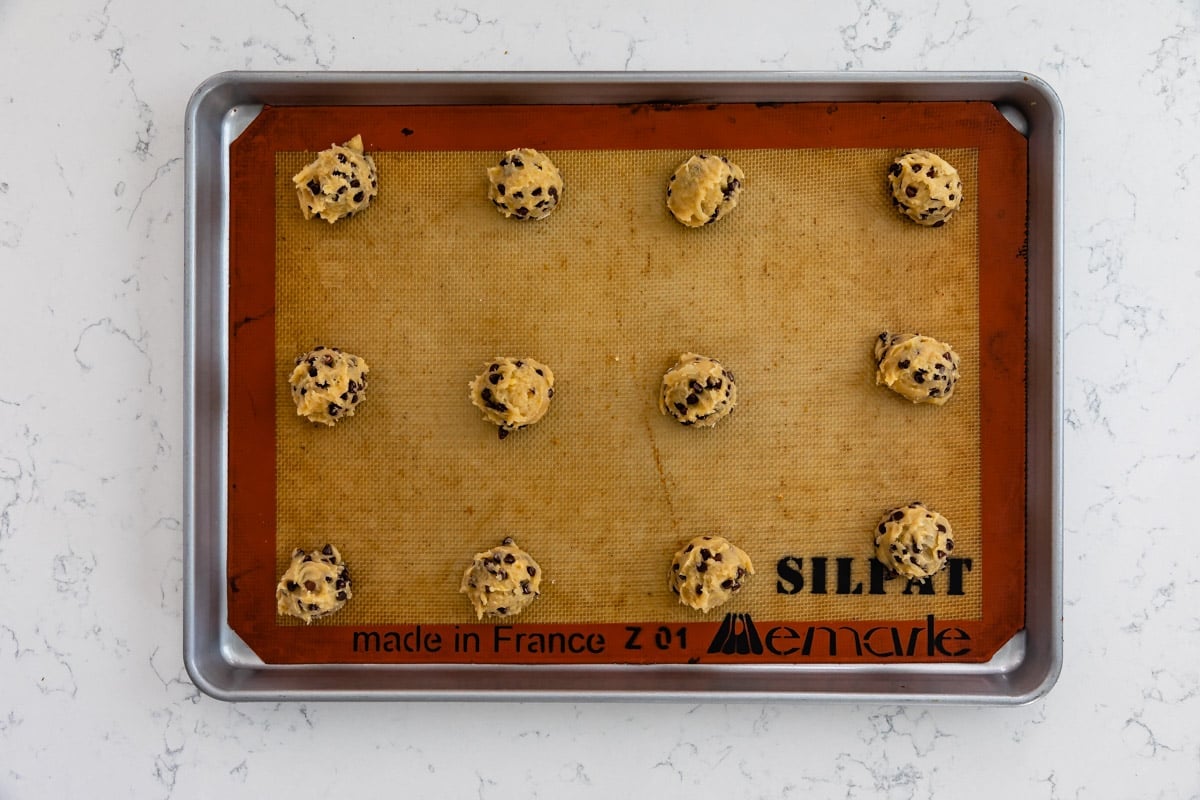
How to make crispy chocolate chip cookies
- Preheat your oven to 375°F and line your prepared baking sheets with silicone baking mats or parchment paper.
- Mix your dry ingredients in a medium size bowl. Add flour, cornstarch, baking soda, and salt. Whisk to combine then set aside.
- Stir melted butter with granulated sugar and brown sugar until smooth.
- Add egg yolk, milk, and vanilla extract and stir together until evenly combined.
- Mix your dry ingredients with wet ingredients.
- Stir in your mini chocolate chips.
- Scoop cookie dough balls onto prepared cookie sheets, leaving space between each cookie ball for room to spread.
- Bake for 16-20 minutes or until they’re a rich golden brown all over the top and not glossy.
- Cool at room temperature or at least 10 minutes before removing it from the cookie sheet. Cookies will get crunchy as they cool.
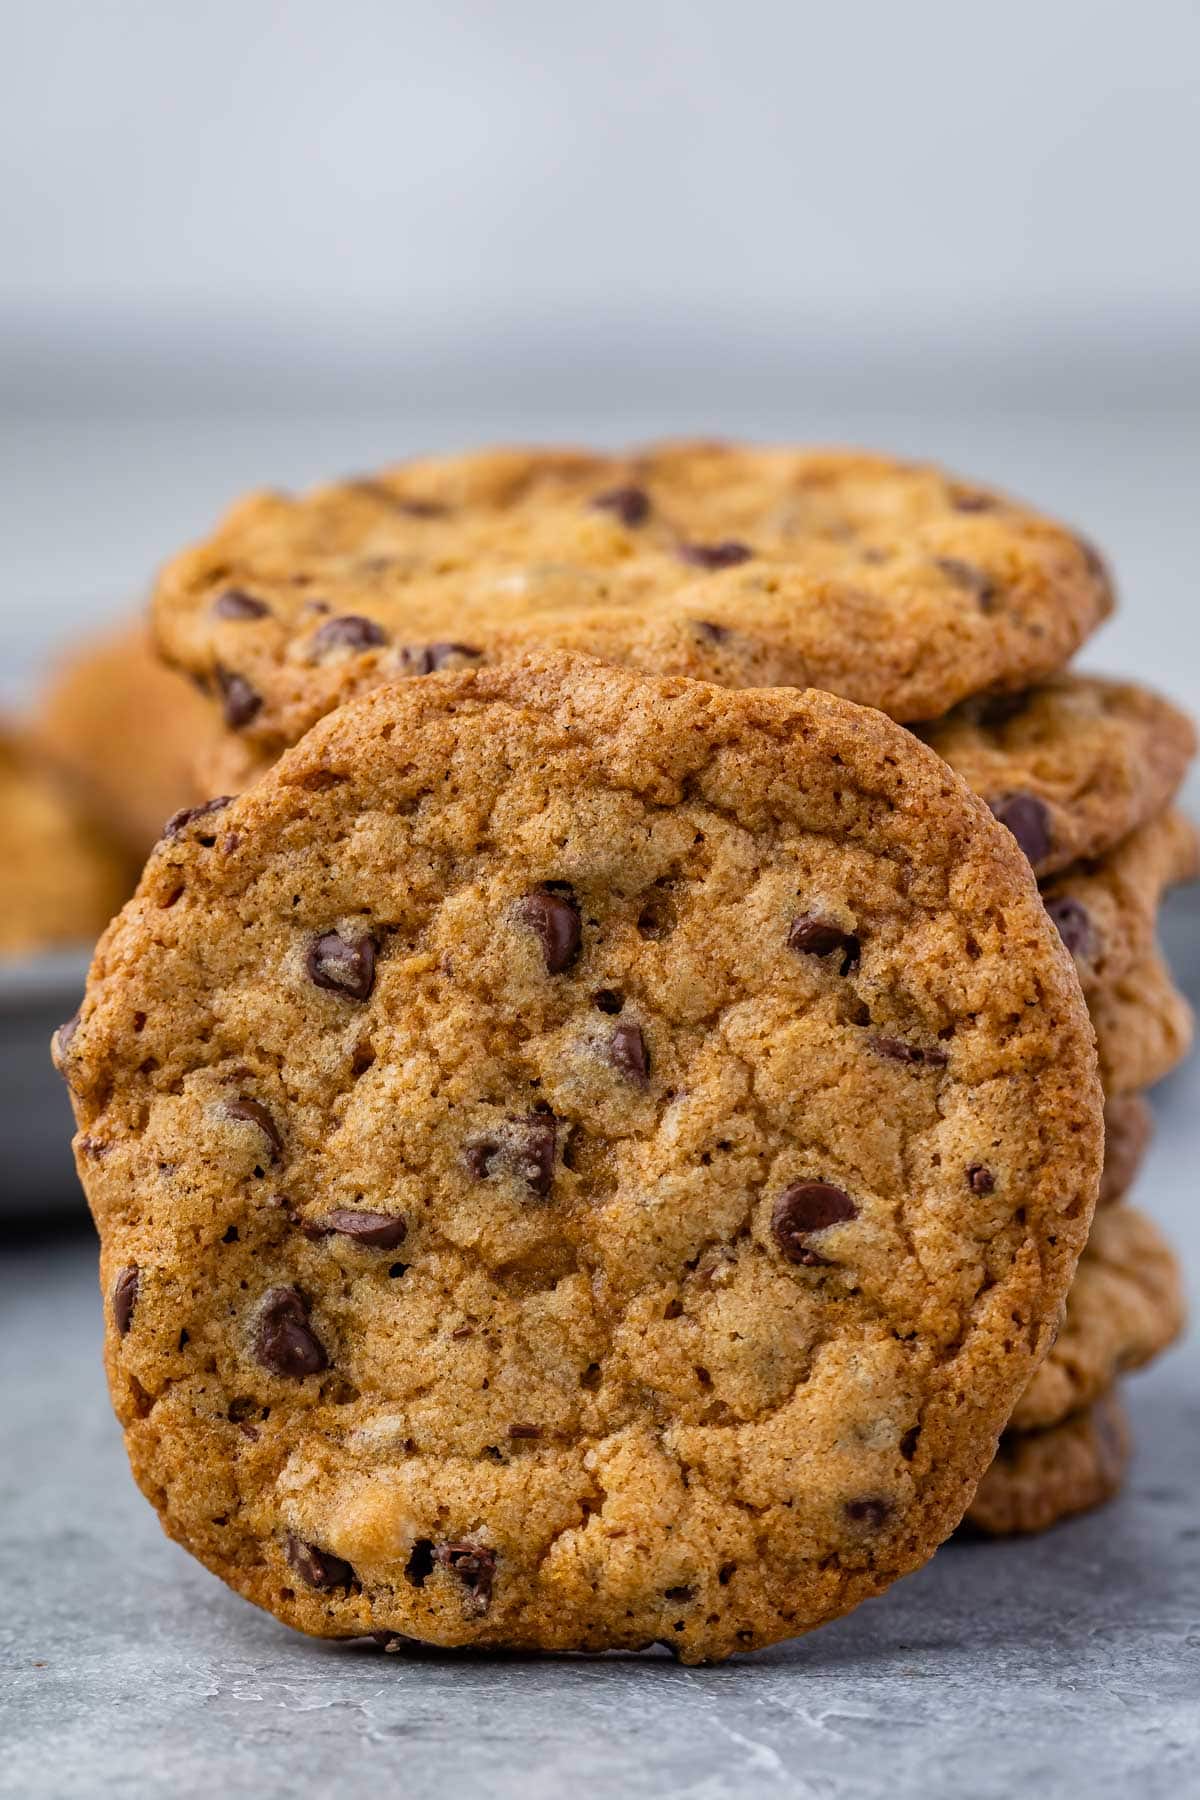
Tip From Dorothy
Expert Tips
- Dough will be soft when scooping, but should not flatten on the cookie sheet. If dough is too soft, allow to sit at room temperature for 5 minutes before scooping cookies.
- Mini chocolate chips allow the cookies to flatten correctly and ensure that you’ll have chocolate in every bite. I don’t recommend regular-sized chocolate chips in this recipe, but you can chop up baking chocolate if you can’t find mini chips.
- You can use any fat content milk or nondairy milk, but a higher fat content might change the texture a little bit, but it shouldn’t be noticeable.
Freezing Cookie Dough
- You can freeze cookie dough balls but allow them to thaw and come to room temperature before baking.
- Freeze baked cookies for up to 3 months in an airtight container. They’re good even from the freezer!
FAQs
To achieve a crispy and crunchy cookie, add cornstarch and use nonfat milk. Doing so thickens up the batter, and keeps the cookie dough dry.
Store the cookies in an airtight container at room temperature.
Yes. You can freeze your chocolate chip cookie dough balls in a sealed bag. Once you’re ready to bake them, allow your dough balls to thaw out for about an hour at room temp and they’re ready to drop in the oven!
Crispy Chocolate Chip Cookies
Recipe Video
Ingredients
- 1 ¼ cups (155g) all-purpose flour
- 2 tablespoons (16g) cornstarch
- ¾ teaspoon baking soda
- ½ teaspoon salt
- ½ cup unsalted butter melted
- ½ cup (100g) granulated sugar
- ⅓ cup (67g) packed brown sugar
- 1 large egg yolk
- 2 tablespoons nonfat milk
- 1 teaspoon vanilla extract
- 1 cup (160g) mini chocolate chips
Instructions
- Preheat oven to 375°F. Line cookie sheets with silicone baking mats or parchment paper.
- Place flour in a medium size bowl. Add cornstarch, baking soda, and salt. Whisk to combine then set aside.
- Stir melted butter with granulated sugar and brown sugar until smooth.
- Add egg yolk, milk, and vanilla extract. Stir until smooth.
- Stir dry ingredients into wet ingredients. Stir in chocolate chips.
- Scoop 1 tablespoon sized cookie dough balls onto prepared cookie sheets, 3 inches apart.
- Bake for 16-20 minutes or until they’re a rich golden brown all over the top and not glossy.
- Let cool at least 10 minutes before removing from the cookie sheet. Cookies will get crunchy as they cool.
Recipe Notes
- Store cookies in an airtight container for up to 5 days.
- Freeze baked cookies for up to 2 months.
- You can freeze cookie dough balls but allow them to thaw and come to room
temperature before baking. - Dough will be soft when scooping, but should not flatten on the cookie sheet. If dough is too soft, allow to sit at room temperature for 5 minutes before scooping cookies.
- Mini chocolate chips allow the cookies to flatten correctly and ensure that you’ll have
chocolate in every bite. I don’t recommend regular-sized chocolate chips in this recipe, but you can chop up baking chocolate if you can’t find mini chips. - You can use any fat content milk or nondairy milk, but a higher fat content might change the texture a little bit, but it shouldn’t be noticeable.




They came out splendid
I knew I was taking a risk by making the cookies gluten free. I made one batch with Bob’s Red Mill 1:1 with European butter and the 2nd batch with an Organic butter and a DIY GF flour blend that uses the same flours of BRM1:1: Sorghum, White Rice, Brown Rice & Potato & Tapioca Starches plus Xanthan Gum. I use these both with good results. The BRM set up better and didn’t spread as flat as the DIY batch. The DIY spread way too much. Both baked perfectly brown within 10 min. I have a thermometer in my oven plus oven is newish, so am sure about temp. In experimenting with GF flours, I know that the ratios of each type of GF flour will make a difference in how the recipe will absorb moisture. That plus the type of butter; even though the Organic butter doesn’t say European, it still feels like that type. They feel creamier and not as loose as a regular butter. I know NOT to use a margarine or a butter blend since that will certainly affect the texture and not set up. Either way, I will keep trying this recipe cuz we love a crispy cookie! Almost got it on the 2nd batch. 🙂
Tasted yum,but had to add heaps more flour, maybe not melt the butter. Also I was making them with gluten free flour, but that shouldn’t have mattered. Now making a second batch and still to liquid. Third batch I will not melt the butter.
I have not tested these with GF flour. They were tested extensively with all purpose – so that is probably the culprit. What kind of butter are you using?
I made these yesterday, and they are just right, the only thing for me is they spread too thin. Thanks for the recipe
I made this today, they are so good my son doesn’t want to share lol. Thank you for the recipe
Featured In
Rate This Recipe
Recipe Ratings without Comment