This post may contain affiliate links. For more information, read my disclosure policy.
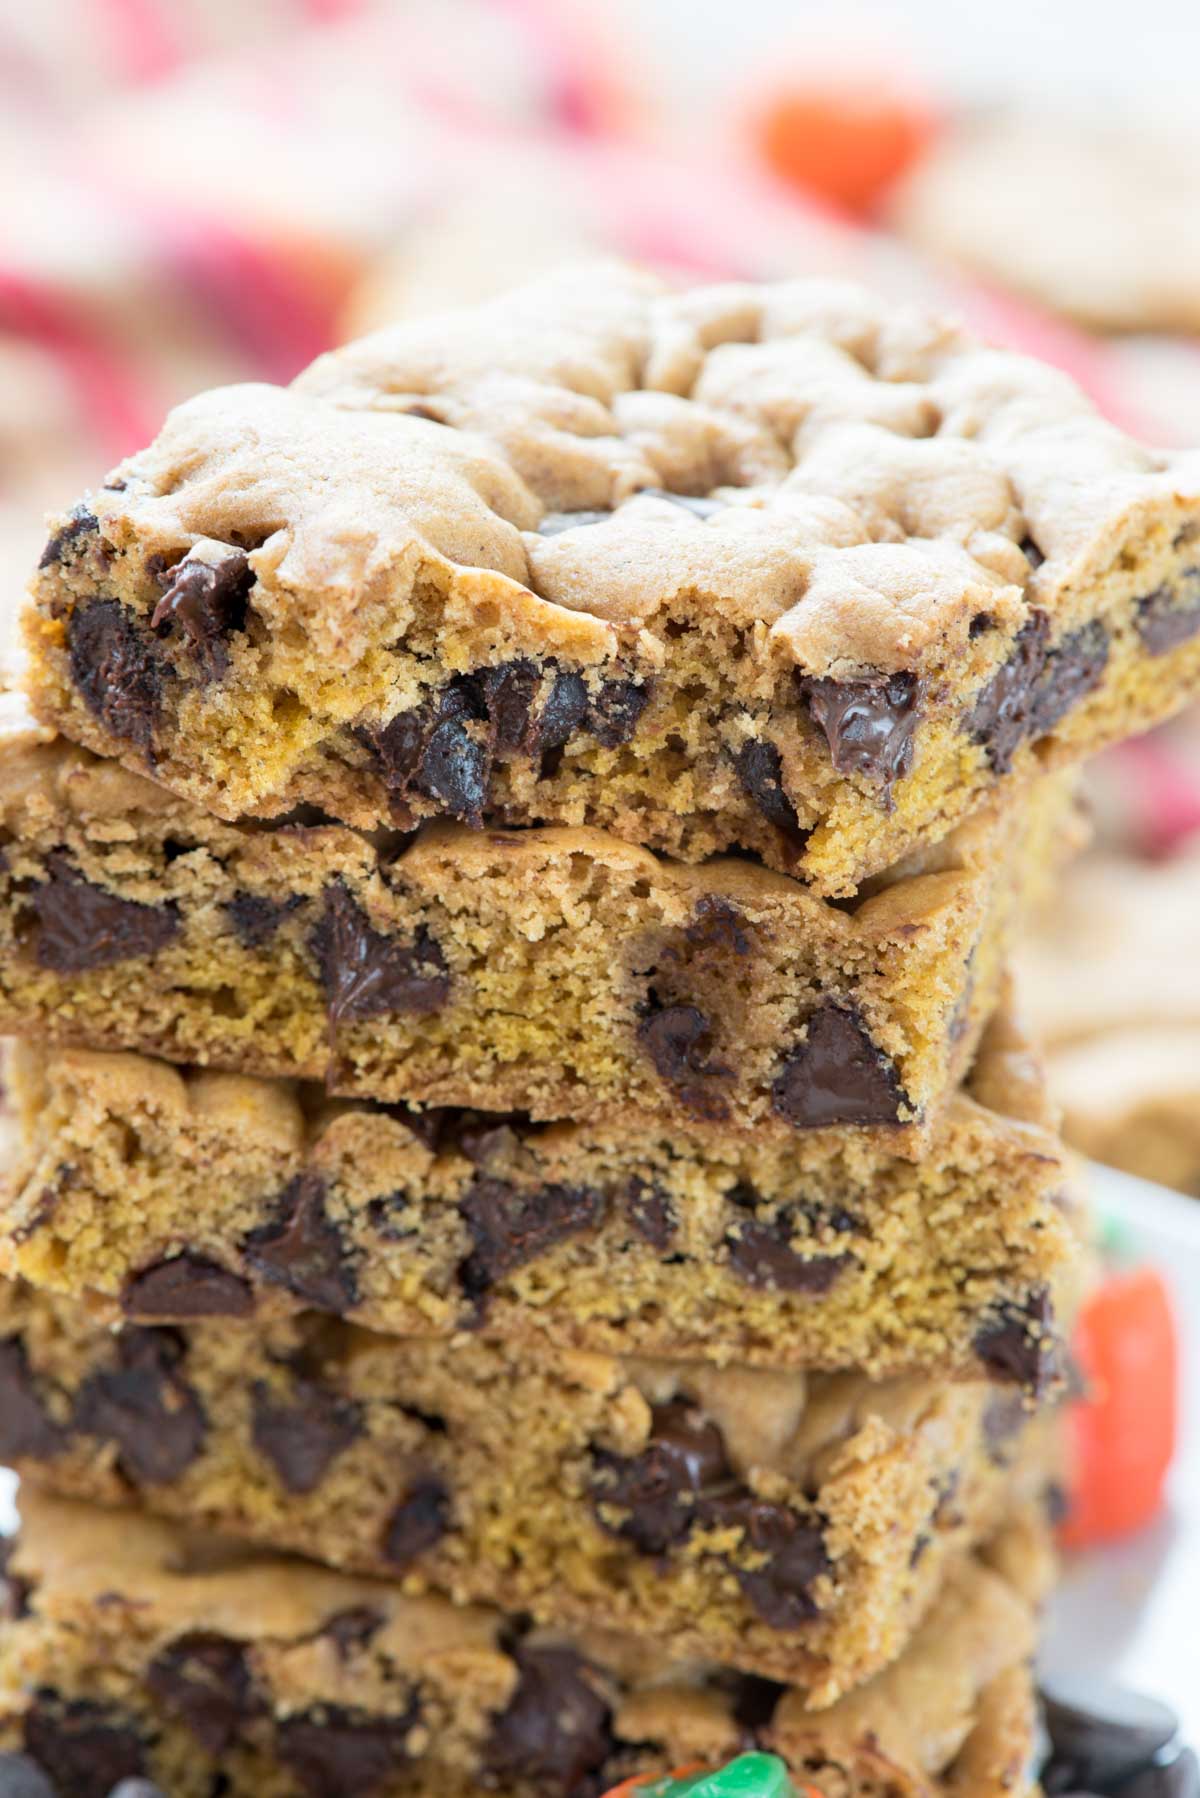
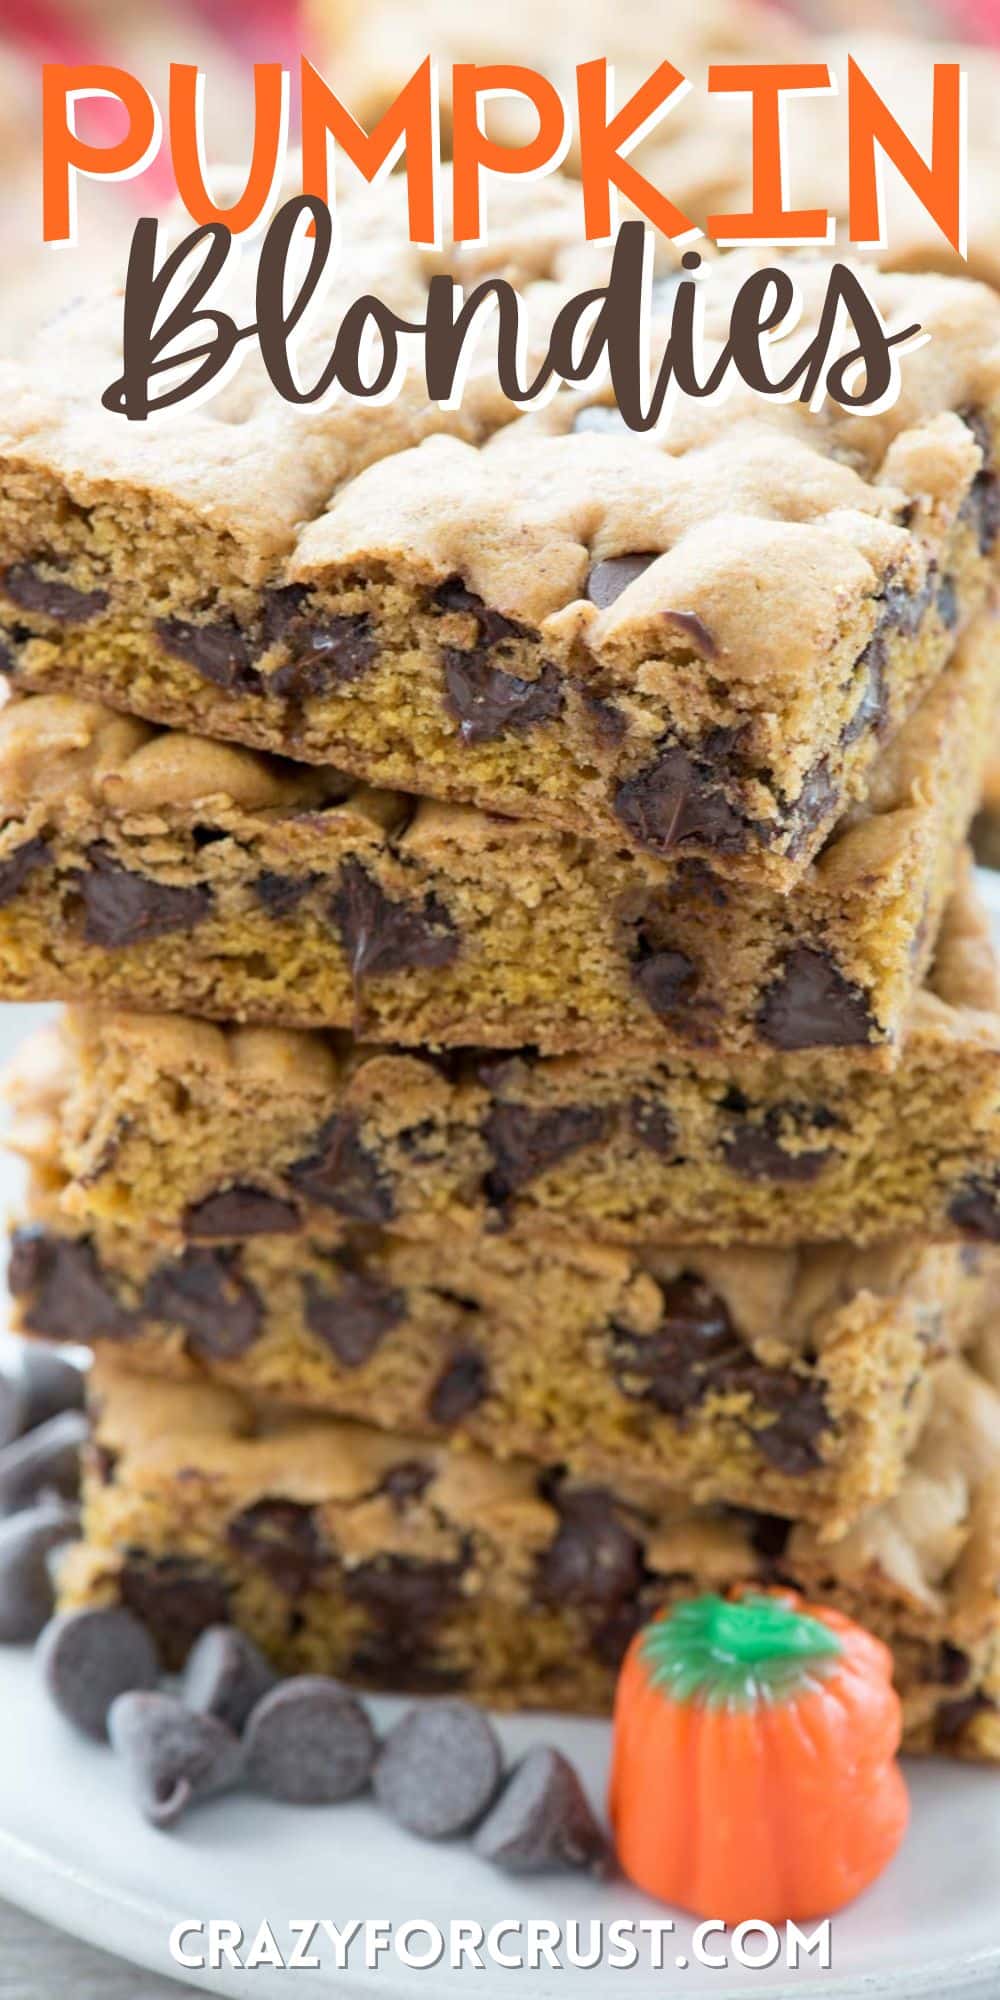
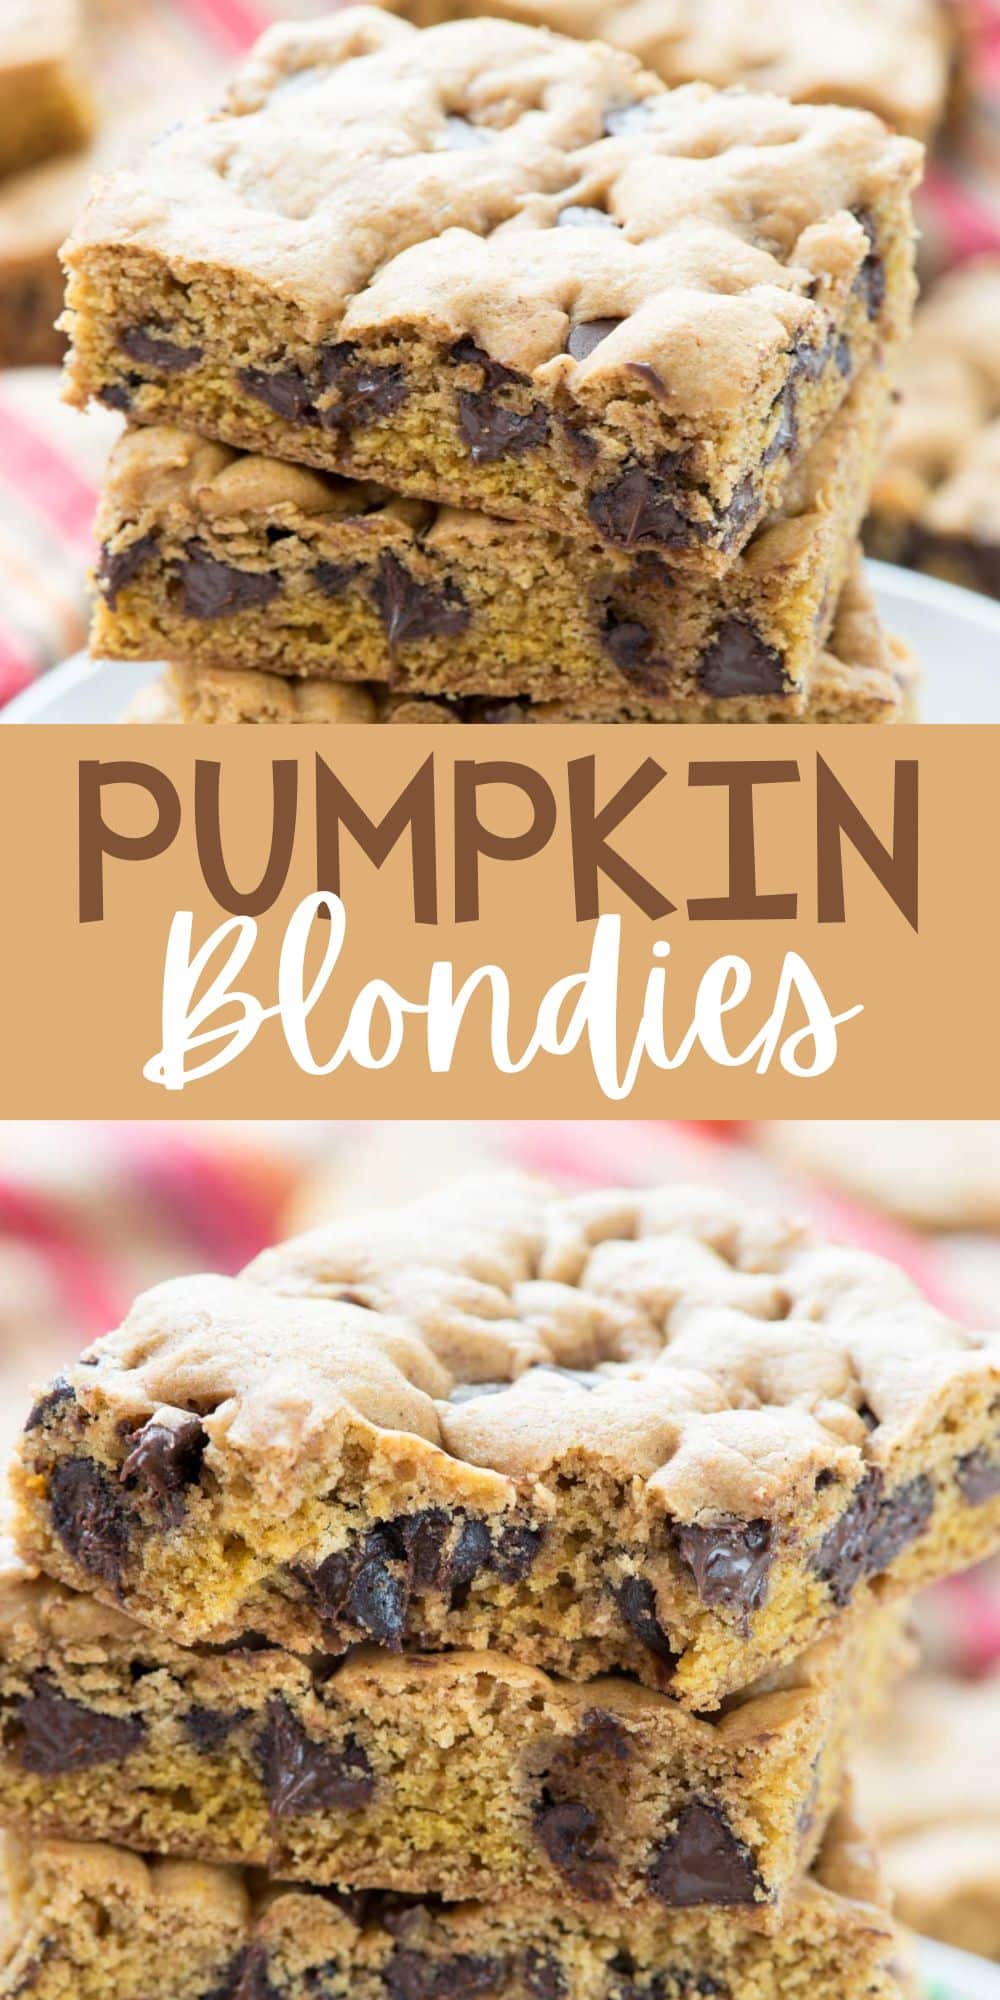
These Pumpkin Blondies are like a pumpkin cookie, but in bar form. These blondies are stacked with chocolate chips and pumpkin flavor! They are the best!
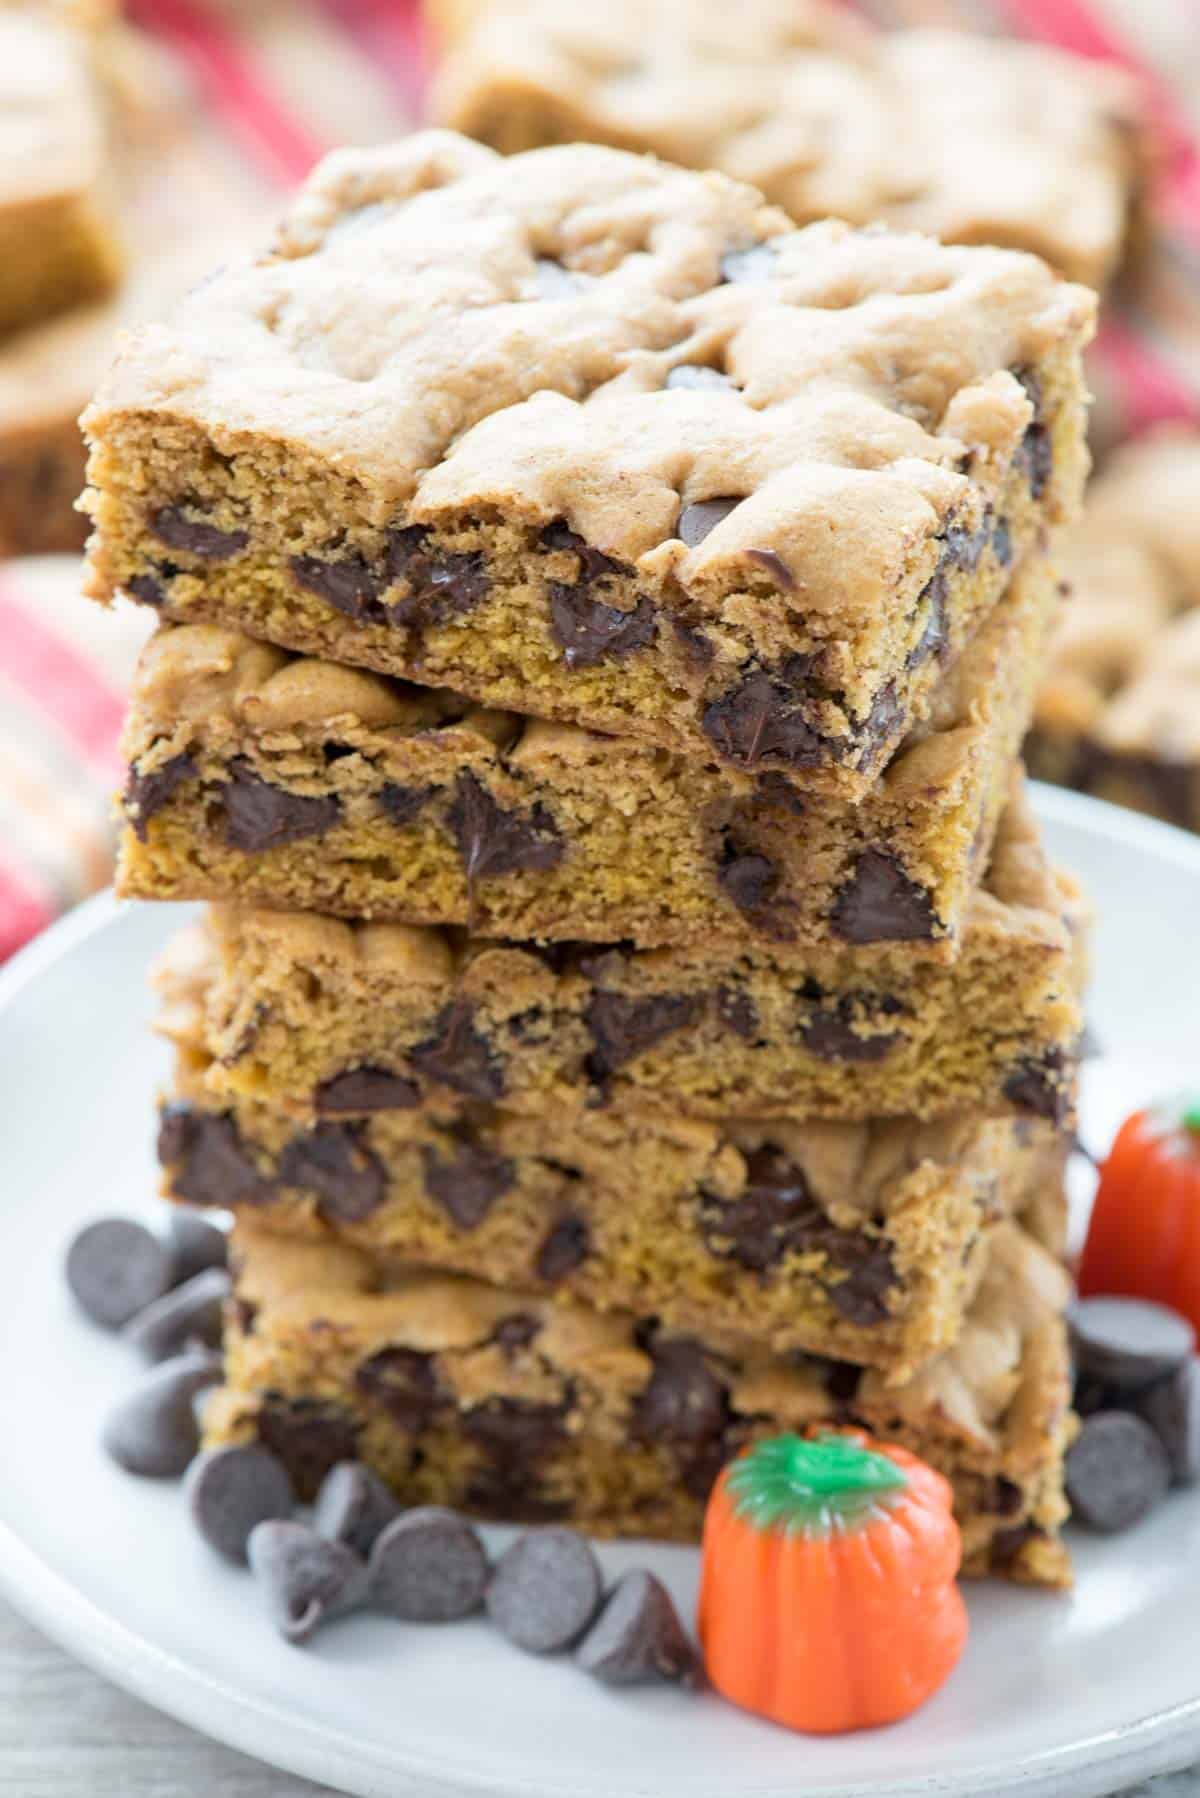
Easy Pumpkin Blondies
These blondies have the best fall flavor and when they are mixed with the chocolate chips, the bars get even better! This is a fall twist on my favorite recipe – I know you’re going to love them, especially if you like pumpkin cookies.
These are a warm and soft bar recipe that will melt in your mouth with so many spices in them to get the best fall taste! I love baking these blondies so that they are still a little jiggly in the center when they are done – that way they stay soft for days. You must try these because even the pumpkin hater will still come back for more!
Ingredients Needed
- Unsalted Butter: This, along with the brown sugar, are the building blocks of these bars.
- Pumpkin Puree: Not pumpkin pie mix!
- Dark Brown Sugar: Light brown sugar may be substituted.
- Egg Yolk: Because of the pumpkin you don’t need an entire egg.
- Pumpkin Spices: Ground nutmeg, cinnamon, ginger, and allspice. This is also known as DIY Pumpkin Pie Spice.
How to make The Best Pumpkin Blondies
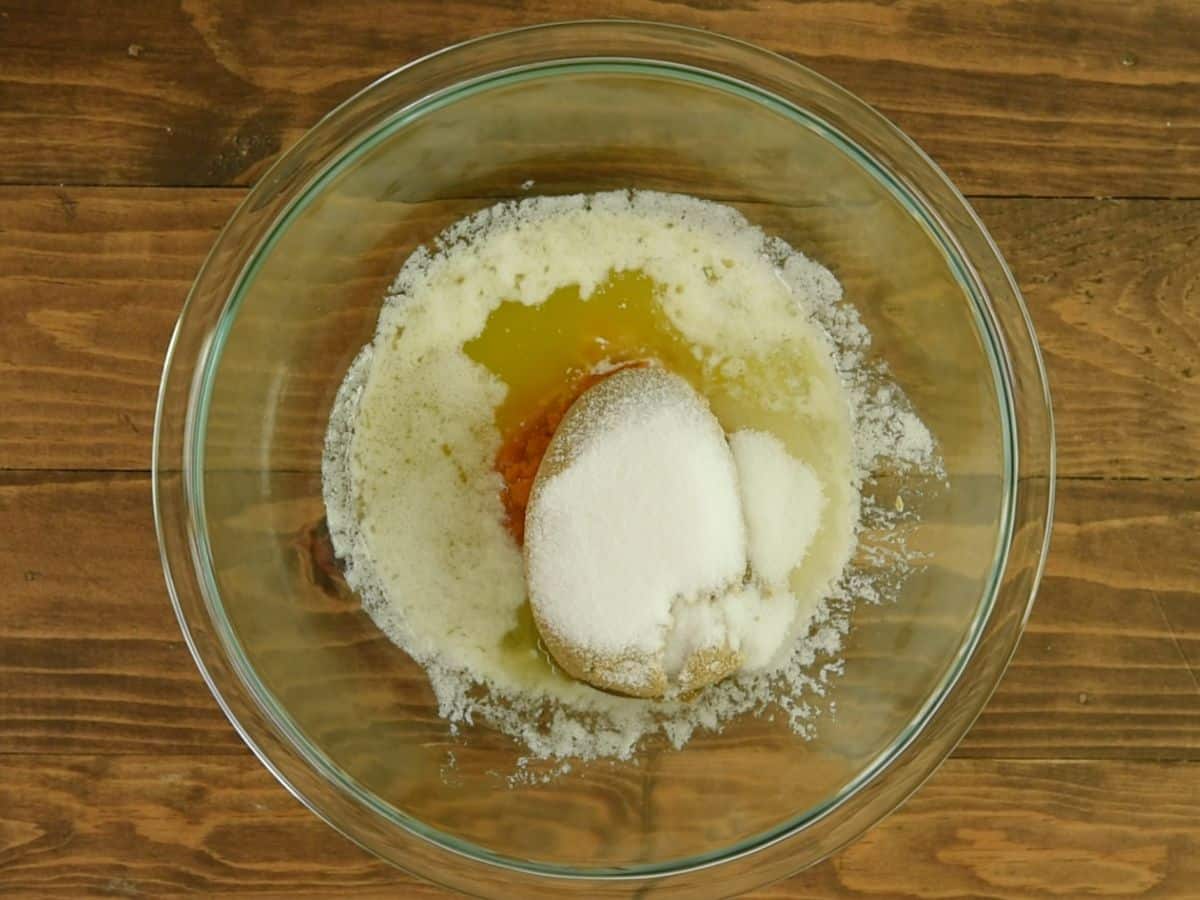
- Place melted butter, pumpkin puree, dark brown sugar, and granulated sugar in a large bowl. Mix until combined.
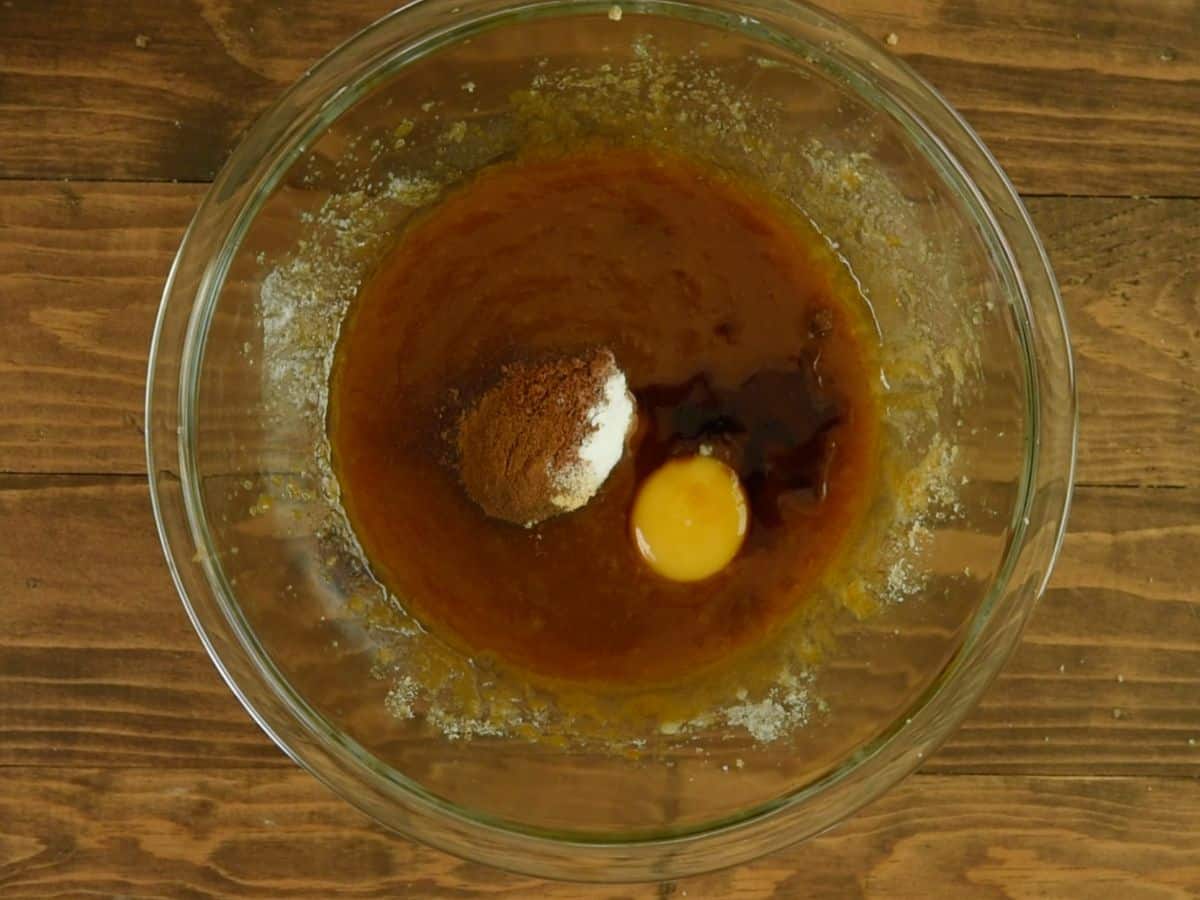
- Continue mixing and add the egg yolk and vanilla extract. Add the baking soda, nutmeg, cinnamon, ginger, and allspice and mix until combined, scraping the sides of the bowl as needed.
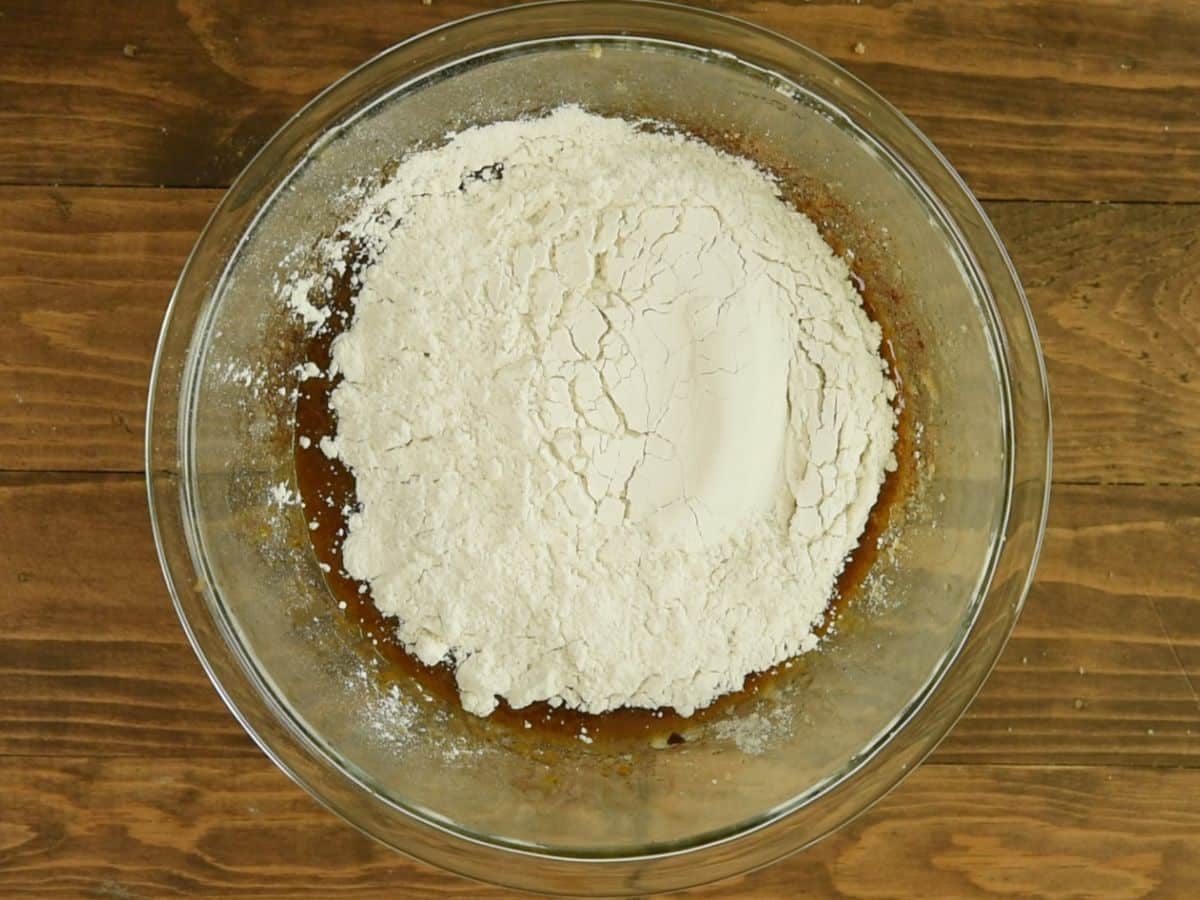
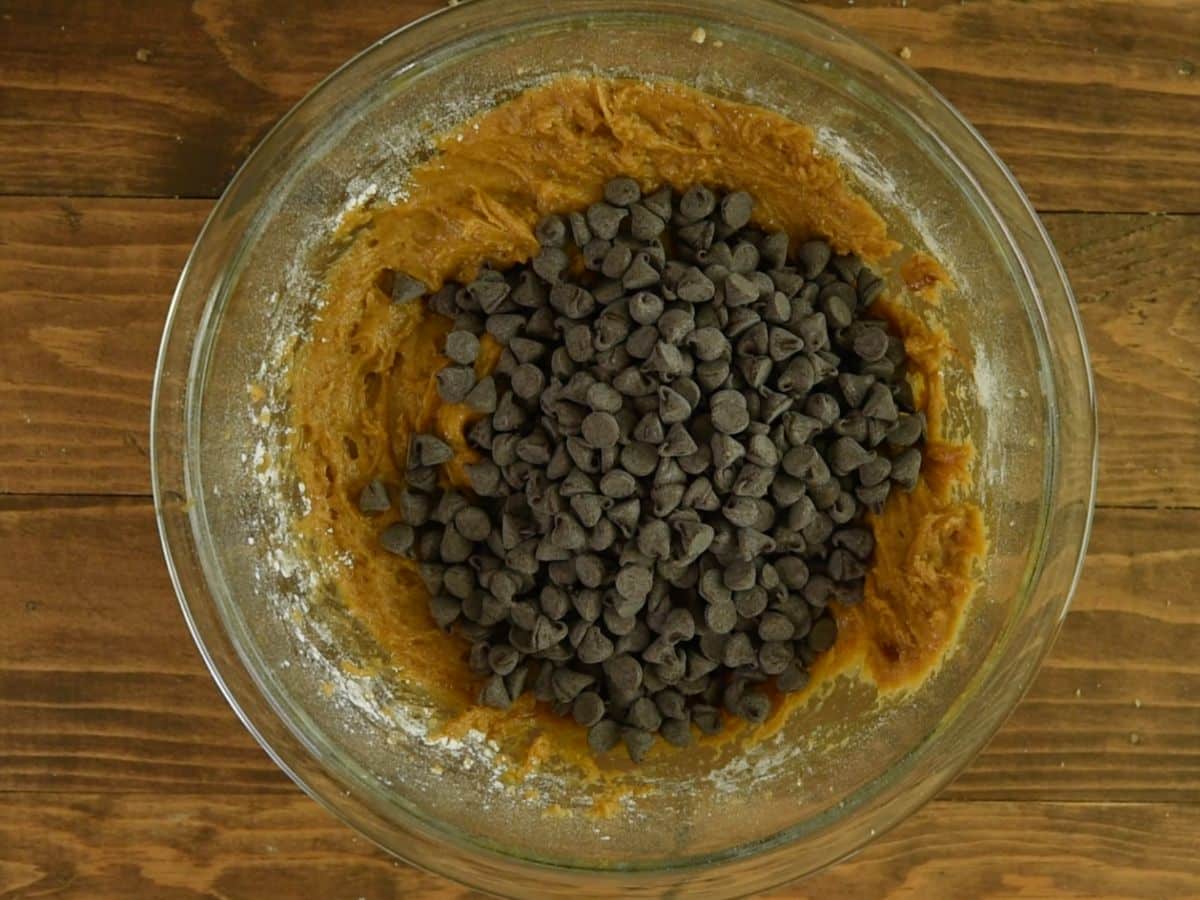
- Slowly mix in flour until a smooth dough forms. Stir in your chips.
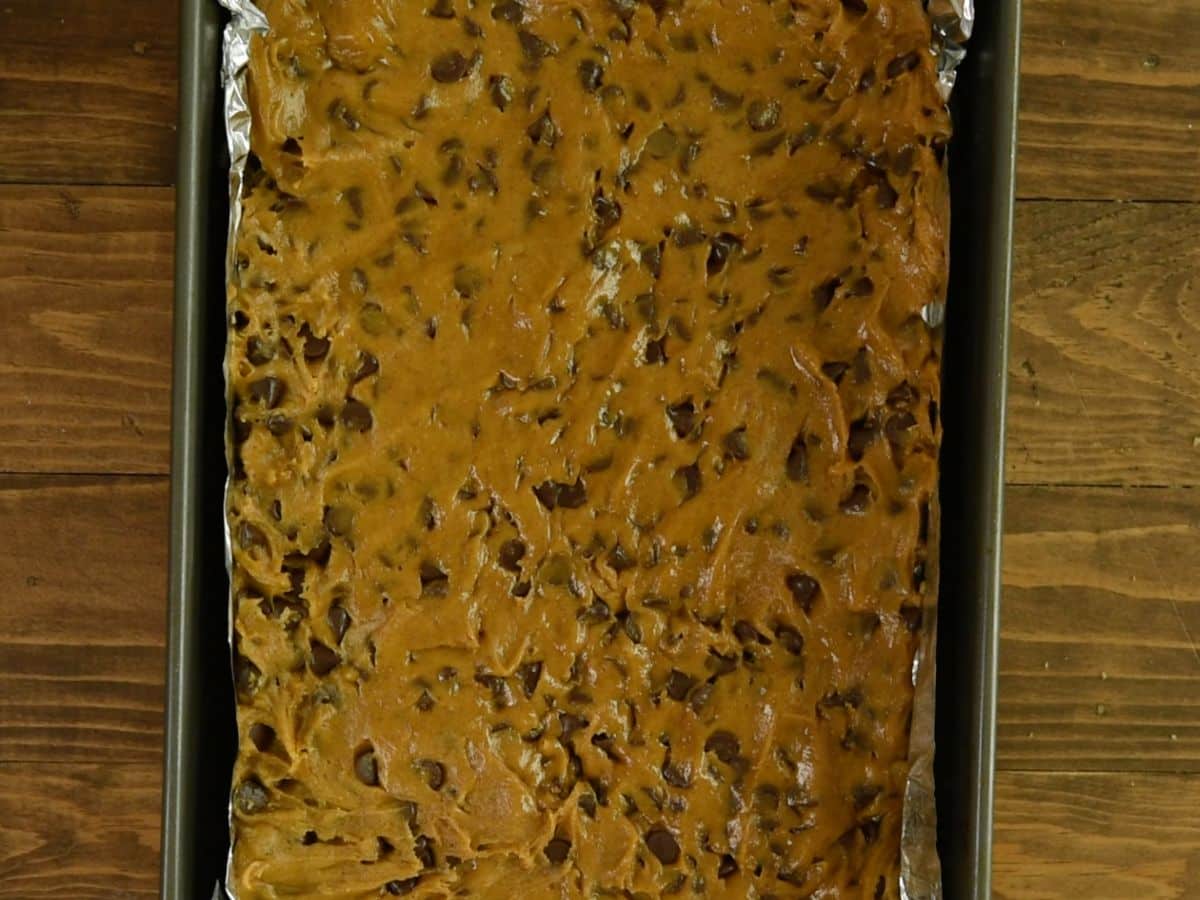
- Press dough into a metal 9×13-inch pan. Bake for about 18-25 minutes or until just browned around the edges and the teeniest bit jiggly in the center (these are better slightly under baked as they finish baking while they cool).
Expert Tips
- For best results use a metal 9×13-inch pan. Metal conducts heat more evenly and will ensure your blondies are baked properly.
- Make sure to under bake these blondies. They finish cooking as they cool so take them out when they still look a bit jiggly in the center.
- When pressing the bars into the pan, spray your hands with nonstick cooking spray so it doesn’t stick to your hands.
- Using foil is optional, but help for easy removal and cutting of even bars…plus it’s less clean up!
- Store in an airtight container for up to 3 days or freeze for up to one month.
FAQs
Yes! You can freeze in an airtight container for up to a month!
BEST Pumpkin Blondie Recipe
Recipe Video
Ingredients
- ½ cup (113g) unsalted butter , melted
- ⅓ cup pumpkin puree
- ¾ cup (150g) dark brown sugar light may be substituted
- ¼ cup (50g) granulated sugar
- 1 large egg yolk
- 1 teaspoon vanilla extract
- ½ teaspoon baking soda
- ½ teaspoon salt
- ½ teaspoon ground nutmeg
- 1 teaspoon ground cinnamon
- ¼ teaspoon ground ginger
- ¼ teaspoon ground allspice
- 1 ¾ cups (217g) all-purpose flour
- 1 ½ cups (255g) chocolate chips
Instructions
- Preheat oven to 350°F. Line a 9×13” pan with foil and spray with nonstick cooking spray.
- Place melted butter, pumpkin puree, dark brown sugar, and granulated sugar in the bowl of a strand mixer fitted with the paddle attachment. (You can also use a hand mixer.) Mix until combined. Continue mixing and add the egg yolk and vanilla extract. Add the baking soda, nutmeg, cinnamon, ginger, and allspice and mix until combined, scraping the sides of the bowl as needed. Slowly mix in flour until a smooth dough forms. Stir in your chips.
- Press dough into prepared pan. Bake for about 18-25 minutes or until just browned around the edges and the teeniest bit jiggly in the center (these are better slightly under baked as they finish baking while they cool).
- Store in an airtight container for up to 3 days or freeze for up to one month.
Recipe Notes
- For best results use a metal 9×13-inch pan. Metal conducts heat more evenly and will ensure your blondies are baked properly.
- Make sure to under bake these blondies. They finish cooking as they cool so take them out when they still look a bit jiggly in the center.
- When pressing the bars into the pan, spray your hands with nonstick cooking spray so it doesn’t stick to your hands.
- Using foil is optional, but help for easy removal and cutting of even bars…plus it’s less clean up!
- Store in an airtight container for up to 3 days or freeze for up to one month.

Can’t waiting to try this
Loved this recipe! Soooo good. Also, instead of using my hands to spread the batter I simply used my rubber spatula without a sticky mess. Thank you for sharing 😊
Amazing!!!!!
Thanks for the great recipe. I initially thought the pan was too big since the batter didn’t quite make it all around, but they turned out great!!
Featured In
Rate This Recipe
Recipe Ratings without Comment