This post may contain affiliate links. For more information, read my disclosure policy.
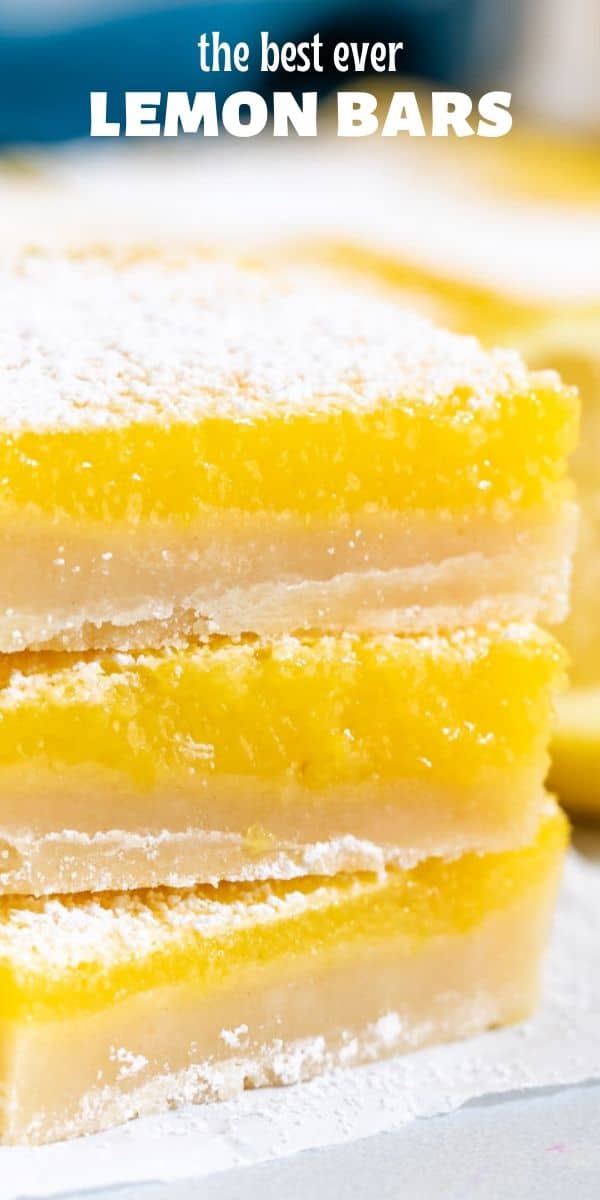
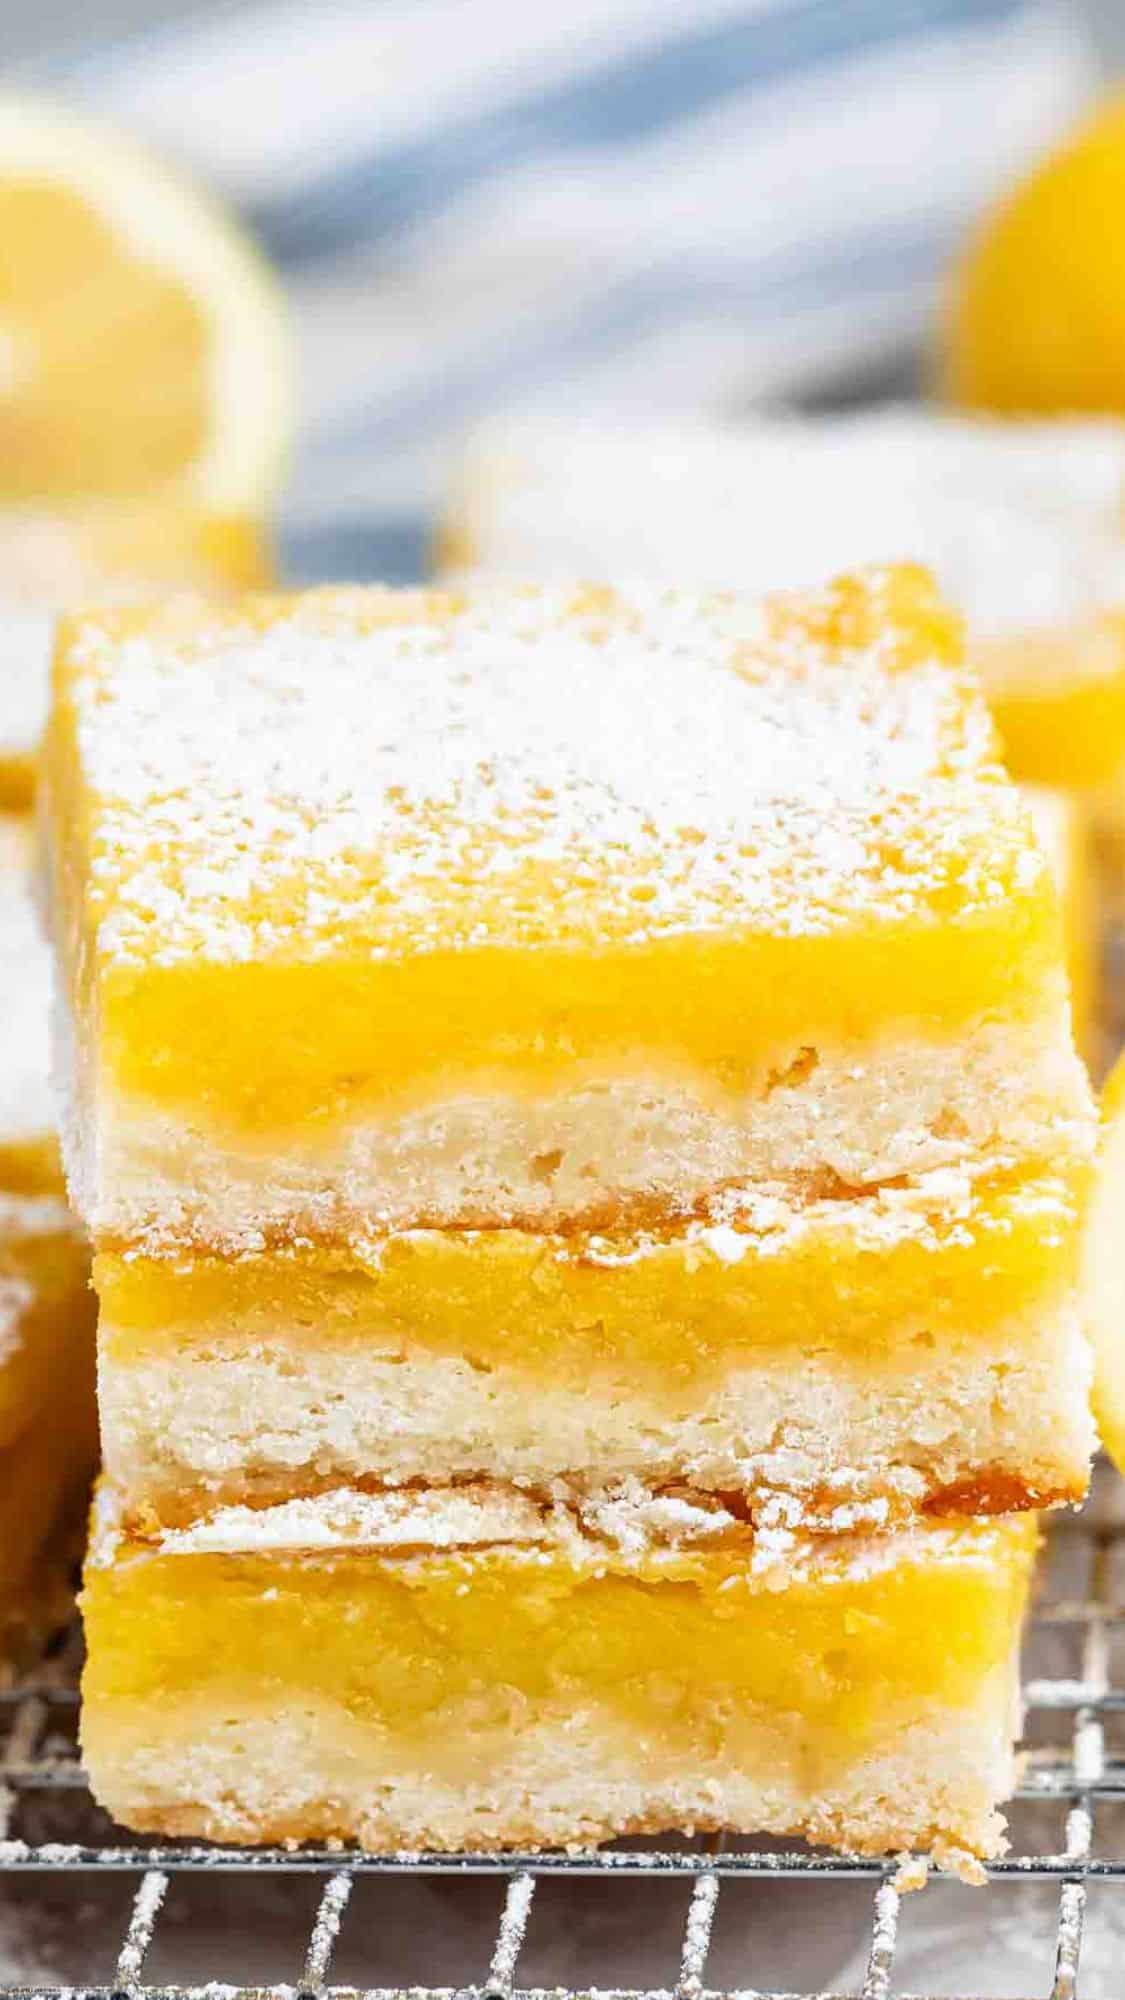
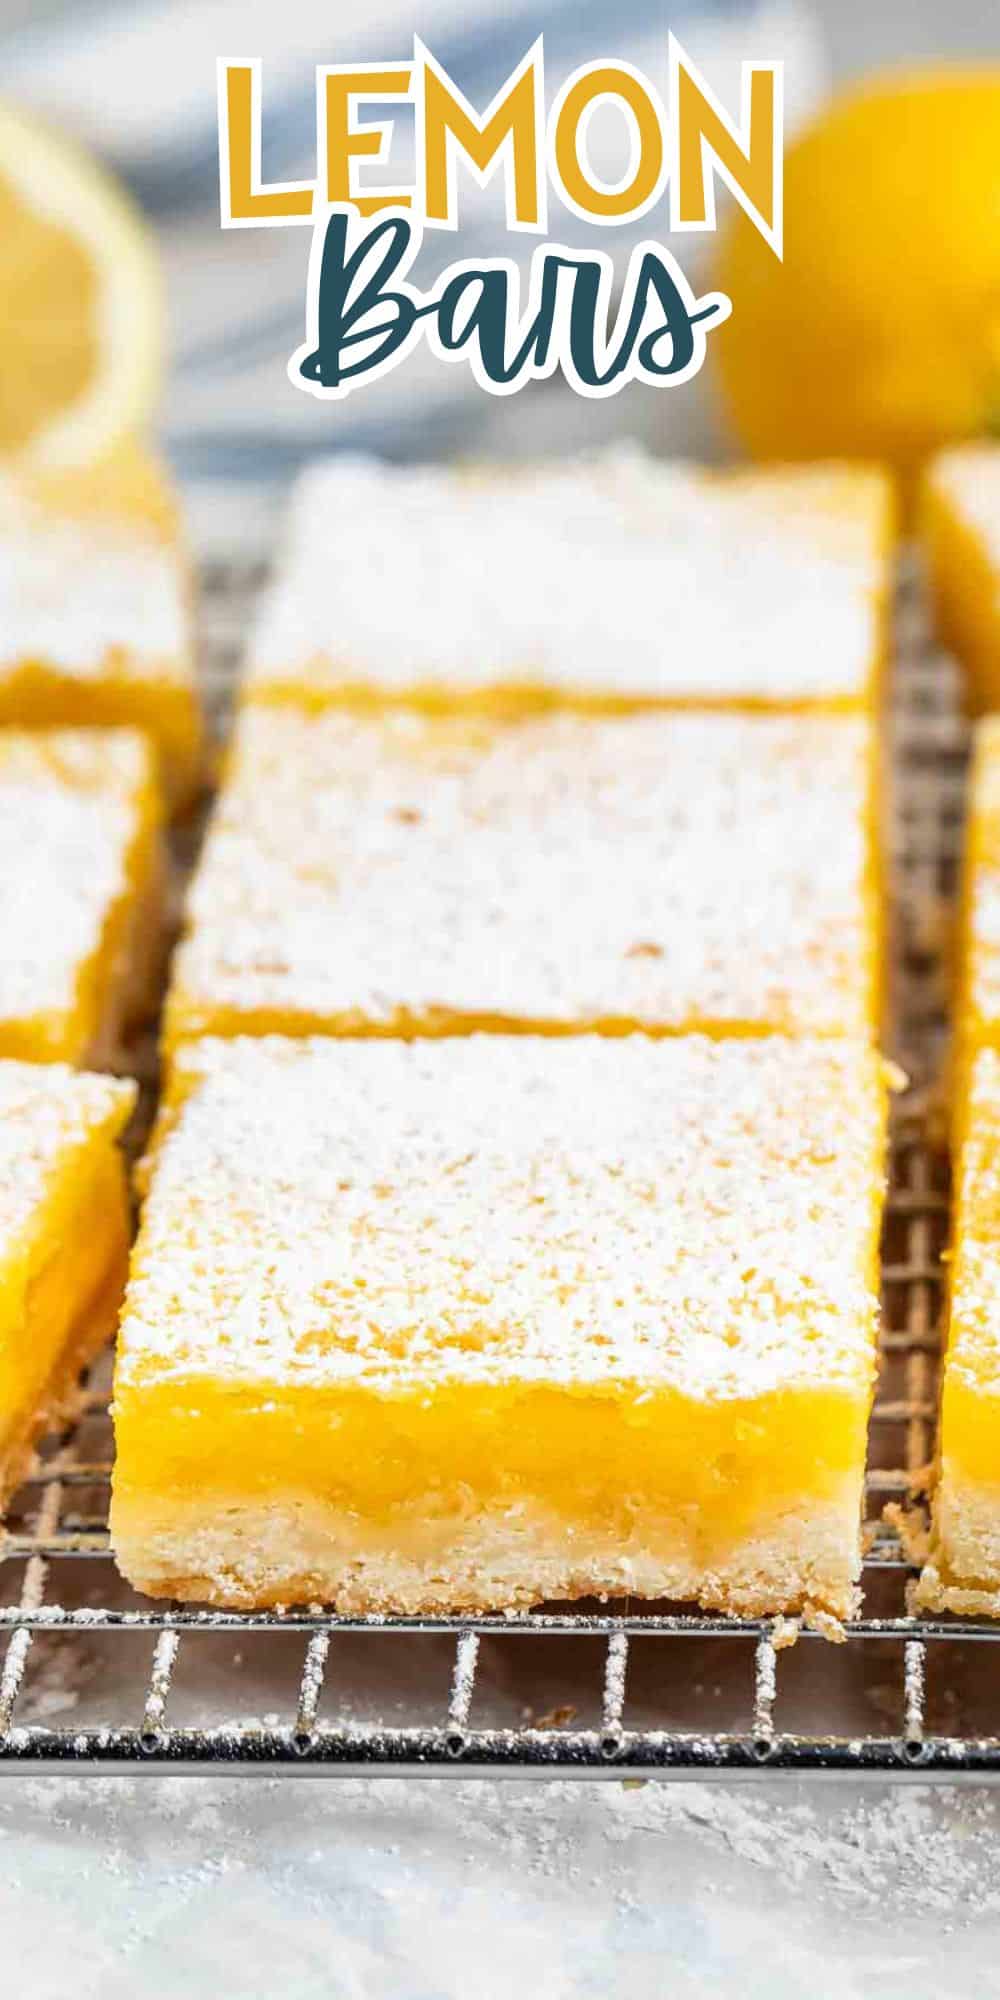
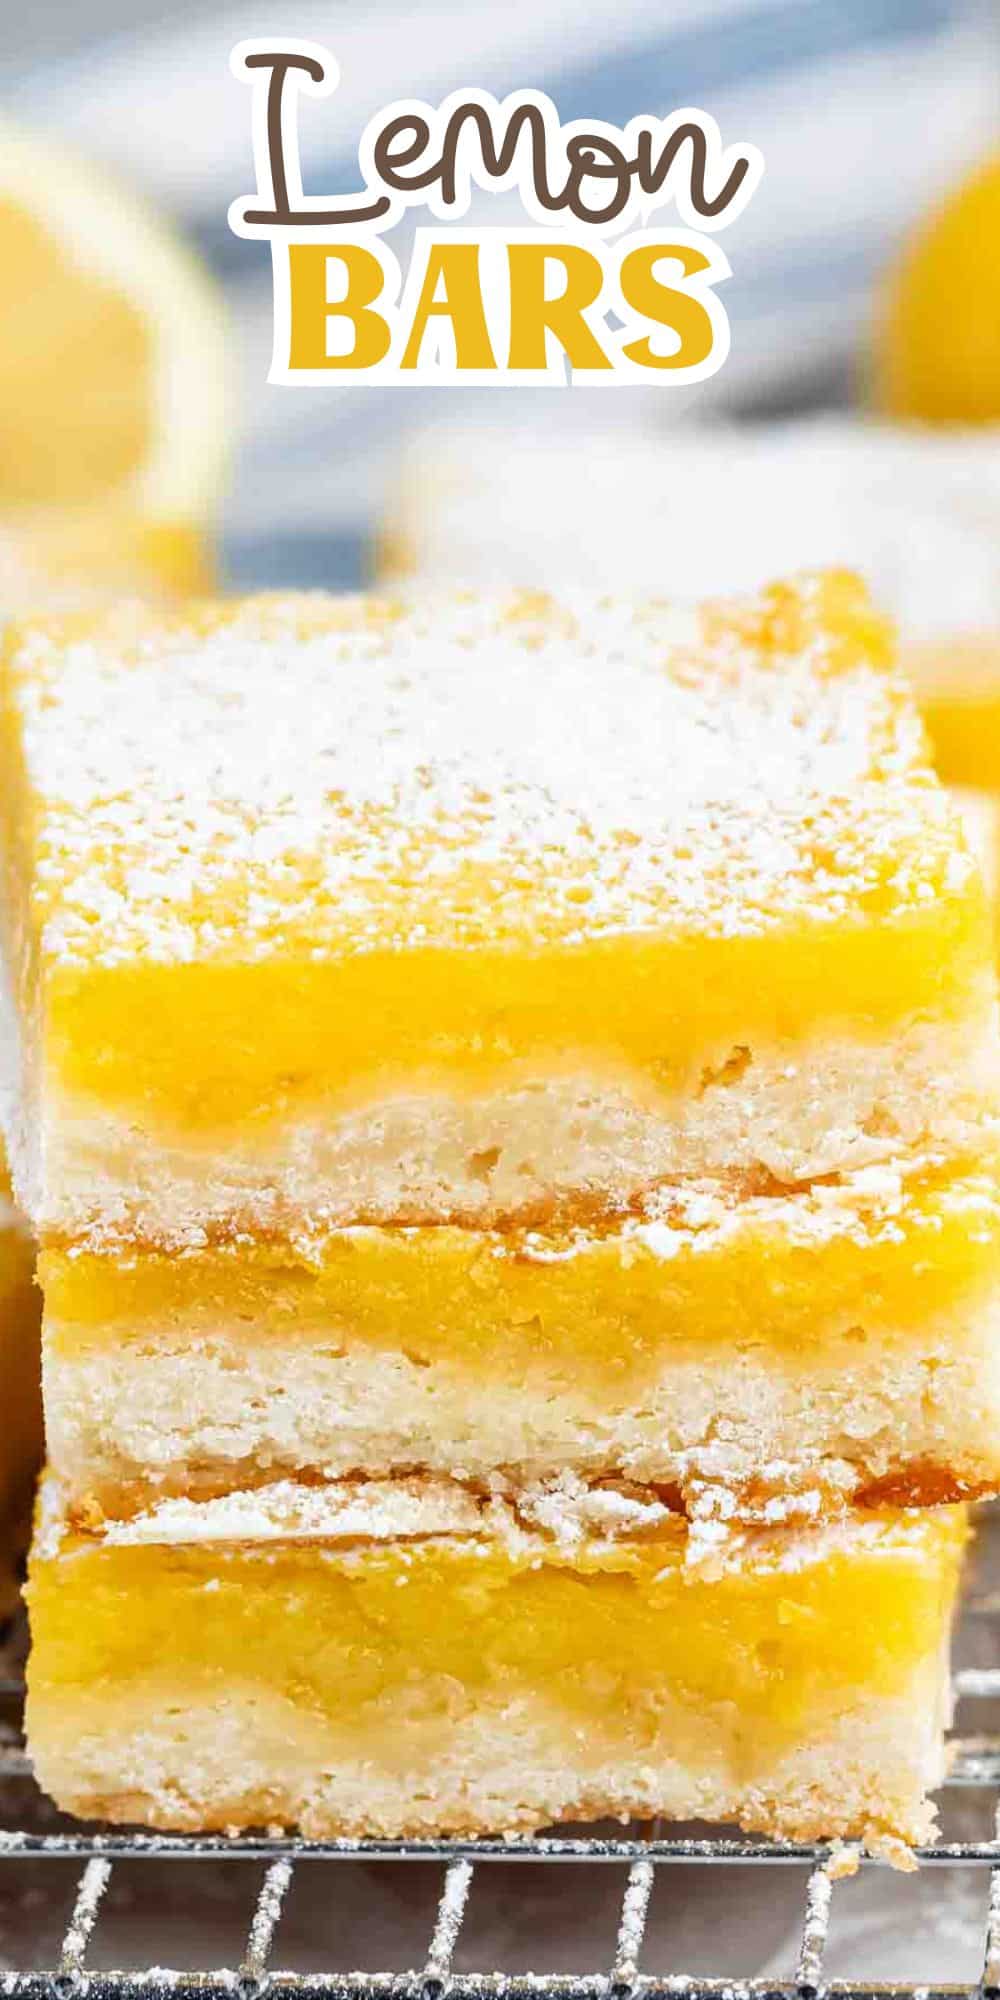
This really is the BEST Lemon Bars recipe! With a thick shortbread crust and a creamy sweet and tart lemon filling, these are a zingy lemon bar that will become your absolute favorite.
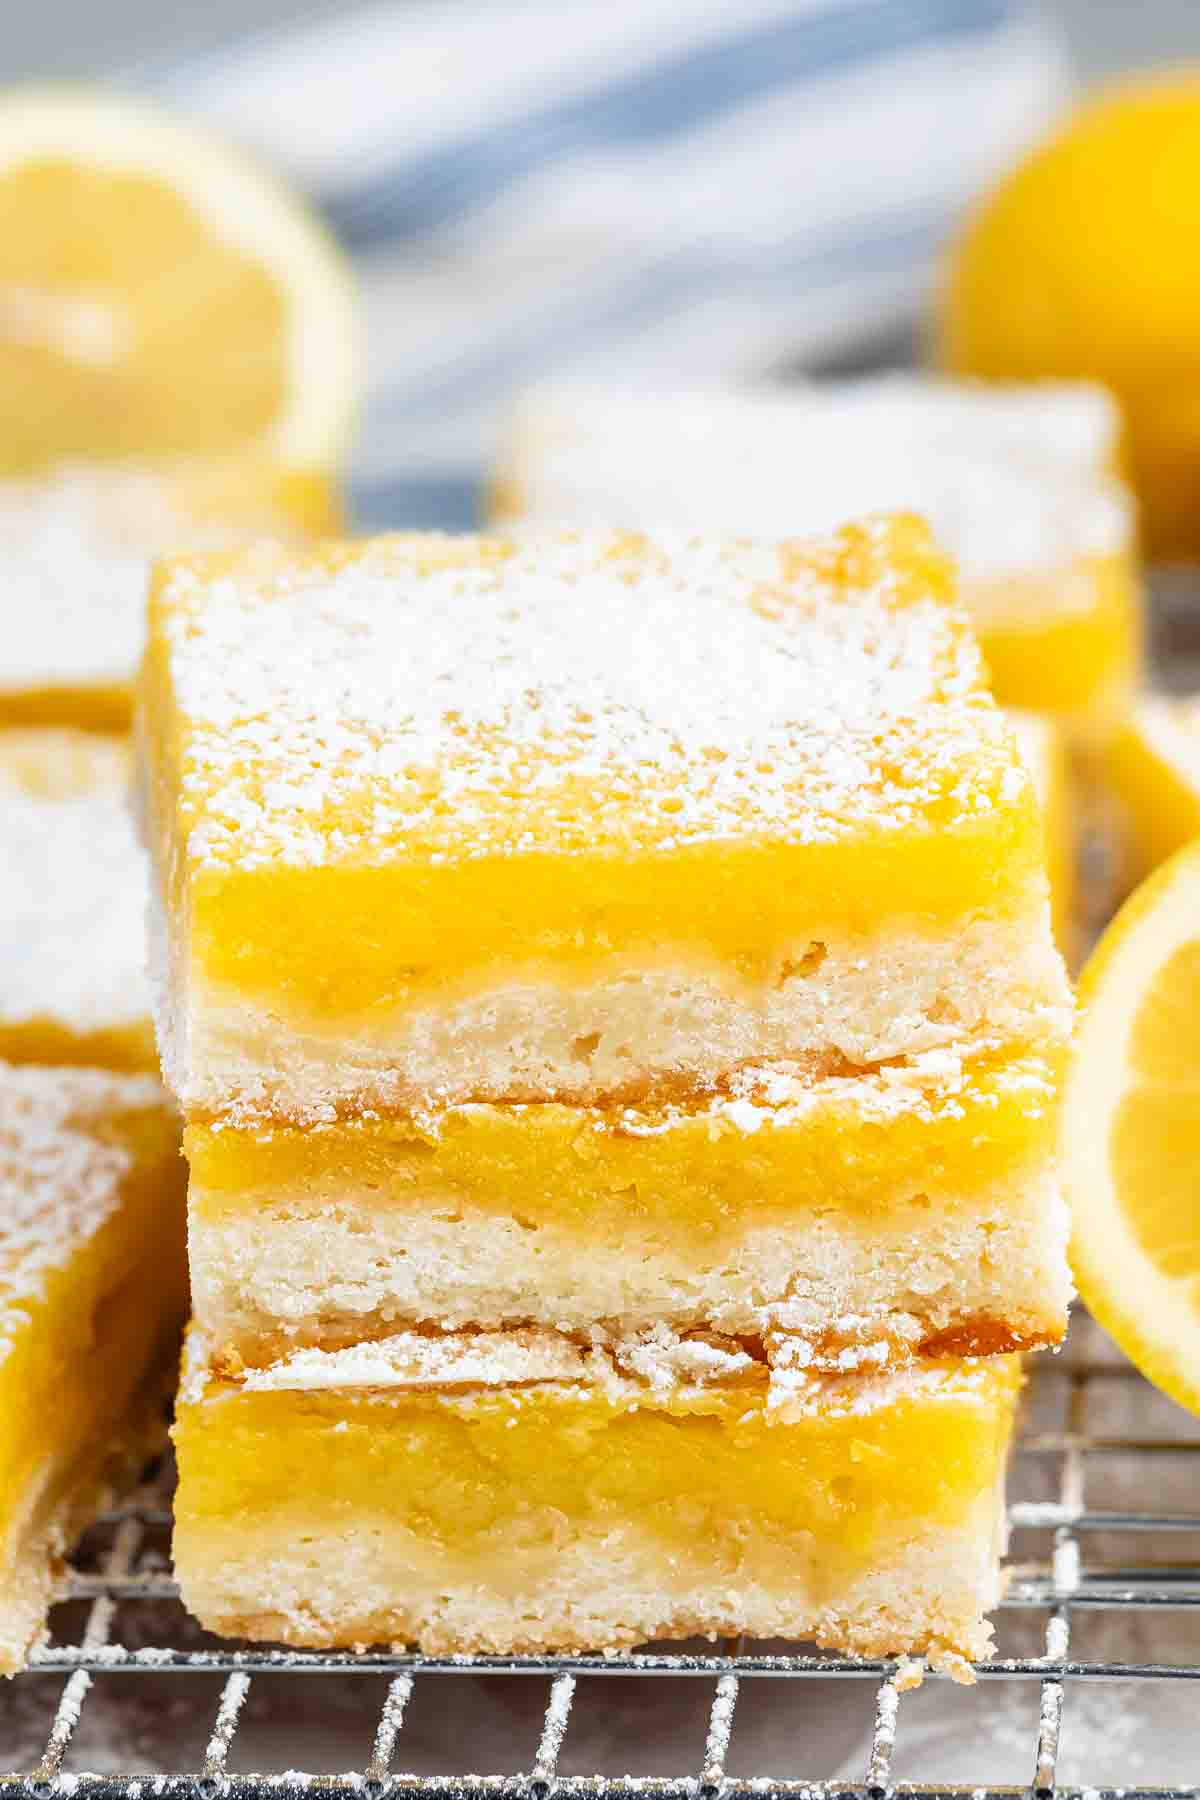
I remember the first time I had a lemon bar – I was an adult and my sister-in-law was making them from a box mix. I didn’t think I liked lemon desserts but one bite proved me wrong – and I’ve been making this recipe (from scratch!) ever since.
Oh, how I love a shortbread crust topped with tart lemon filling. My lemon squares recipe is one of my favorite lemon desserts! This recipe is better than Ina Garten’s lemon bars, pinky swear. My recipe is easier to make and the balance of crust to filling is perfect. The filling sets up every single time!
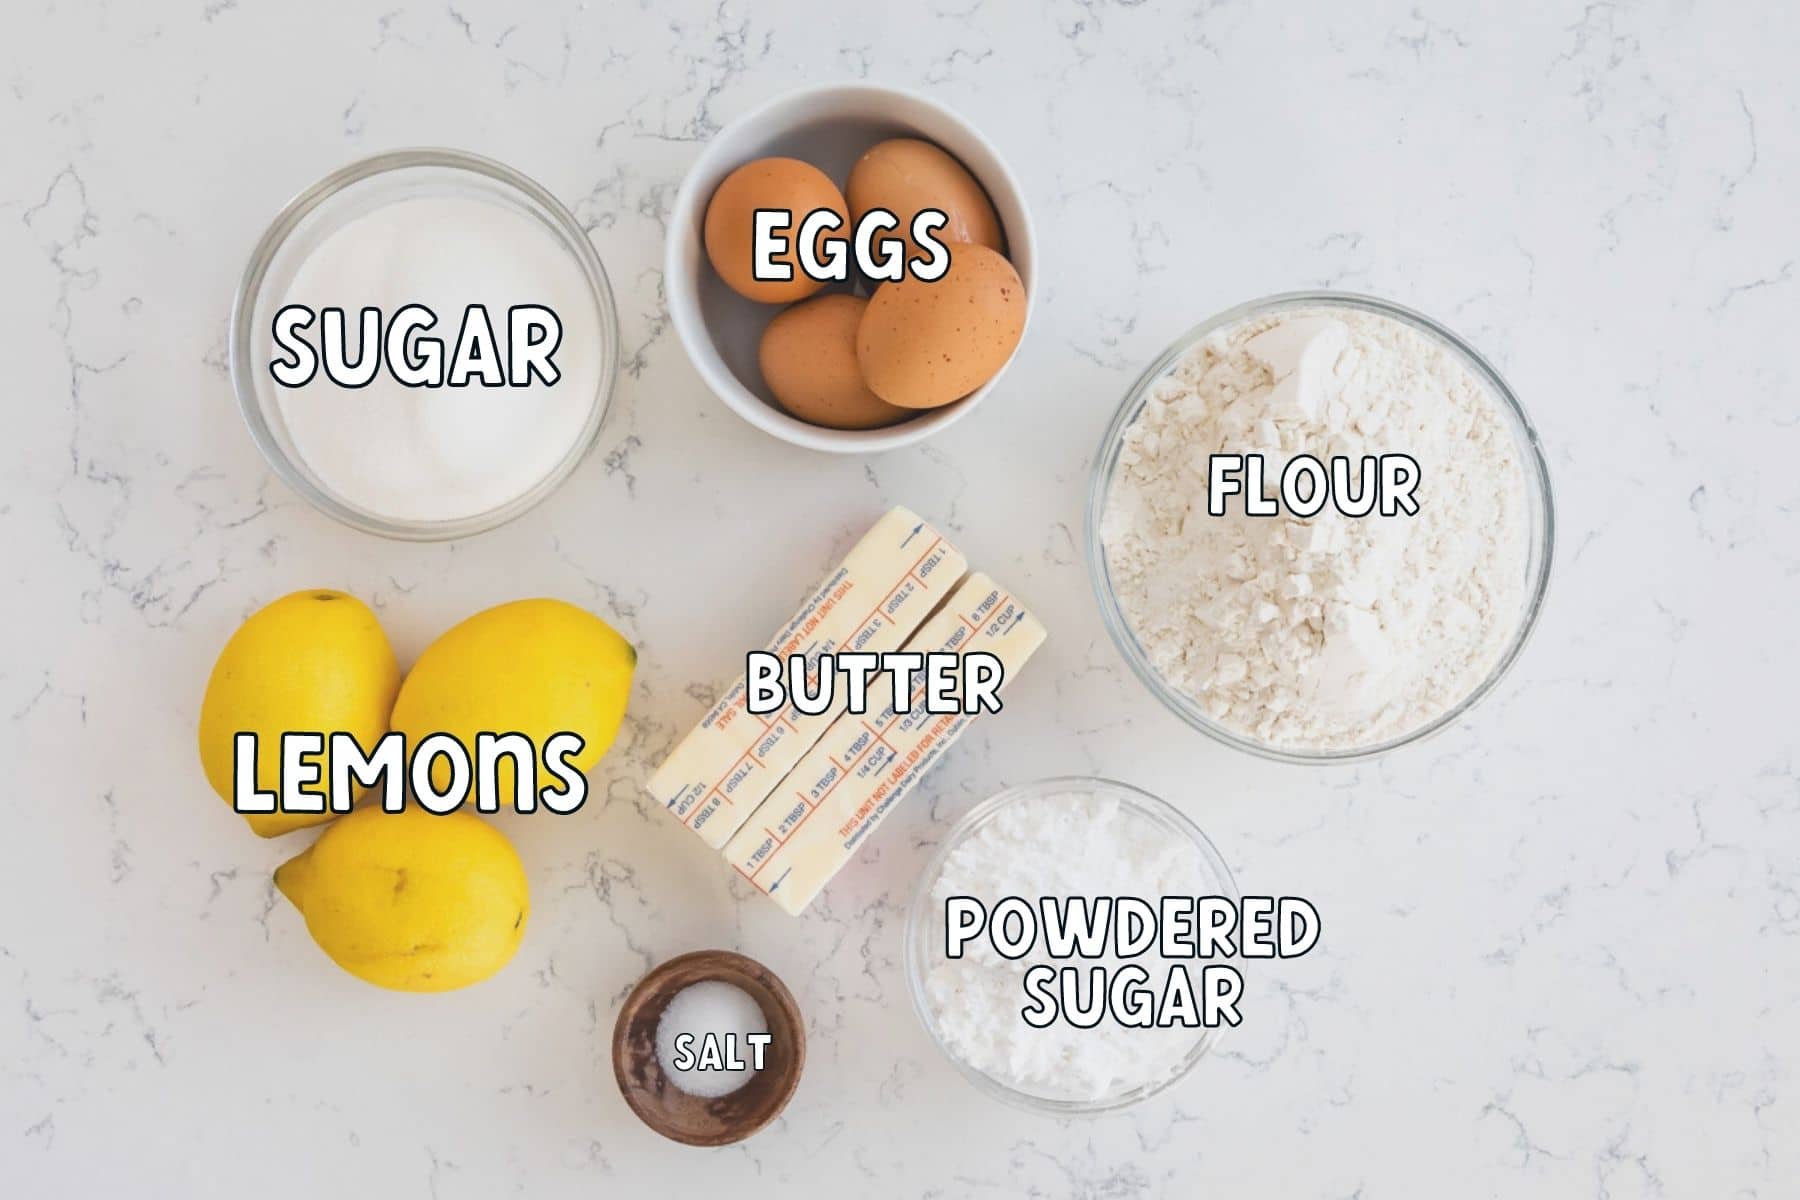
Ingredient Notes
- Butter: Use unsalted butter for the crust, make sure it’s softened. You can reduce added salt if using salted butter.
- Sugar: I love using powdered sugar in shortbread and granulated sugar in the lemon square filling.
- Lemon: You’ll need FRESH lemon juice and lemon zest! The lemon zest is where most of that lemon flavor comes from. Pro Tip: ANY citrus works in this recipe – make lime bars (or margarita bars) or even orange squares!
See the recipe card for all ingredients and look below it for all the process shots and more tips how to make these lemon bars.
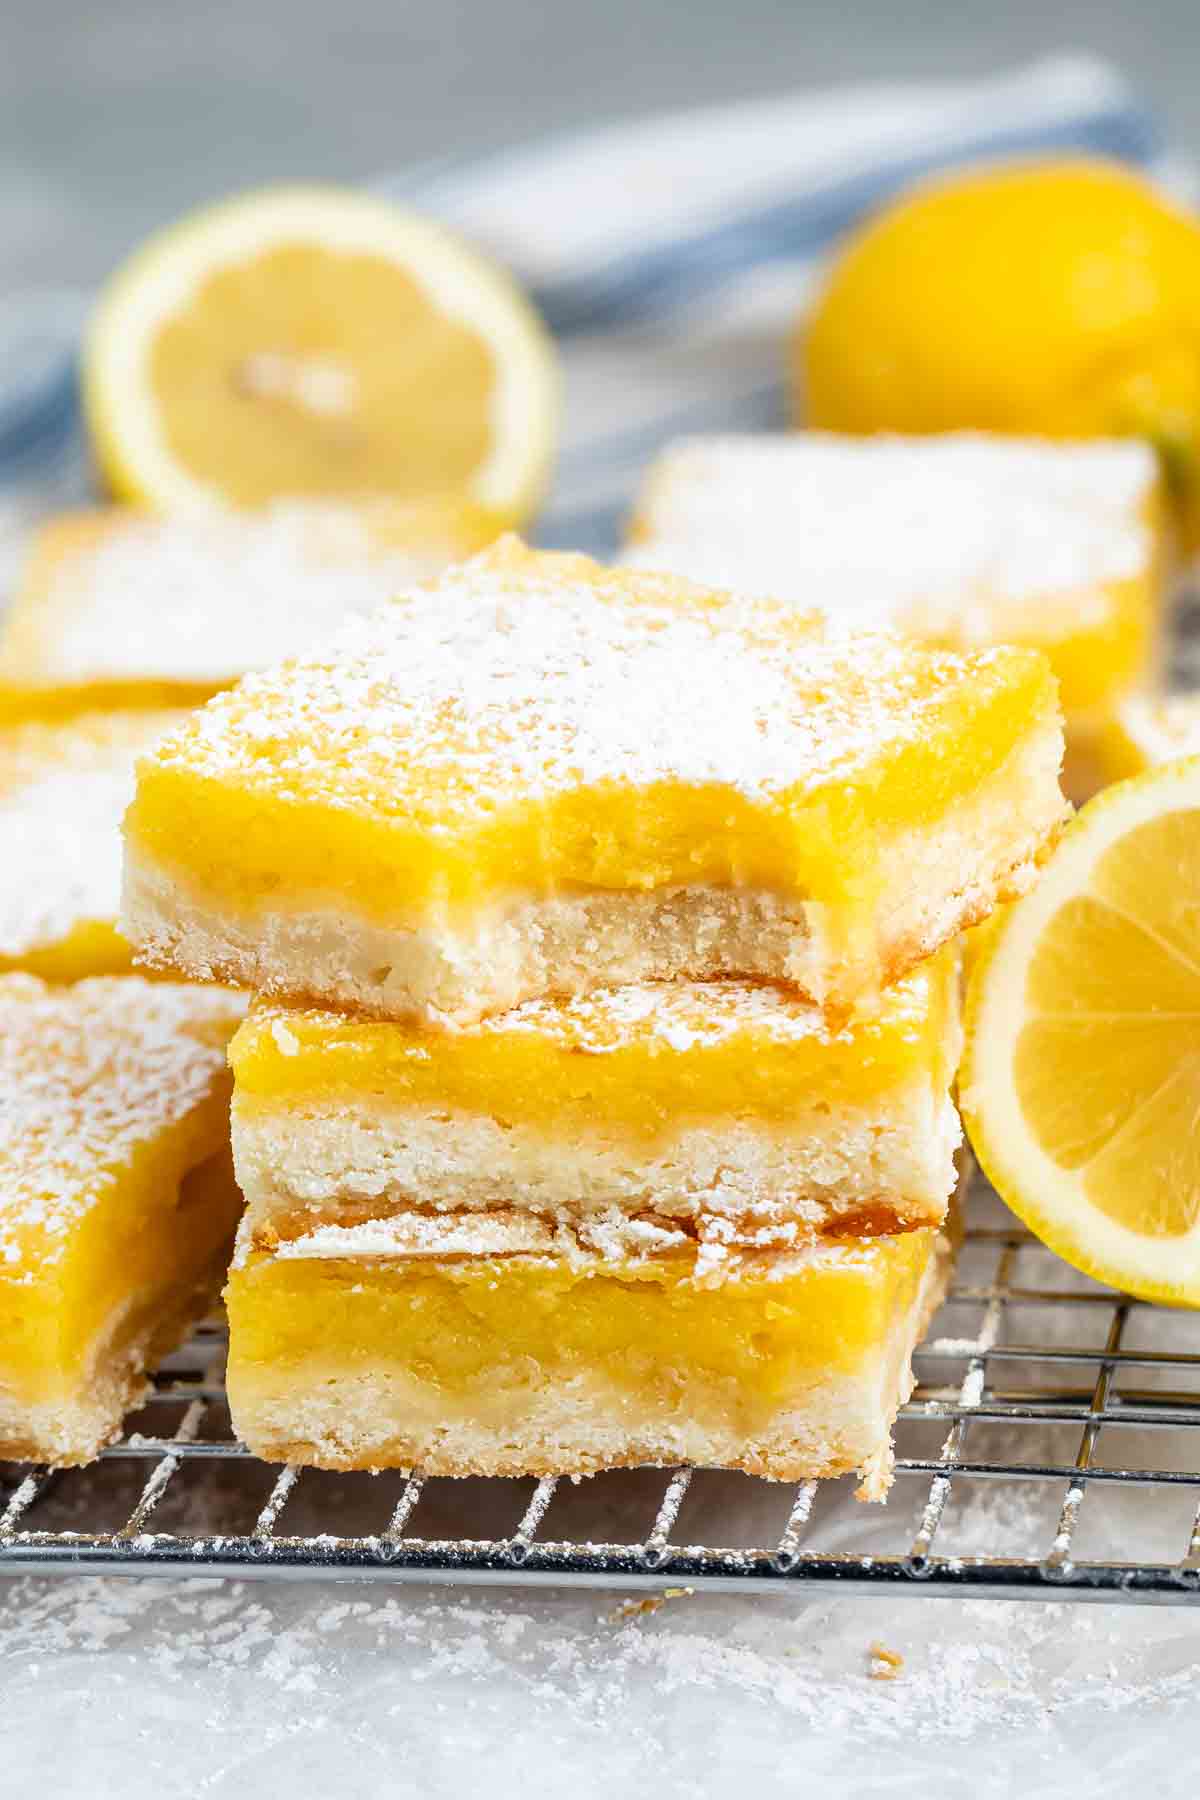
Expert Tips
- I recommend whisking your eggs to break up the yolks and incorporate the whites before adding the other ingredients.
- Keep an eye on the bars while they bake. You want to pull them out of the oven when they are set in the middle and just lightly golden on top.
- Don’t skip lining the baking dish with parchment paper or foil. This will make it really easy to lift the bars out in one piece before you slice them.
- You can also use a food processor or mixer to make the curst – just pulse all the ingredients together until crumbly.
- It is best to make lemon bars in a metal pan so the crust cooks and the filling sets. Glass pans do not conduct heat as well as metal.
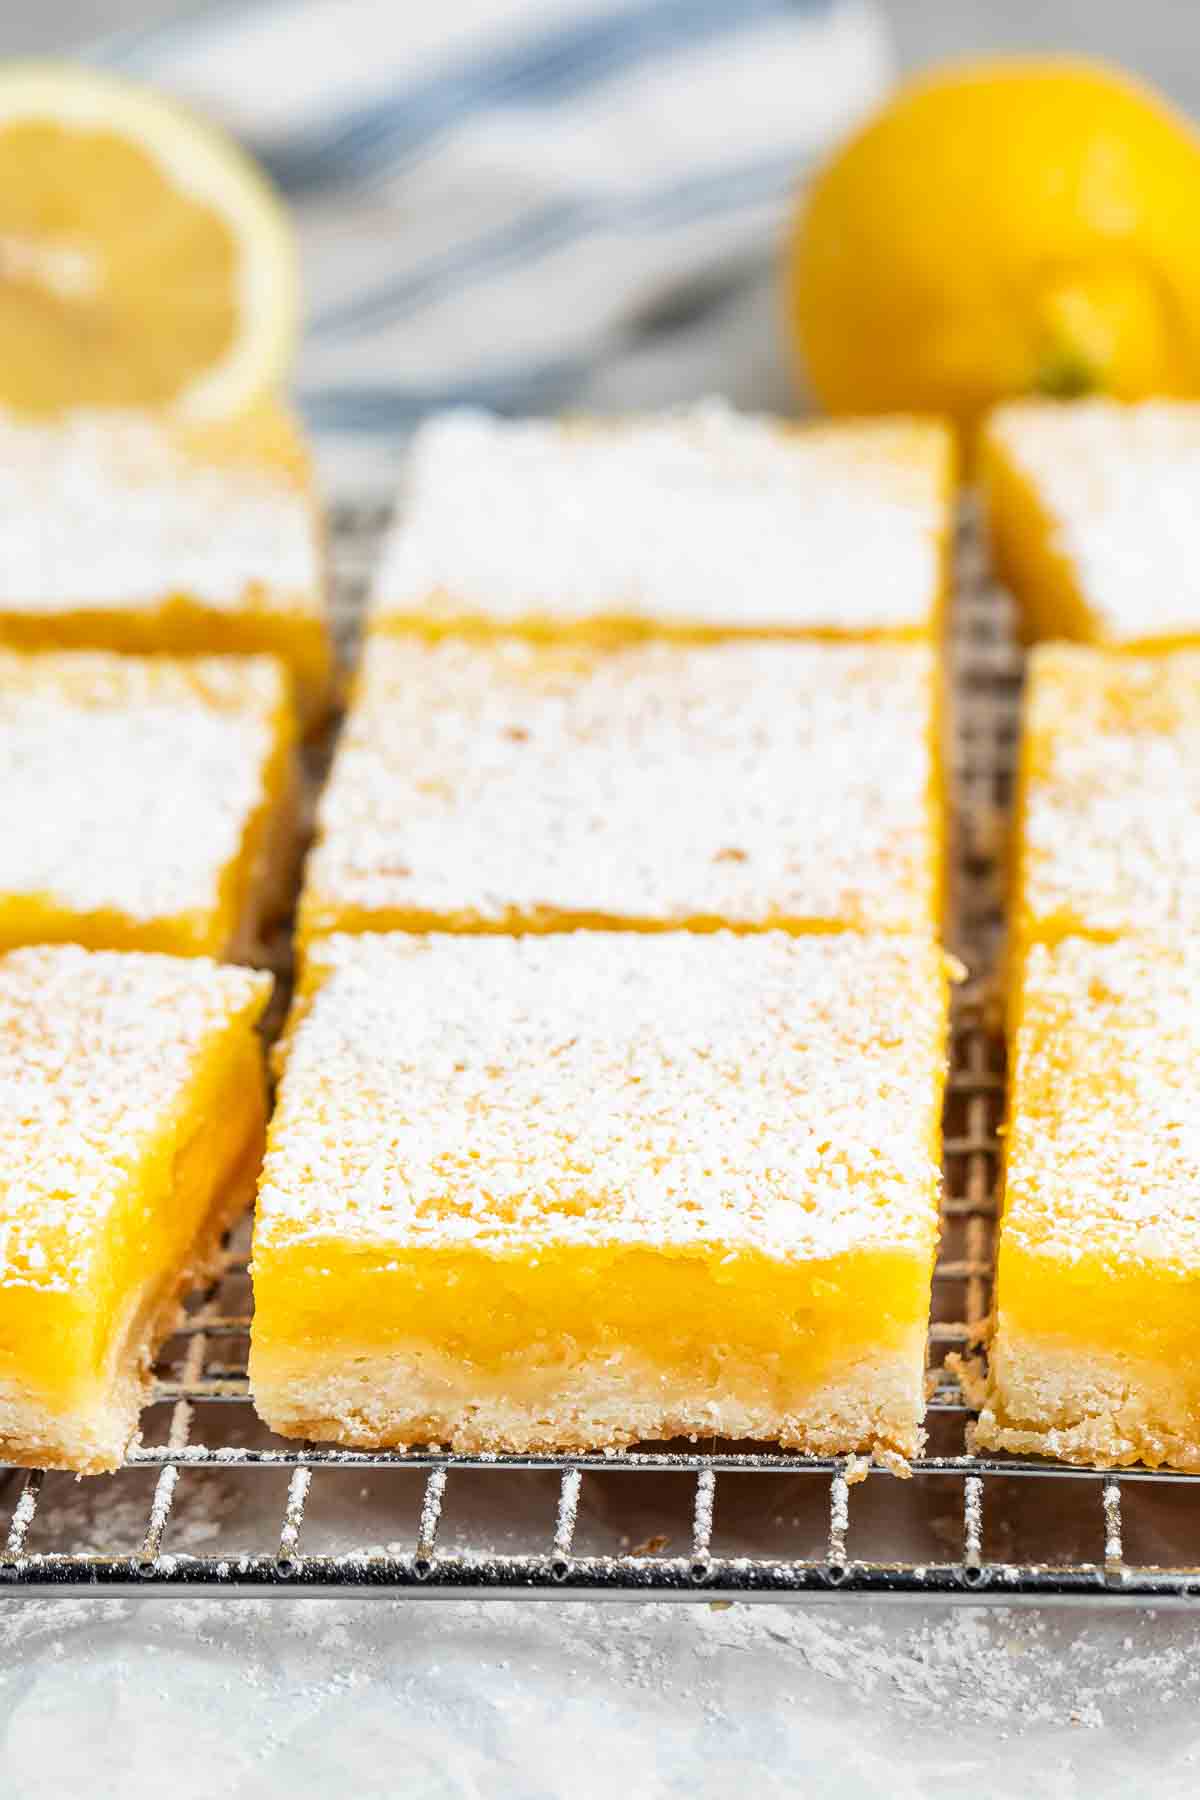
- The best way to cut them cleanly is to remove the entire slab from the pan using the parchment or foil. Then spray the knife with some nonstick cooking spray, and wipe it clean between cuts.
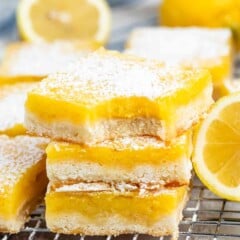
Lemon Bars Recipe
Recipe Video
Ingredients
Crust:
- 1 cup unsalted butter
- ½ cup (57g) powdered sugar
- 2 cups (248g) all purpose flour
- ¼ teaspoon salt
Filling:
- 4 large eggs
- 1 ½ cups granulated sugar
- Zest of 1 medium lemon
- Pinch of salt
- ½ cup (118ml) fresh lemon juice from about 4 medium lemons
- Powdered sugar for topping
Instructions
- Preheat oven to 350°F. Line a 9×9 or an 8×8 pan with foil and spray with nonstick cooking spray.
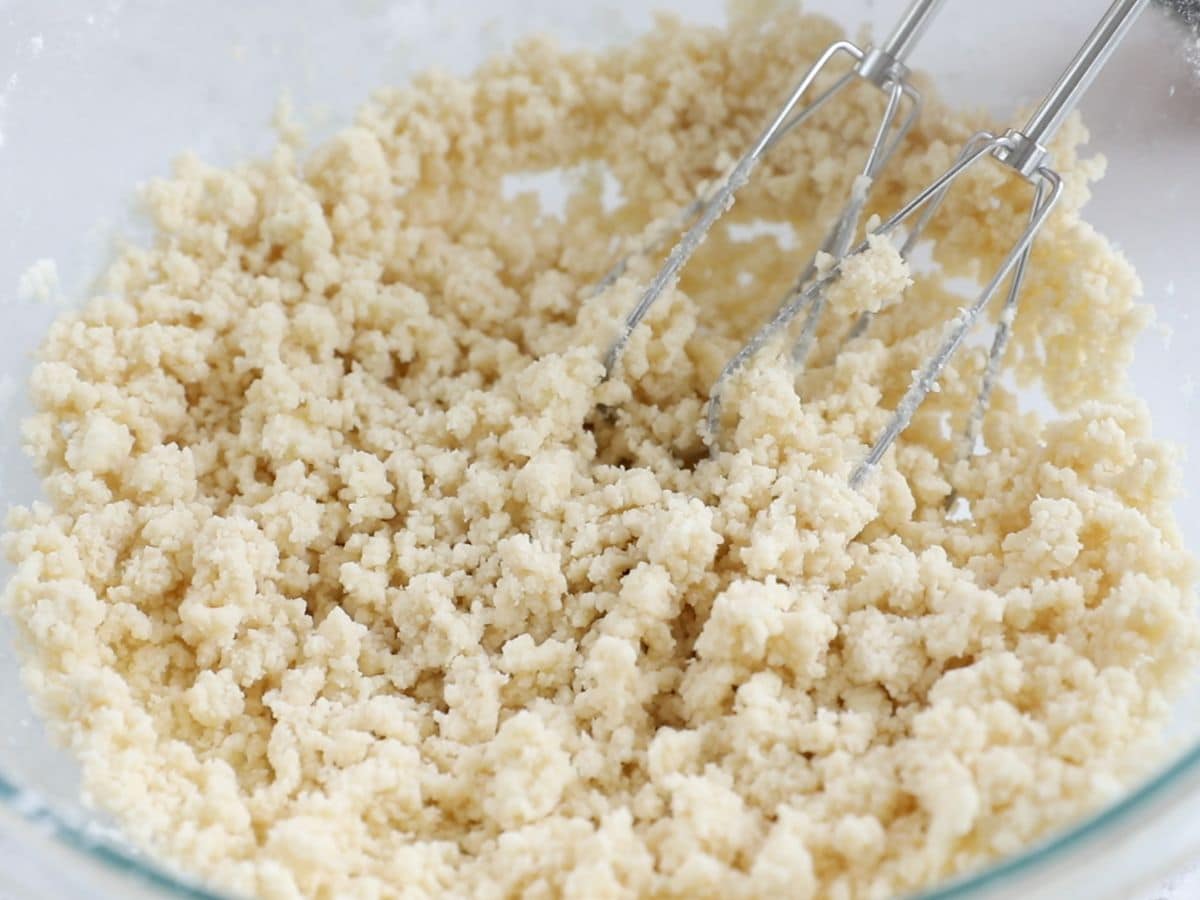
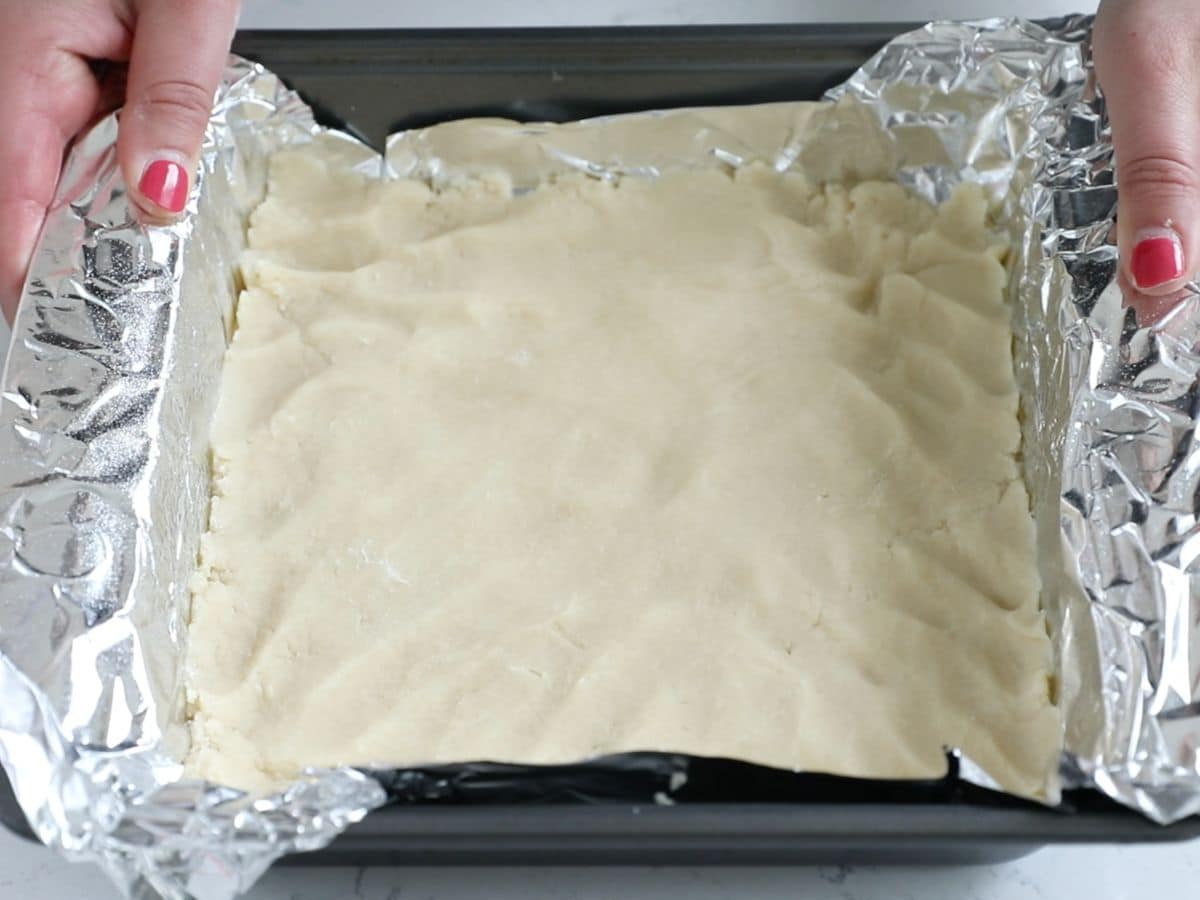
- Make the crust by creaming the butter with a hand or a stand mixer (fitted with the paddle attachment) until smooth. Add powdered sugar, flour, and salt and mix slowly until the mixture is crumbly but sticks together when you press it between your fingers. Press the crust into the bottom of the prepared pan. Bake for about 13 minutes, or until it just starts to get a light golden brown around the edges.
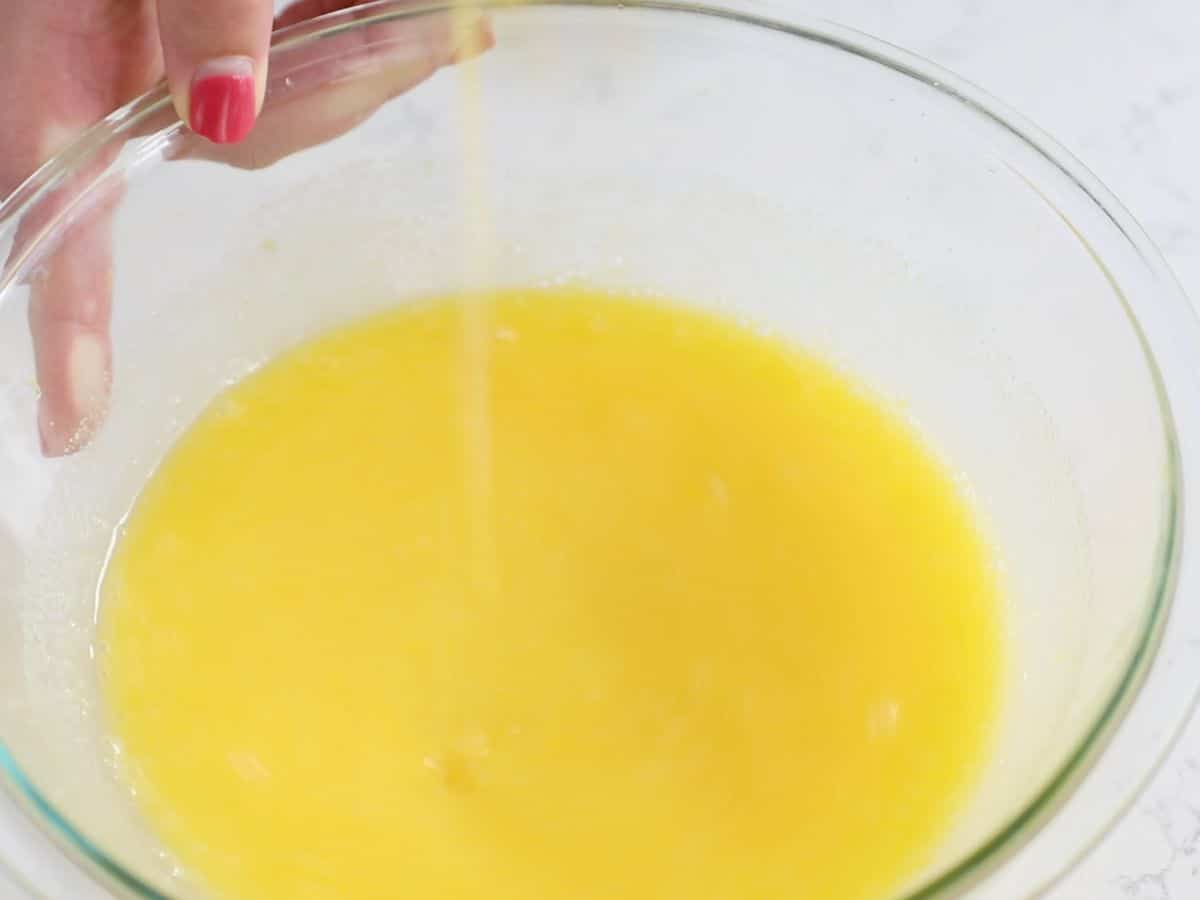
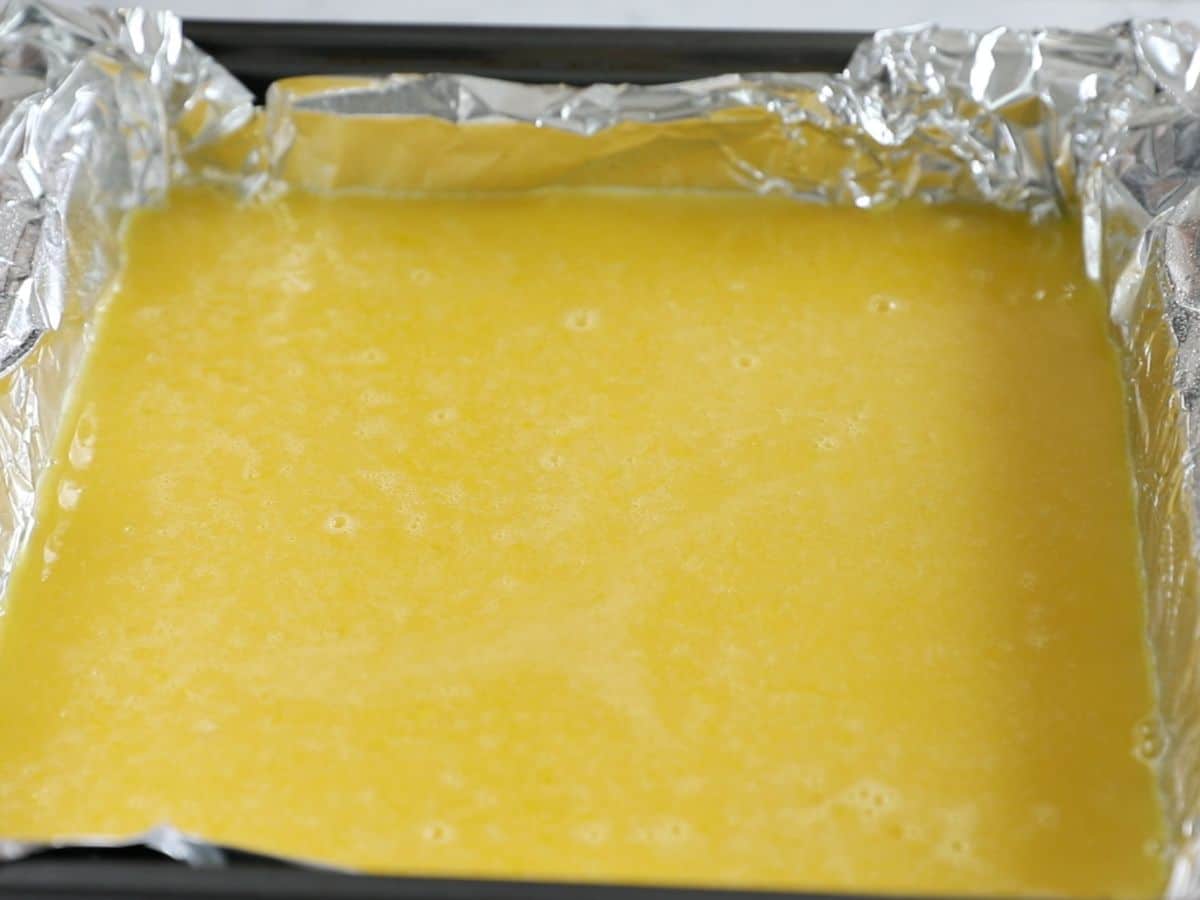
- While the crust is baking, whisk the eggs until beaten. Whisk in the sugar, lemon zest, salt, and lemon juice. Pour over hot crust, then continue to bake for 15-18 minutes, or until the mixture is no longer liquid in the center and it’s lightly golden brown on top.
- Cool completely before removing from pan. Remove foil, then dust with powdered sugar. Slice and serve, dusting with more powdered sugar as desired.
Recipe Notes
- I recommend a stand mixer for the crust if you have one, if not, a hand mixer will work but it will take a bit of time to get it mixed. Make sure the mixture sticks together when you press it into the pan – and make sure it’s pressed very well into a solid crust so there are no holes.
- Keep an eye on the bars while they bake. You want to pull them out of the oven when they are set in the middle and just lightly golden on top.
- If your kitchen is warm, you can place the cooled bars (in the baking dish) in the refrigerator so they firm up. This will make it easier to get clean slices.
- Store them in the refrigerator for up to four days in the refrigerator or you can freeze them for up to a month.
Recipe Nutrition
How to Make Lemon Bars
- The first thing that sets these bars apart is the crust. It’s a simple buttery shortbread crust that is easy to make. Many recipes have you bake the crust in a large baking dish, but I prefer a smaller 9×9” square one. That way you get thick lemon bars.
- You don’t have to chill the dough – just mix it up, press it into the pan and bake it. No waiting! The crust is ready for the pan when the dough is crumbly but sticks together when you squeeze it.
- I partially bake the crust so that it’s soft and buttery and crunchy once the bars are all done.
- The filling is so easy to make by just whisking all the ingredients together.
- Lemon bars are done baking when the lemon filling is no longer liquid in the center and the bars are lightly golden on top.
- Cool the bars completely before slicing and serving. I like to dust them with powdered sugar!









I wasn’t crazy about this recipe. I baked the recommended time and they were still runny. I kept baking until they firmed up. At least twice the baking time. After they cooled they were still a runny mess. I’m going back to the recipe in my old Betty Crocker cookbook. It never fails me.
I’ve been craving lemon bars and this recipe is so tasty. I made my own crust so i can’t speak on that but the filling is delicious. It set well after about 25 minutes in the oven. Delicious!
These are the best lemon bars I have every tasted!! SO GOOD!! I sold them in a bake sale me and my sister did and our neighbors are asking for more! One time when I bakes them the filling got under the crust, but hopefully that was just bc there was a hole in the dough. 5 stars tho!
I tried your lemon bar recipe tonight, so easy and very tasty! I think I might have under baked it a bit after I got the filling poured on, it seemed set but very squishy. They were still a little warm too, couldn’t wait to try them. So maybe after they have completely cooled they will be firmer. I love the thicker crust, way better than most recipes, and good!
I followed the recipe exactly and made extra effort to make sure the crust dough was pushed down firmly but it inverted nevertheless. Super frustrating because I was bringing these to a party and really van’t now. I think I’ll pass on this recipe and go back to my old one.
Really liked your recipe. I used my food processor for the crust on the dough setting. I made sure to really flatten the crust in the pan before cooking. Took a little longer to cook – 20 min. Then mixed the filling in the processor also after the crust. Lined an 8×8 glass pan with parchment paper. Followed your recipe precisely and they came out great! I didn’t have any issues with holes in the crust.
Featured In
Rate This Recipe
Recipe Ratings without Comment