This post may contain affiliate links. For more information, read my disclosure policy.
This recipe for Amish Friendship Bread comes just in time for the holidays. It’s the gift that keeps on giving!
Your friends will love it. Trust me.
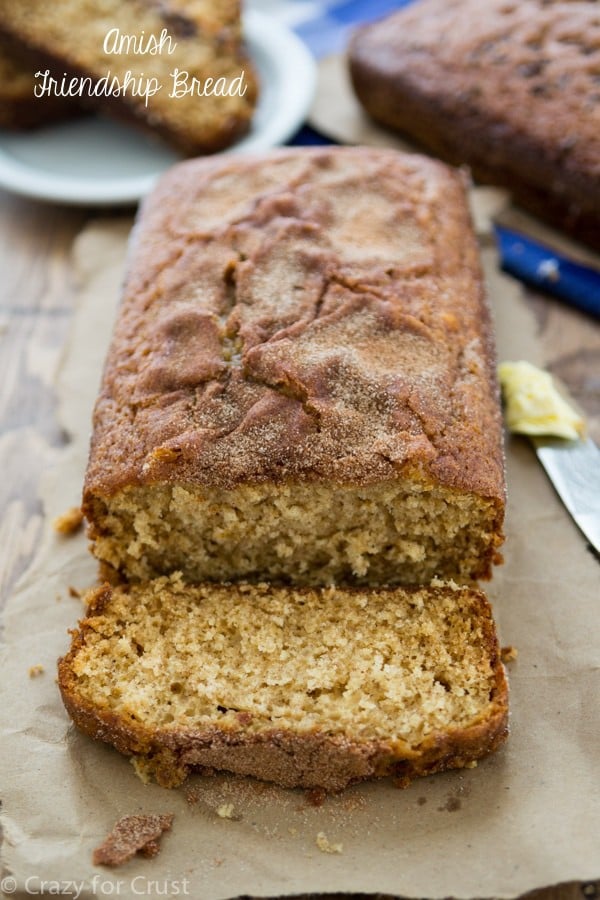
Remember Amish Friendship Bread
What I should have said is… “Your friends will love it until they don’t anymore and then run away from you because they don’t want any more starter.”
Okay, so I’m not really selling this recipe so far, am I? Let’s start over.
Have you heard of Amish Friendship Bread? I thought everyone had and then I asked Facebook, the knower of all the things, and it said that many people have no clue.
REALLY? Where were you in the late 80s??? Certainly not in Burlingame, CA, where I was. EVERYONE had a bowl of starter on their counter back in ’89. It was the in thing to do: wear leg warmers, rat your hair high, and babysit yeasted starter on your counter for 10 days.
Amish Friendship Bread, in all essence, is an edible chain letter. And while I delete chain letters and “share if you agree” statuses on FB on principle, I’ll never, ever turn down bread. Especially this bread. It’s the best bread. Really. I remember eating it for weeks in middle school. Then one day it vanished…never to be seen again…until now.
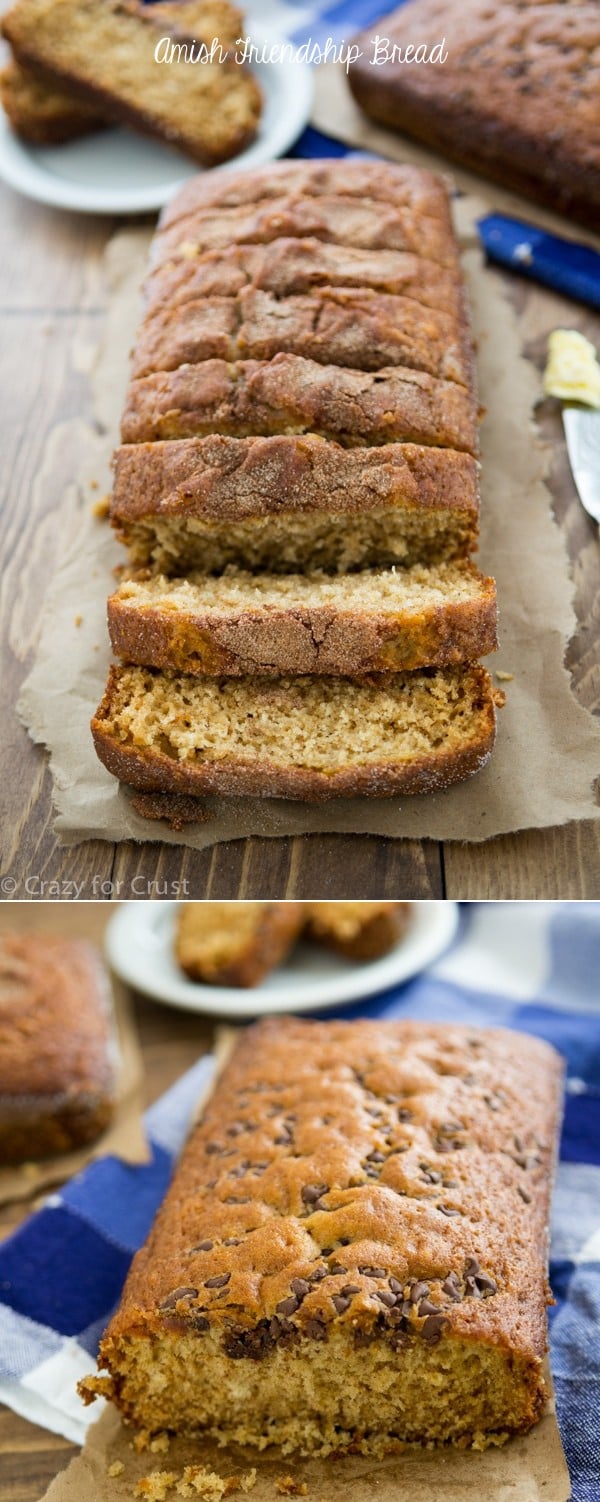
So what is it, really? Basically it’s a “quick” bread made with a sourdough starter. You grow the starter on your counter for 10 days, stirring it and feeding it and loving on it, and then at the end of 10 days you make the most amazing bread with it.
Then, because it’s so friendly, you share 2 cups of the starter with two friends and keep a cup growing on your counter for next time.
Then, 10 days after that, you do the same thing. And again and again to infinity.
Or, you can give it all away after 10 days…or freeze it for next time a craving hits.
You see, that’s what happened to me. All of a sudden I wanted Amish Friendship Bread. I had not had a bite of it in 25 years and one day last month I neeeeeeded a slice. But what’s a girl to do when she wants the bread but doesn’t have the starter?
Make her own, of course.
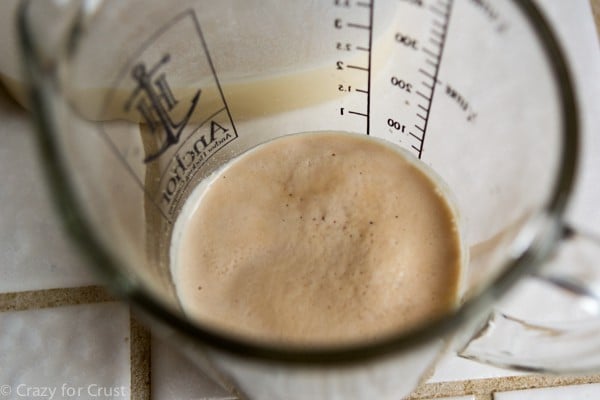
You start with yeast and water. Let it proof, like you’re making cinnamon rolls. Then you mix the frothy yeast with flour, sugar, and milk. Stir, loosely cover, and let it sit.
A day later, and each day for 4 days you stir it. Then, on day 5, it’s hungry. You can’t hear it’s tummy growling, but you need to feed it anyway.
This chick is a girl after my own heart. She eats sugar, flour, and milk.
Then you stir her again until day 10. On day 10, she’s hungry again. Then she’s multiplied to 4 cups of starter.
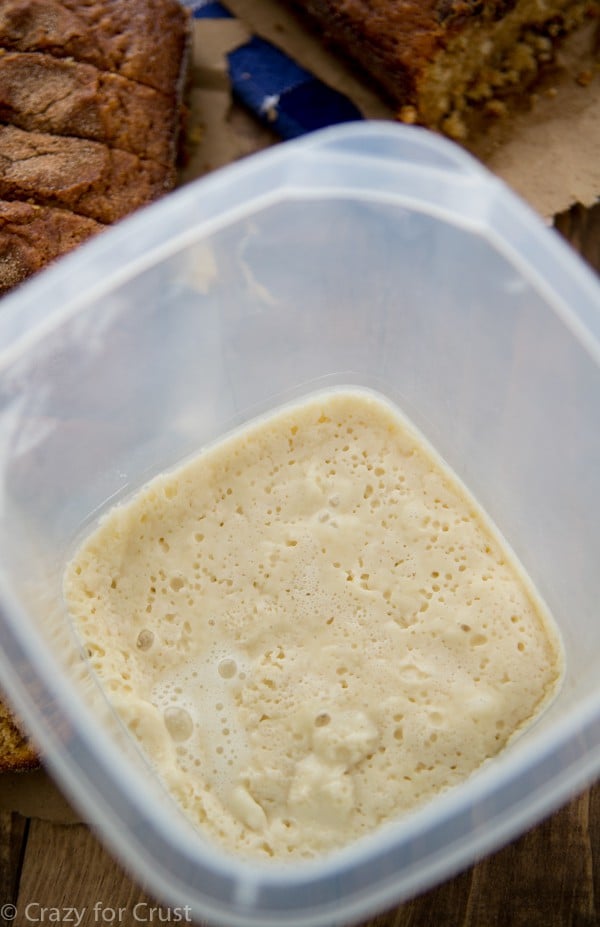
Pick two friends and give them each a cup of starter, with directions on how to take care of it – obviously.
Then put one cup aside to continue growing…or freeze it for when the urge hits next time.
That last cup? That’s what you make your bread with. At this point, making it is like quick bread. Just stir together all the ingredients and bake in loaf pans. No kneading or dough hooks or anything. The batter is pretty much like a banana bread batter.
A few notes about the recipe:
- I used two 9×5″ loaf pans, so my loaves ended up a little flat. If you have 4×8″ pans, use those.
- The plain bread can be made plain, or you can add chopped nuts or chocolate chips. It’s yummy both ways.
- I like to sprinkle cinnamon sugar on top the loaf before baking. It gives a nice crunch.
- Try not to eat it all in one sitting.
Hey, this bread might take some work, but it’s so worth it.
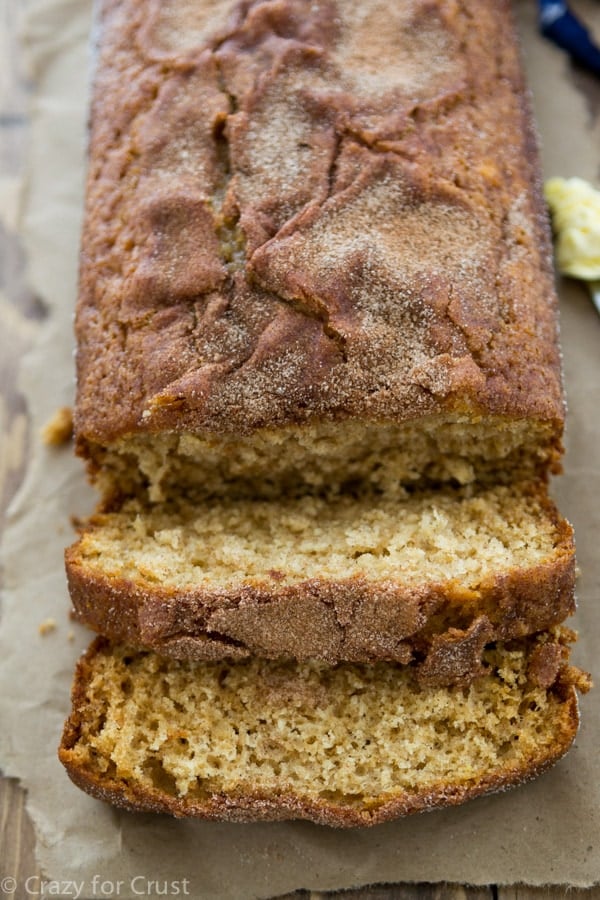
Plus, any bread you can share with friends is the best bread. Until they run screaming from you begging for no more starter. 😉
If you like breads like this, be sure to check out my zucchini bread recipe!
Amish Friendship Bread + Starter
Recipe Video
Ingredients
Starter
- 1 package active dry yeast 2 1/4 teaspoons
- 1/4 cup warm water 110°F
- 1 cup granulated sugar
- 1 cup all-purpose flour
- 1 cup milk (nonfat, regular or 2%)
Feedings (2)
- 2 cups granulated sugar divided
- 2 cups all-purpose flour divided
- 2 cups milk divided (non-fat okay)
For the Bread:
- 1 1/4 teaspoons baking powder
- 1 teaspoon baking soda
- 1/2 teaspoon salt
- 1 teaspoon cinnamon
- 2 cups all-purpose flour
- 1 cup starter
- 2/3 cup oil
- 1 cup granulated sugar
- 3 eggs
- 1 teaspoon vanilla
- Nuts, chocolate chips, or cinnamon sugar optional (see note)
Instructions
- NOTE: Do not use metal utensils, spoons, or bowls. Do not refrigerate starter.
Day 1: Make your starter
- Make your starter: Stir yeast into warm water. Let sit for 10 minutes.
- Stir sugar and flour in a large bowl. Stir in milk until mixture is smooth.
- Stir the yeast mixture into the flour mixture. Cover loosely and store on the counter.
- Optional: place mixture in a gallon size ziploc bag and seal, releasing all the air. Store on counter.
Days 2-4
- Stir the mixture once per day, or mash the bag if you're using a bag.
Day 5: Feeding #1
- Feed the mixture: Stir 1 cup each sugar, flour, and milk into the starter. Cover loosely and store on the counter. (If your mixture is in a bag, just add the ingredients to the bag and mash until they are incorporated.)
Days 6-9
- Stir the mixture once per day, or mash the bag if you're using a bag.
Day 10: Feeding #2/Baking/Gifting
- Feed the mixture: Stir 1 cup each sugar, flour, and milk into the starter. Cover loosely and store on the counter. (If your mixture is in a bag, just add the ingredients to the bag and mash until they are incorporated.)
- Reserve 1 cup of starter to continue growing on your counter. Consider today (Day 10) to be Day 1, and repeat these instructions starting with Day 2 tomorrow.
- Remove 1 cup of starter to use in the Amish Friendship Bread Recipe (see directions below).
- For gifting: Measure out 1 cup of remaining starter and place in a new gallon size ziploc bag (or bowl for gifting). Repeat with a second 1 cup starter. You may have an additional 1 cup of starter, which you can place in a third bag to give OR you can make a second batch of the bread (recipe below). You can also freeze this 1 cup of starter to use in the future (freeze in a gallon size bag).
Friendship Bread Recipe:
- Preheat oven to 325°F. Grease pan(s) with butter or shortening or spray with nonstick baking spray (the cooking spray that comes with flour in it).
- Stir baking soda, baking powder, salt, cinnamon, and flour in a medium bowl. Set aside.
- Stir starter, oil, and 1 cup sugar with a wooden spoon or spatula. Stir in eggs, 1 at a time, then stir in vanilla. Gently fold in dry ingredients. Stir in chocolate chips or nuts, if using (see note).
- Place batter in pan(s). Optionally, you can sprinkle with cinnamon sugar (see note).
- Bake according to your pan size below, until a toothpick comes out clean. Cool before removing from pan.
- Pan sizes:Two 4×8-inch or two 9×5-inch loaf pans: 40-50 minutesOne 10.5×16-inch loaf pan: 50-60 minutes
Recipe Notes
Pan Sizes:
- Check your pan sizes. If your loaf pans are 4×8-inch or 9×5-inch, make two loaves. If your loaf pan is 10.5×16-inches, you can make one loaf.
- You can also use ONE 9-inch square or 9-inch round cake pan instead of the loaf pans.
Optional Fillings/Toppings:
- Add 1 cup chocolate chips or nuts to the batter.
- If you’re making two loaves, you can divide the batter in half and use 1/2 cup of either chocolate chips or nuts per loaf.
- I love topping the loaves with a mixture of cinnamon sugar before baking (1 tablespoon granulated sugar + 1/2 teaspoon cinnamon)
Recipe Nutrition
Other bread you might like:
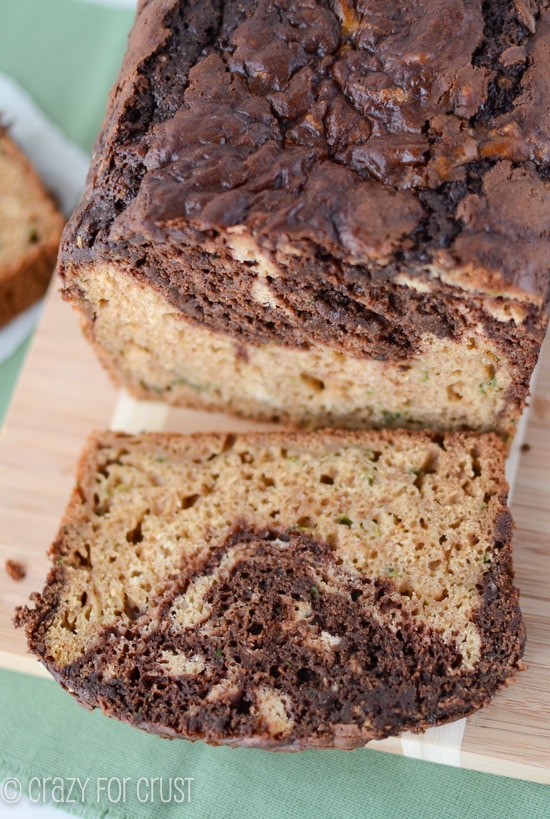
Chocolate Swirl Zucchini Bread
Sweets from friends:
Amish Peanut Butter Pie by Nutmeg Nanny
Amish Breakfast Casserole by CenterCutCook
Chocolate Cinnamon Swirl Banana Bread by Something Swanky
Can you make this bread recipe using a sour dough starter?
OMG! What a great post. This reflected my ‘80s experience as a young mother baking at home. My first experience started with my neighbor who shared. Thanks for the memory. I’m thinking of making this. Its yummy bread!
I looked at several recipes and I liked this one best! Very good bread. I added a 1/2 cup of applesauce and cut the oil to a 1/3 cup. I also greased the pan and dusted it with cinnamon and sugar.
I’ll make again!
This is really good bread and a fun way to pass on recipes and bread to friends. Only down side is you run out of friends and start giving it to complete straingers…..LOL
Hi,
I tried the recipe, and noticed I made a mistake along the way. My bread cooked at 325 for over an hour the outside was burnt and the inside was not cooked. I accidentally cooked the entire “Friendship Bread Recipe” in one 9×5 glass loaf pan (sprayed with PAM). Is that why the bread was not cooking right and dense? The entire mixture was thick before I put it in the pan, however it did fit comfortably in the pan. If I did half the batter in one 9×5 and half in another then they would have only filled the pan a little less than half way. What are your thoughts?
I think that your oven may be cooking too hot. That’s usually the culprit when something burns outside and is under done inside.
Featured In
Rate This Recipe
Recipe Ratings without Comment