This post may contain affiliate links. For more information, read my disclosure policy.
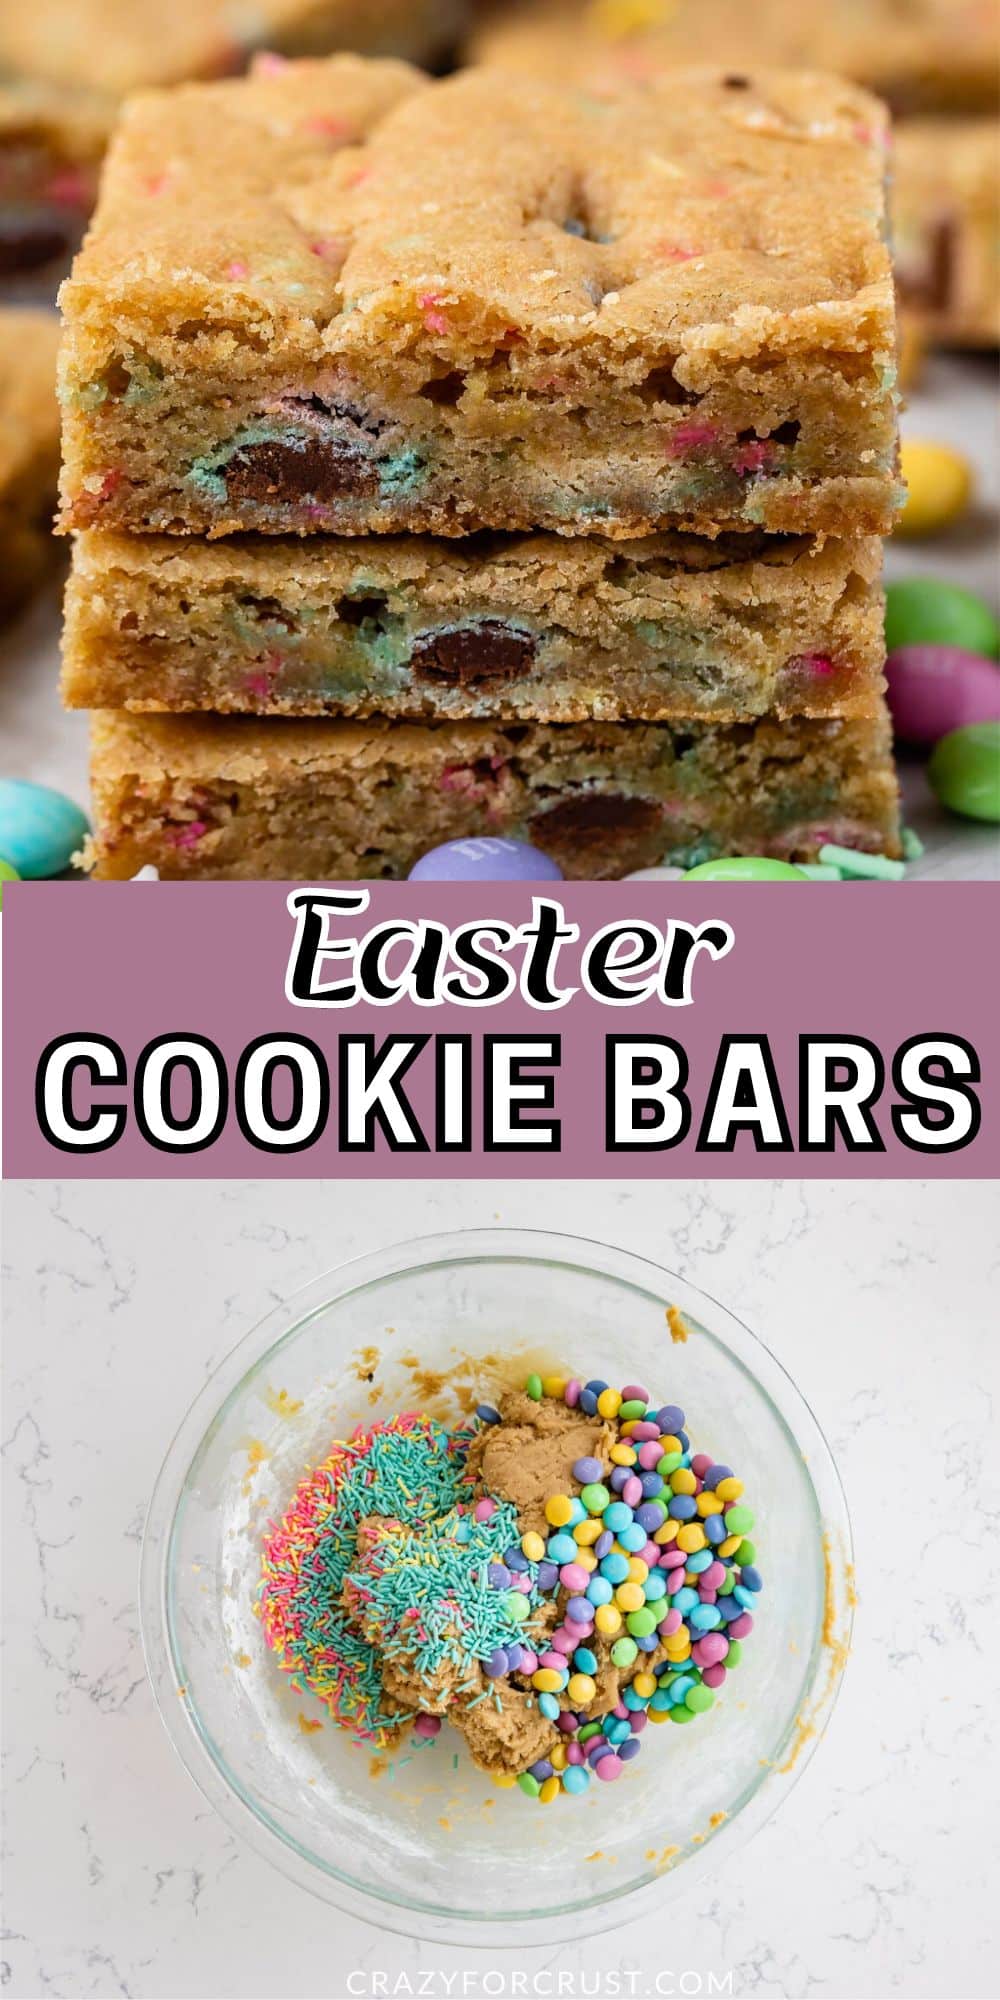
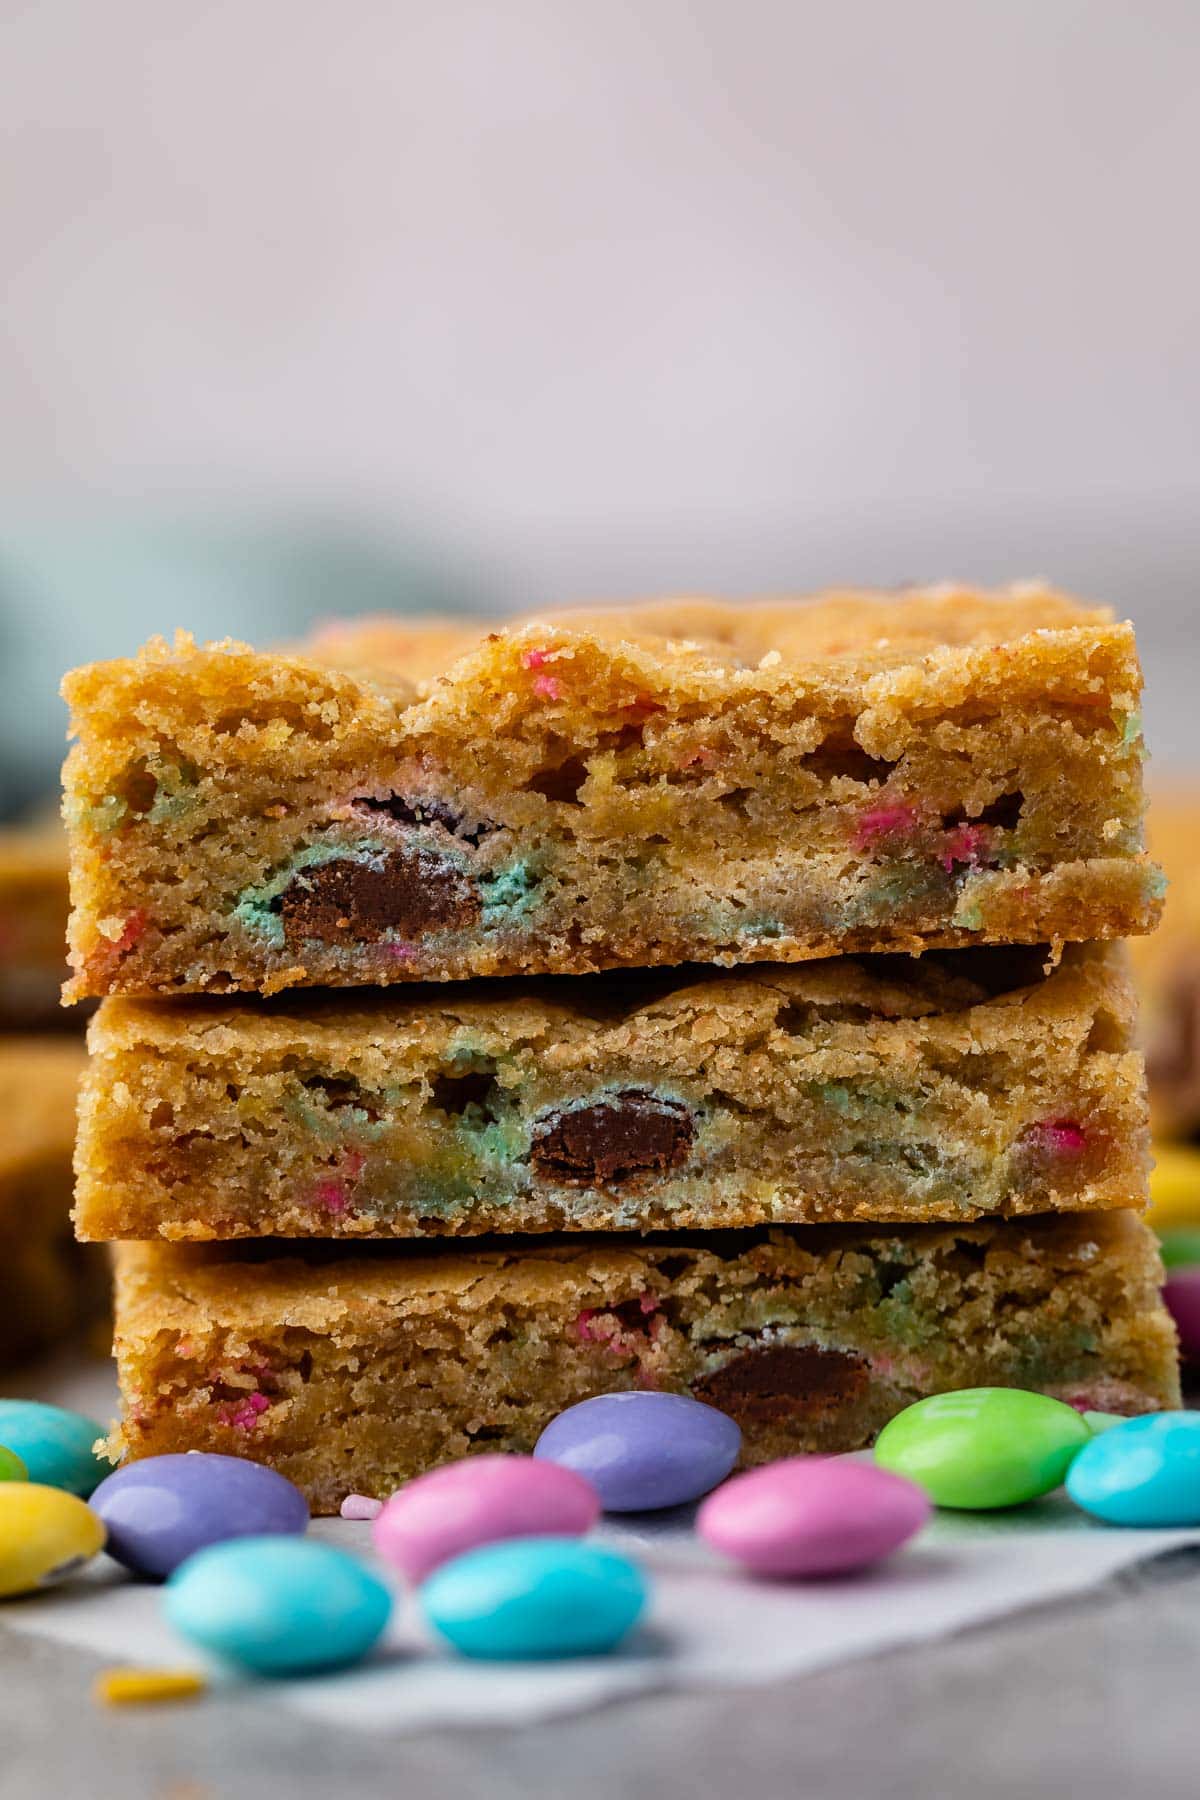
If you’re looking for an easy Easter dessert recipe, look no further than my Easter Cookie Bars! This is a spring version of my Christmas Cookie Bars recipe and they’re so easy to make with pastel M&Ms and Easter sprinkles!
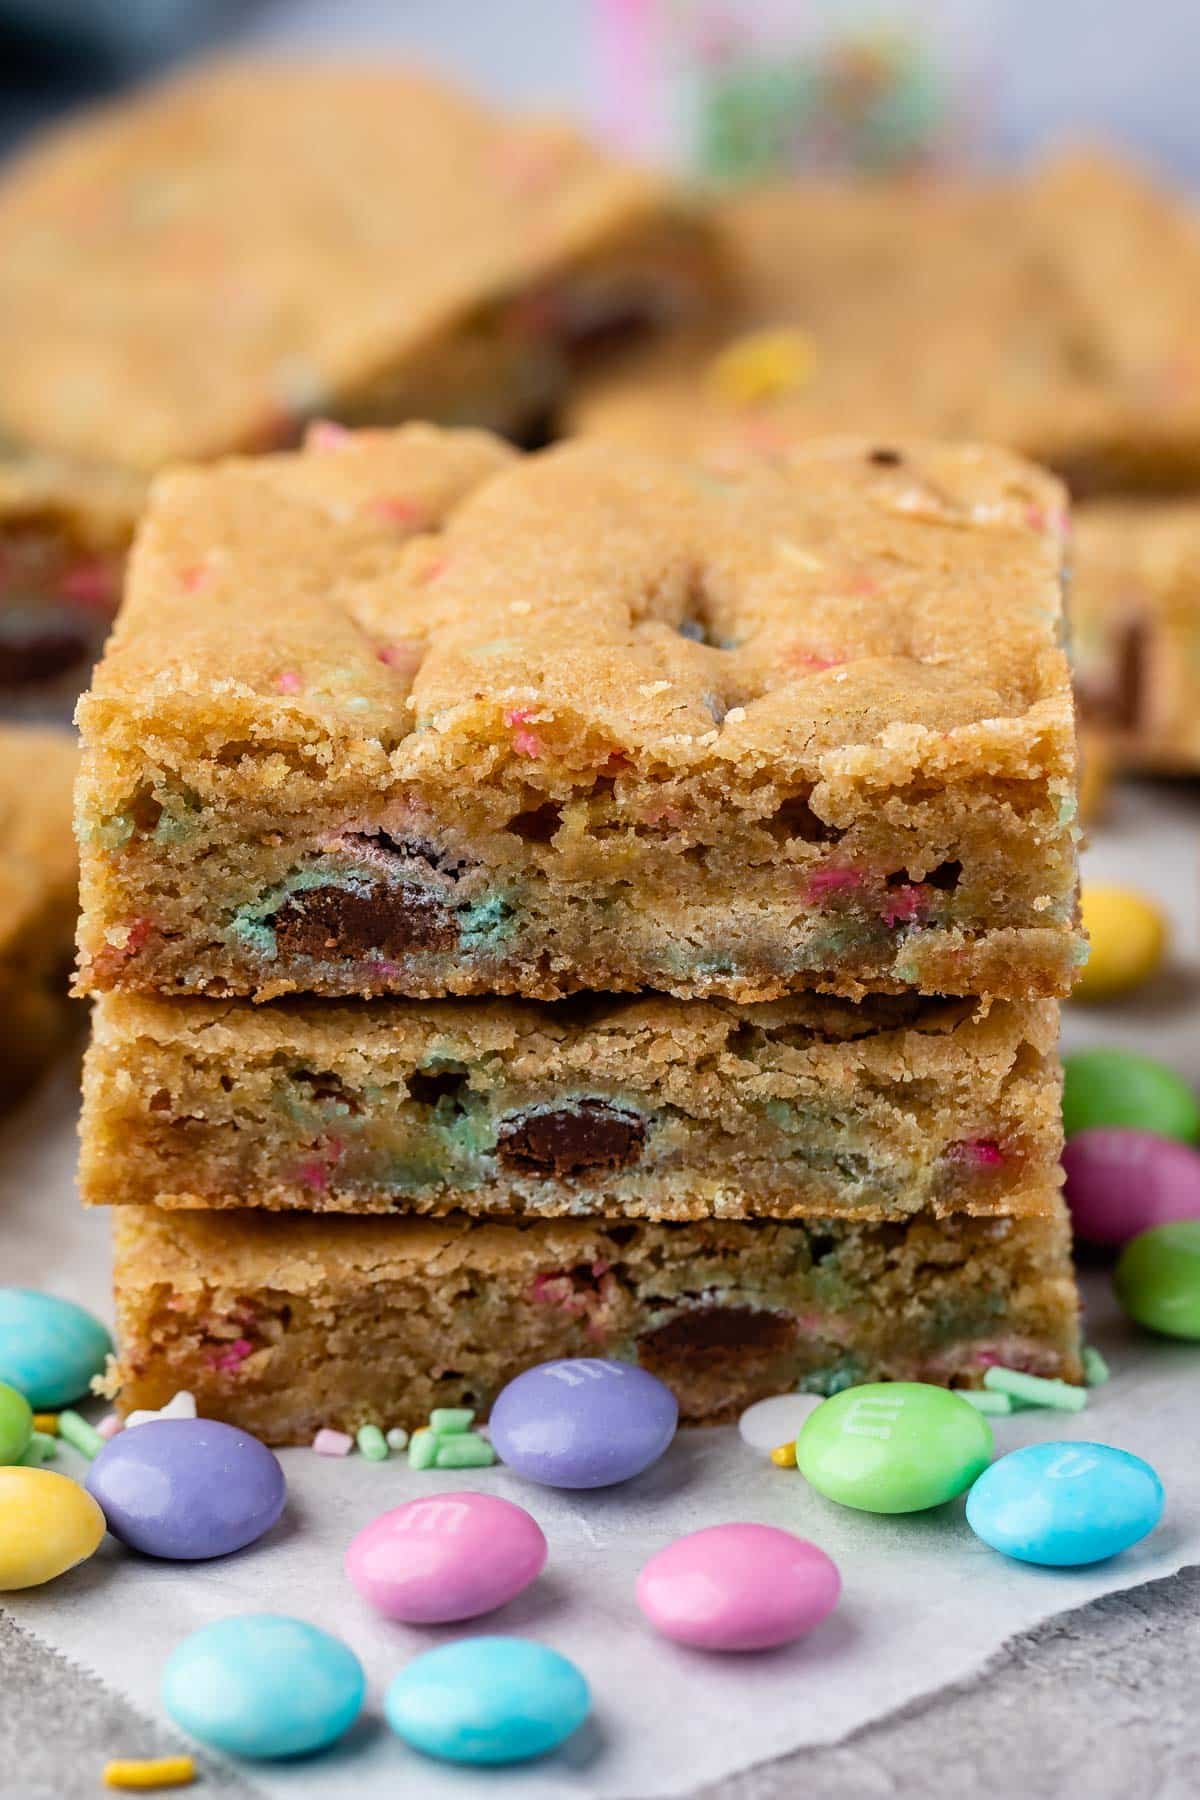
Table of Contents
Easy Easter Cookie Bars Recipe
Whether you call these cookie bars or blondies, they’re amazing. Rich and almost fudgy with all the brown sugar, they’re the perfect blank canvas for tons of different add-ins. My favorite: M&Ms and sprinkles for any holiday!
Why you’ll love this recipe
- One bowl blondie recipe
- No scooping – just press into the pan and bake!
- Use any color M&Ms and sprinkles for any holiday – but they’re super fun for Easter.
- They stay fresh and soft for days – and you can make them ahead and freeze them!
Ingredients Needed
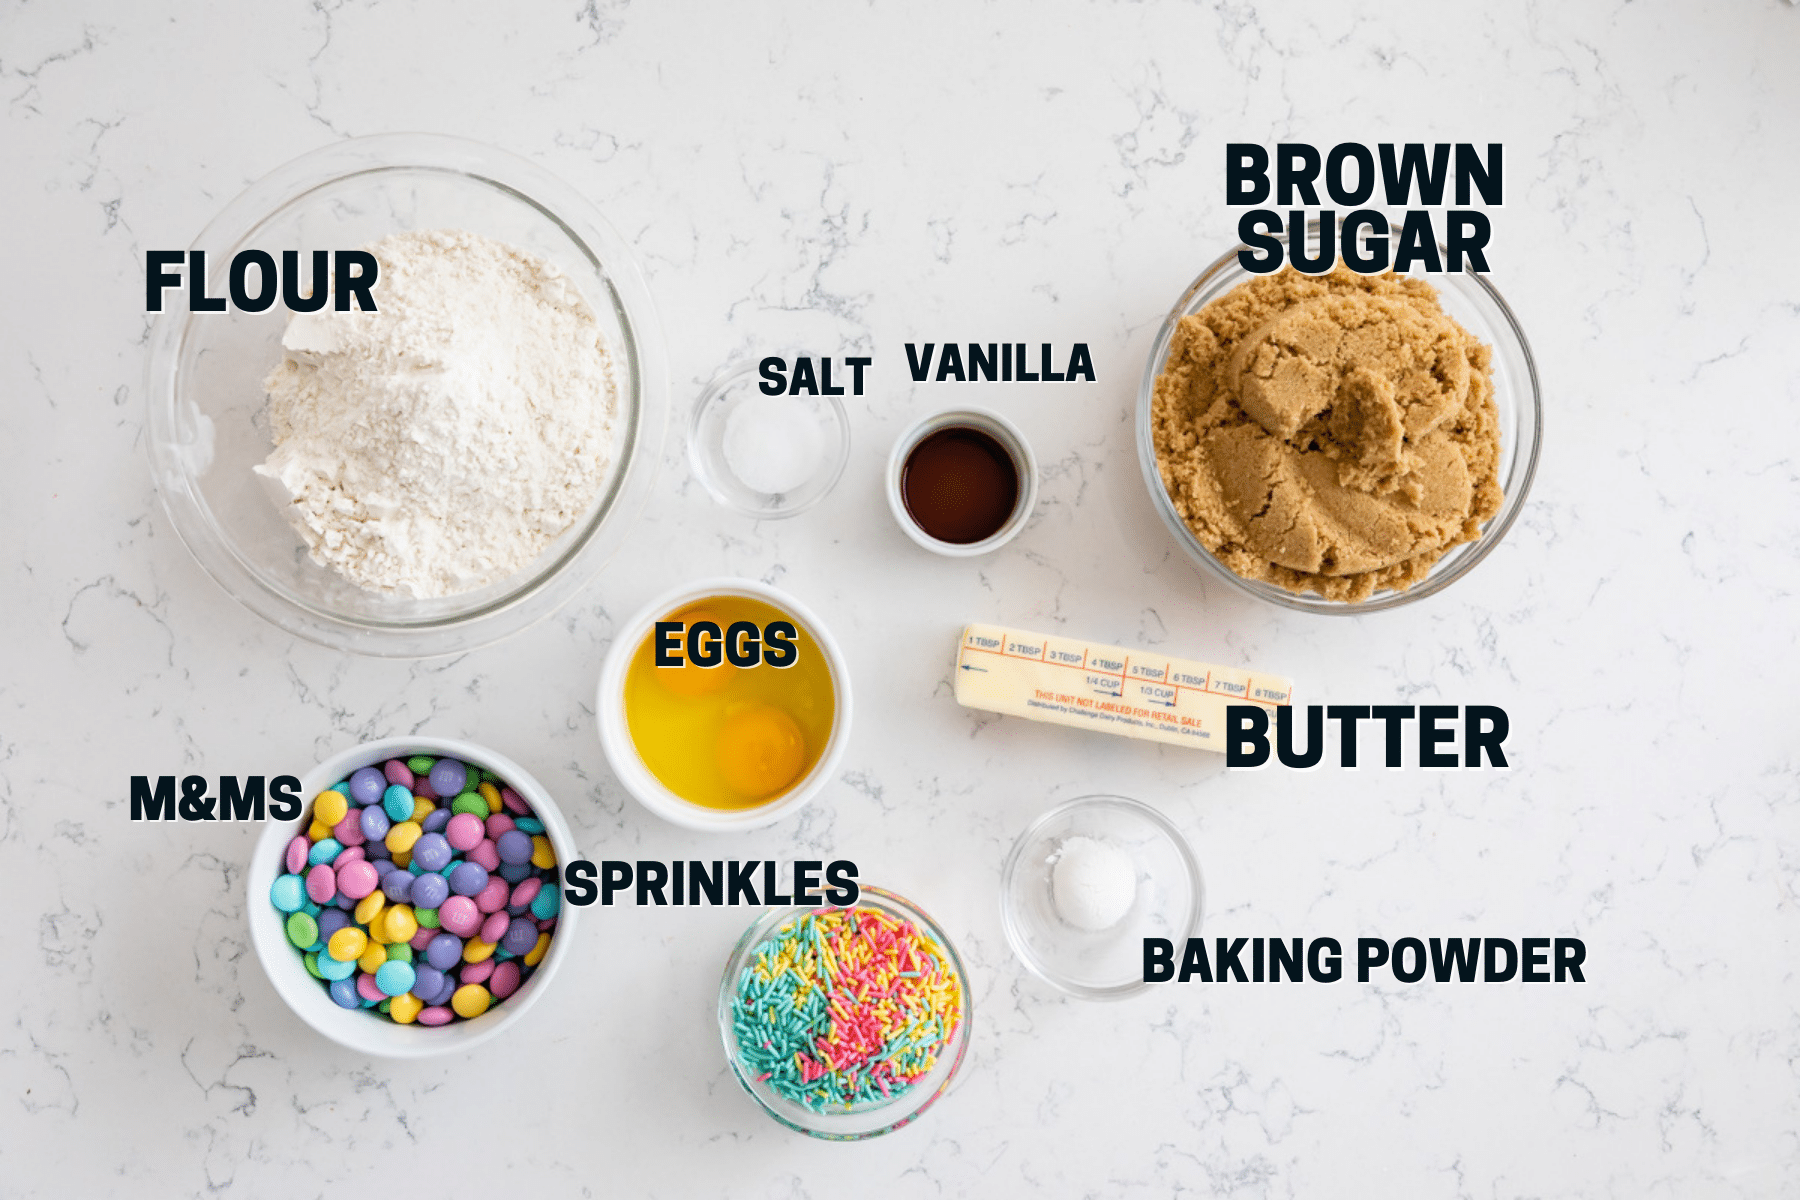
- Butter: I always use unsalted butter in my recipes, but you can also swap salted butter by reducing the salt by 1/4 teaspoon. Make sure your butter is softened.
- Brown Sugar: This recipe uses 2 full cups of packed brown sugar – that’s not a typo. All that brown sugar keeps them super soft and rich!
- Eggs: The two large eggs also lend moisture and chew to the blondies.
- Baking Powder: Unlike my normal cookie bar recipes, this one uses baking powder, which helps them rise.
- M&Ms and sprinkles: I love using plain M&Ms but any kind work. For sprinkles, I recommend using jimmies (the long flat rod-like sprinkles). This time of year you can find pastel colored jimmies at most stores.
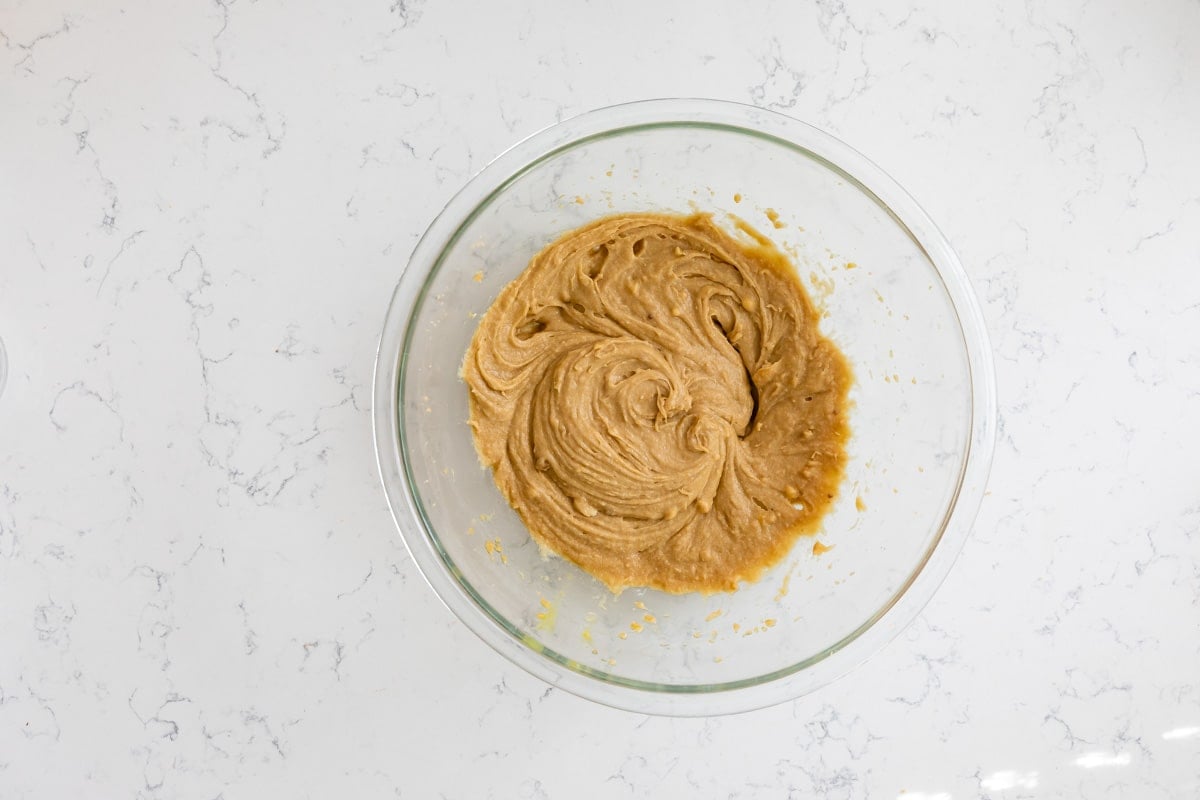
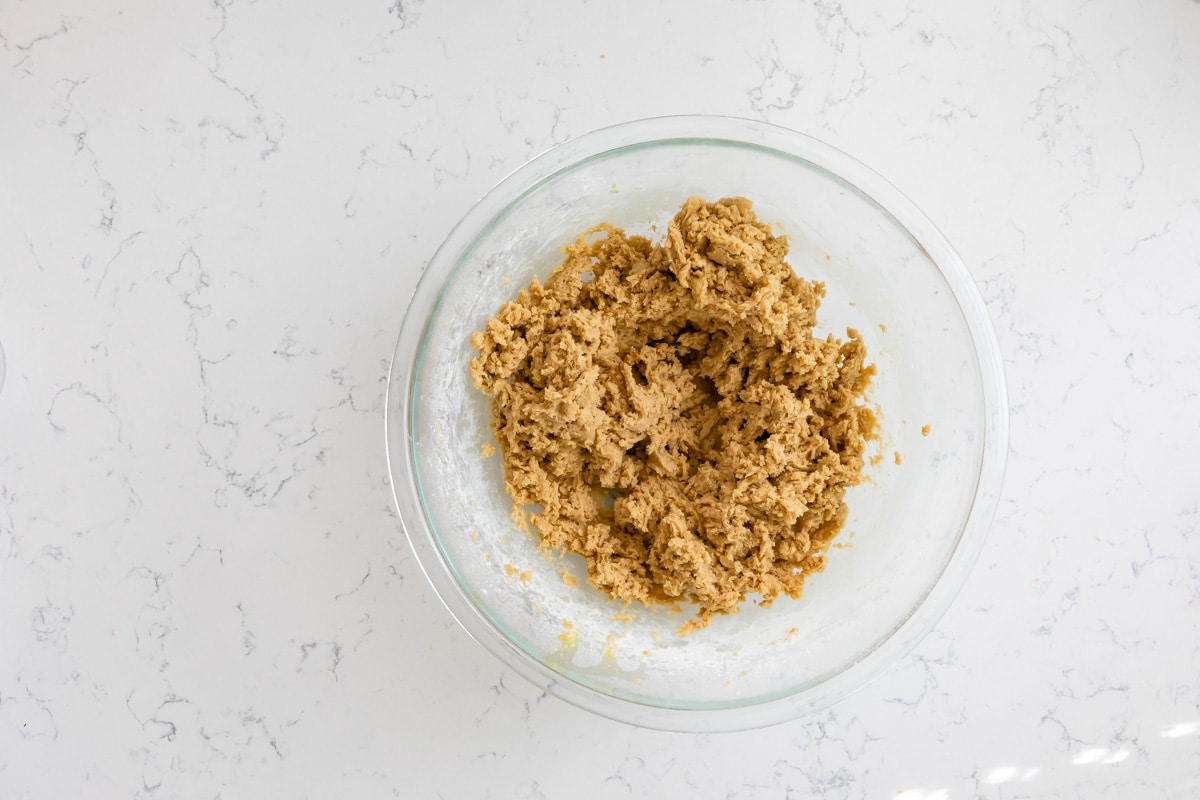
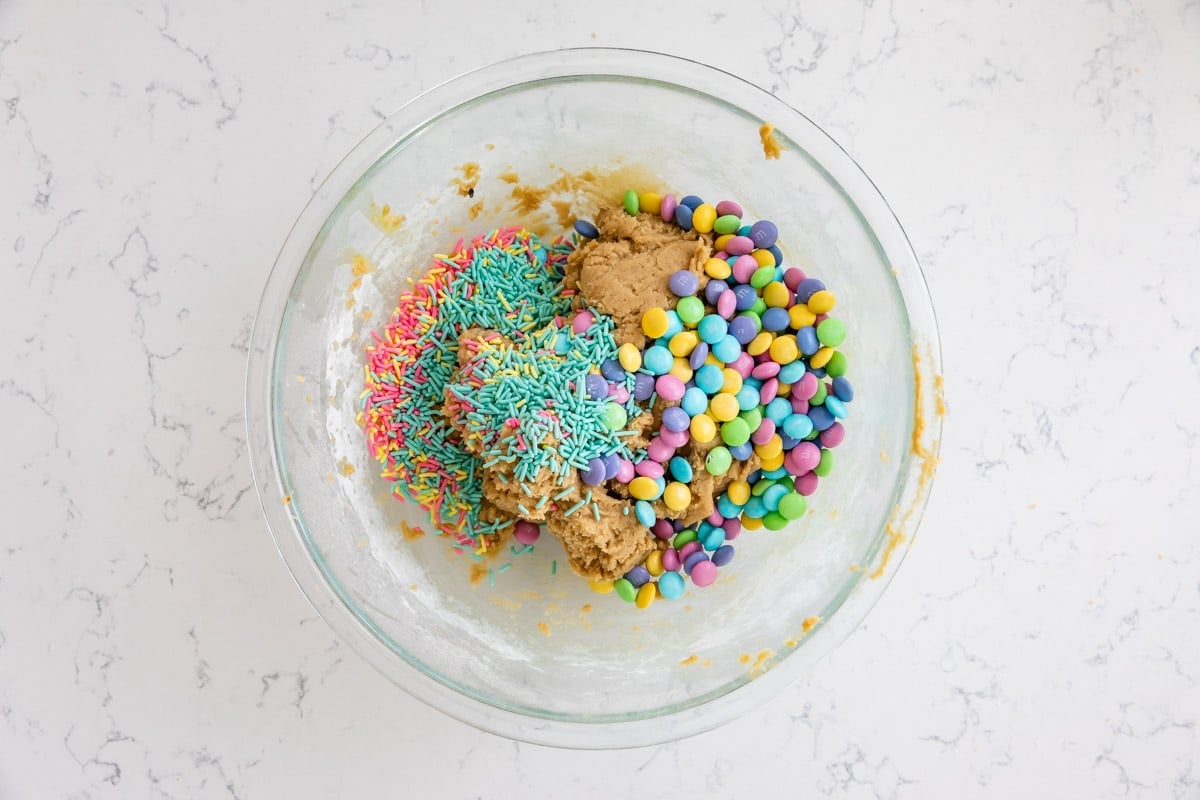
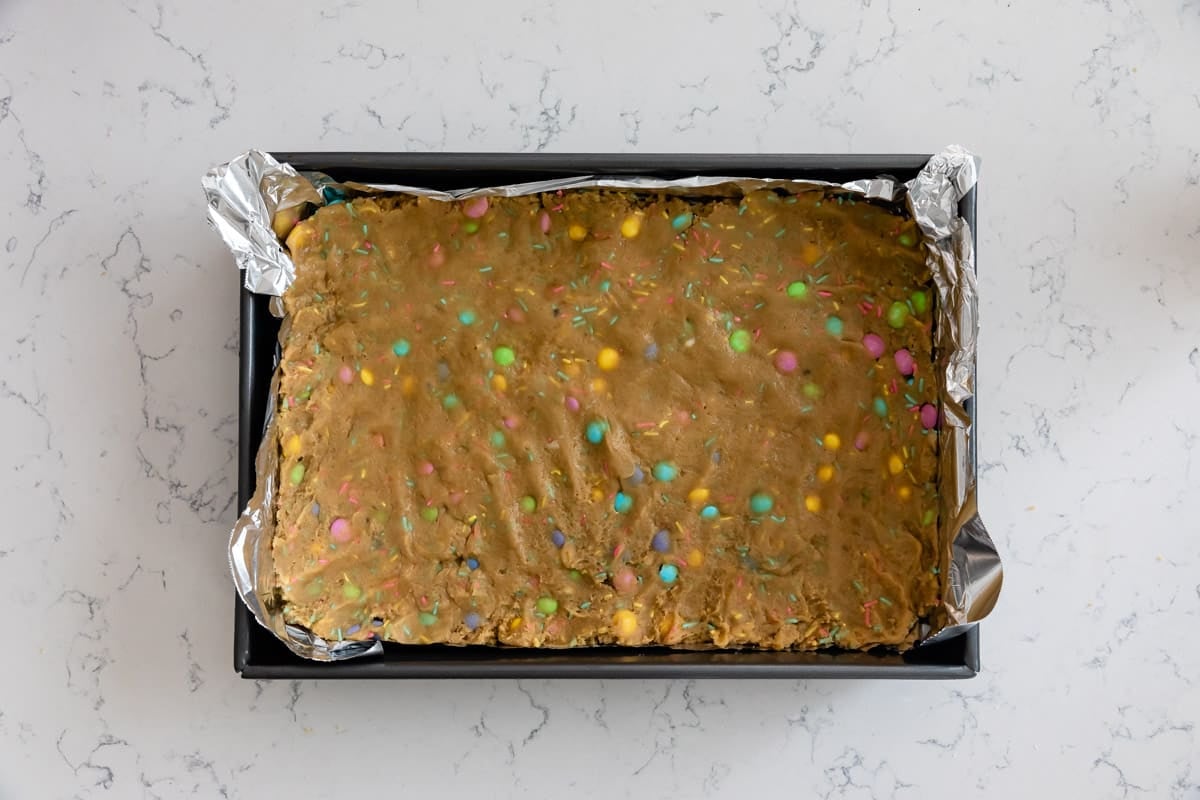
How to make Easter Cookie Bars
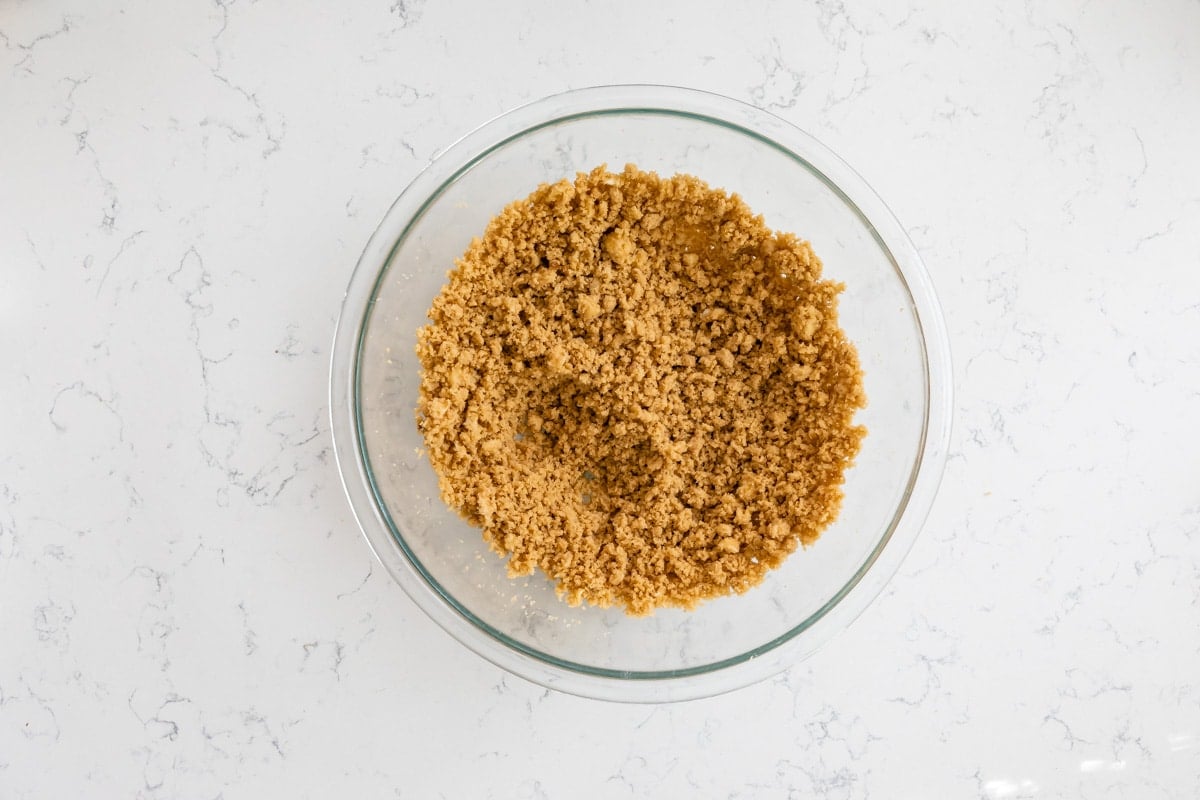
- Cream your softened butter and brown sugar in a large bowl. It won’t be fully creamed, but more crumbly since there is so much sugar.
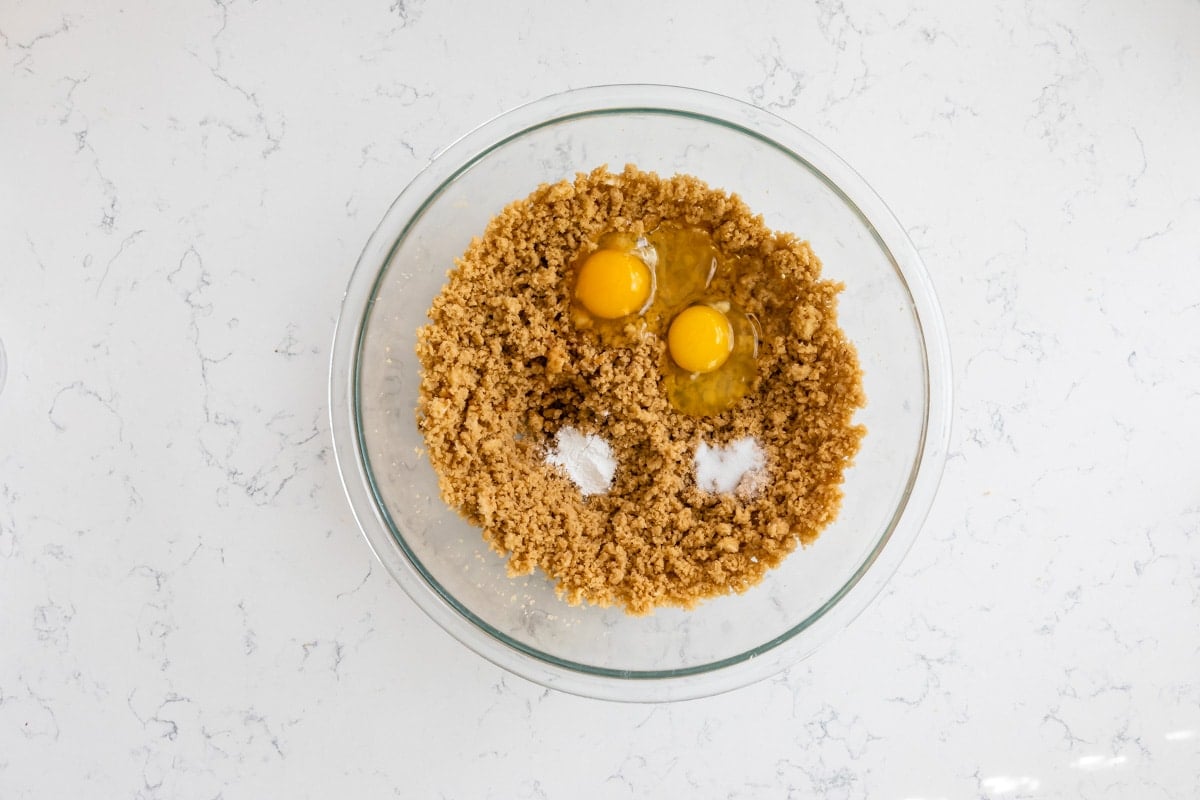
- Add eggs, vanilla, salt, and baking powder.
- Mix together to form a loose wet dough.
- Add all purpose flour and mix until a cookie dough forms.
- Mix in sprinkles and M&Ms.
- Press into a metal 9×13-inch pan lined with foil or parchment and sprayed with nonstick cooking spray. The dough is sticky so I spray my hands with cooking spray to even the dough out and it won’t stick to my hands.
Tip From Dorothy
Expert Tips
- Use a metal pan to bake these blondies. Metal pans help conduct heat more evenly and ensure that your cookie bars bake all the way.
- It’s easiest to mix this dough with a stand mixer. You can do it with a hand mixer but it will take longer.
- You know Easter Cookie Bars are done baking when they’re light golden on top and no longer wet looking. They might be a little jiggly in the center still; they will set as they cool. Do not over bake them or they’ll be dry.
- Store in an airtight container for up to 5 days. You can also freeze blondies in an airtight container for up to 2 months.
FAQs
You must use a metal pan for this recipe. They will seem a bit under done when they’re done baking and will set as they cool, this keeps them fudgy on the inside and not dry.
Freeze these in an airtight container for up to 2 months.
Easter Cookie Bars Recipe
Ingredients
- ½ cup (113g) unsalted butter
- 2 cups (400g) packed brown sugar
- 2 large eggs
- 1 teaspoon vanilla extract
- ½ teaspoon salt
- 1 teaspoon baking powder
- 2 cups (248g) all-purpose flour
- 1 cup Easter M&Ms or your favorite color
- ½ cup Easter sprinkles use jimmies for best results
Instructions
- Preheat oven to 350°F. Line a metal 9×13” pan with foil and spray well with cooking spray.
- Mix butter and brown sugar with a stand or a hand mixer until crumbly. Mix in eggs and vanilla until smooth. Mix in salt, baking powder, then flour. Stir in M&Ms and sprinkles.
- Spread in prepared pan. The mixture is wet so it’s best to spray your hands with cooking spray and then smooth the dough with your hands to get an even layer. Top with remaining mix-ins
- Bake for about 22-25 minutes until they start to turn golden. Err on the side of under baked with these – they’ll finish baking as the cool and you don’t want them over baked. Slice into bars.
- Store in an airtight container for up to 4 days or freeze for up to a month.
Recipe Notes
- Use any color M&Ms and sprinkles for any holiday
- Make sure to measure your flour and sugar correctly
- Store in an airtight container and they’ll last up to a week, making them perfect for shipping.
- Jimmies are the long rod-type sprinkles (not the little round balls).
- How to know they’re done baking: They will get golden brown around the edges and on top, no longer be glossy and will be a bit under done in the center when you take them out of the oven. They’ll continue to cook/set as they cool. The center of these will be quite fudgy looking (like the center of a brownie). That is intentional to keep them rich and soft. They should not be liquid in the center after cooling. They will look like the center in the pictures – if you’re expecting a fluffy sugar-cookie like center then these are not the bars for you.
- You must use a metal 9×13-inch pan to bake these. Metal conducts heat more evenly – a glass pan takes longer to heat up causing things to over bake on the outside and be under done in the center. So use a metal pan, not glass!
