This post may contain affiliate links. For more information, read my disclosure policy.
Surprise mom with a batch of Mother’s Day Cookies this year! These sweet decorated sugar cookies are so easy – you don’t need a bunch of fancy decorating tools or an art degree to make fun flower decorated cookies with buttercream.
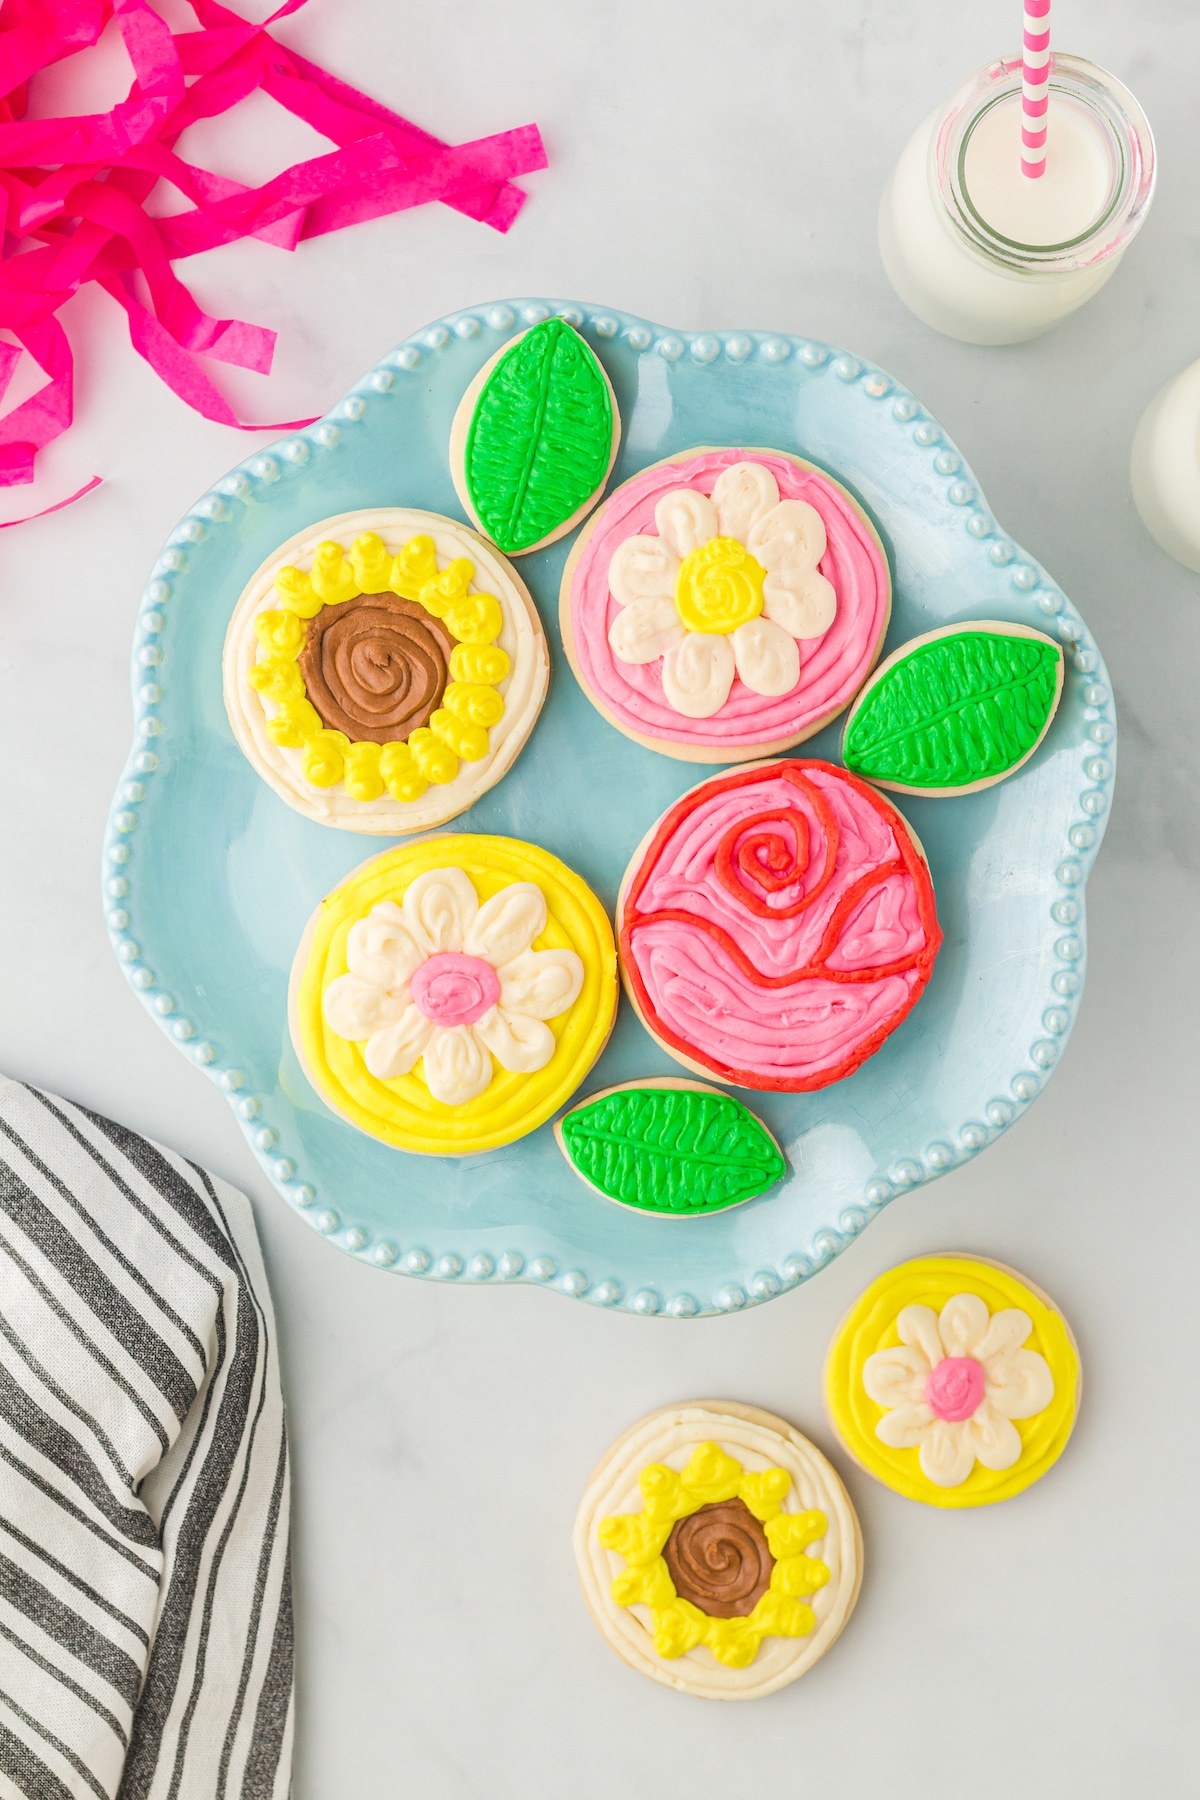
Decorated Mother’s Day Cookies
Why not give mom a big bouquet of decorated cookies this year? These Mother’s Day Sugar Cookies are so cute, fun, and easy! I promise you don’t need to go to pastry school to learn how to make them – this is one of the easiest cookie decorating tutorials ever.
This recipe starts with a batch of homemade sugar cookies that are great for decorating. Cut the cookies out into fun shapes – I like to do circles to decorate as flowers and leaves to go with them.
You only need some disposable piping bags to make them, and you don’t need any fancy piping tips. This Mother’s Day cookie decoration recipe is so easy.
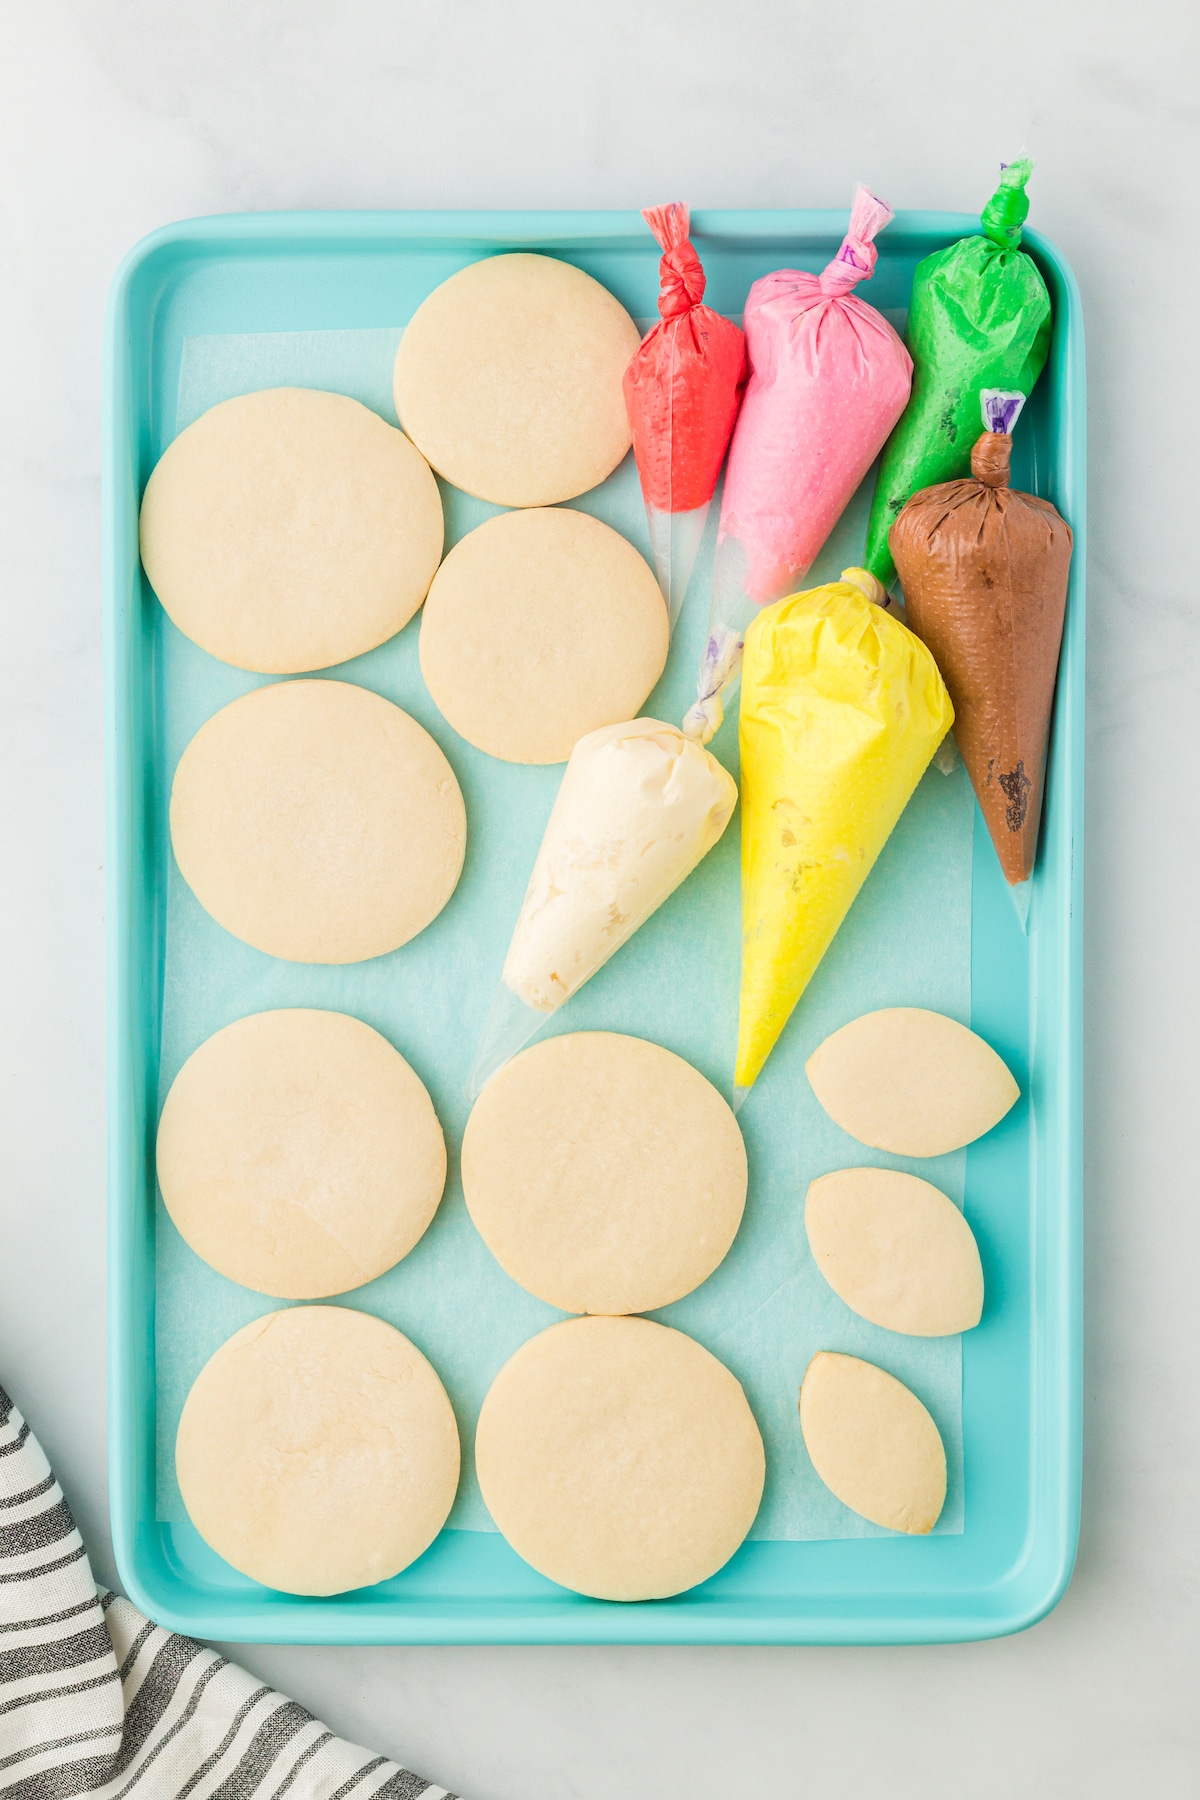
Ingredients Needed
- One batch Cut Out Sugar Cookies: Or use refrigerated dough!
- One batch Vanilla Buttercream Frosting: Or used canned frosting!
- Gel food coloring
How to Decorate Cookies for Mother’s Day
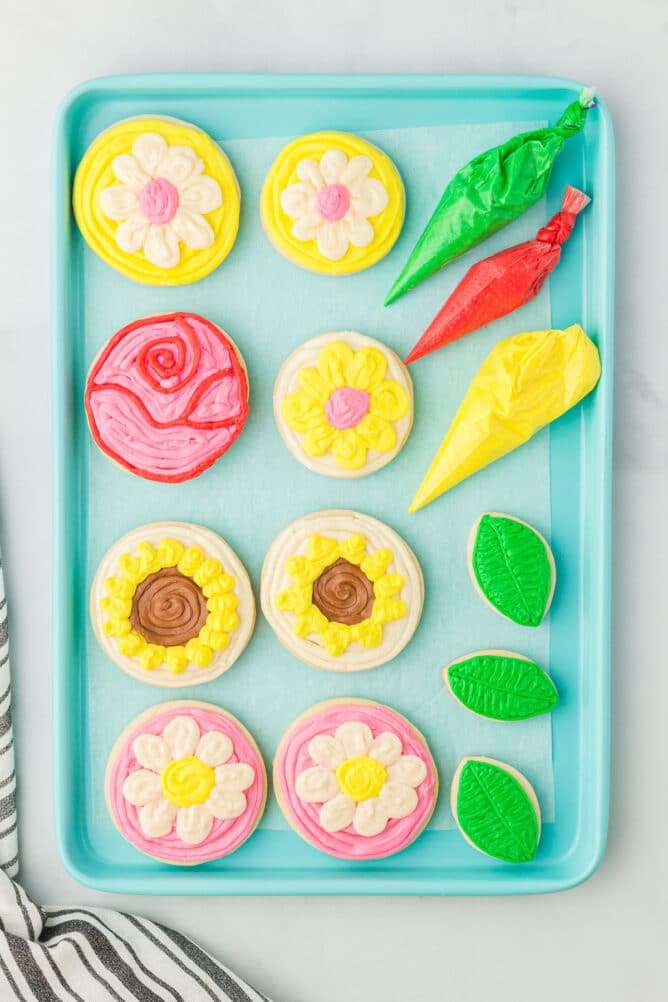
- Divide the frosting into smaller bowls – the number of bowls will depend on how many colors you want for decorating the cookies.
- Tint each bowl of frosting with one color.
- Fill piping bags with frosting – one for each color. For cookie background colors, snip off a corner to make a large hole. You can cut off a smaller corner for the other colors you will use for writing or other detail work.
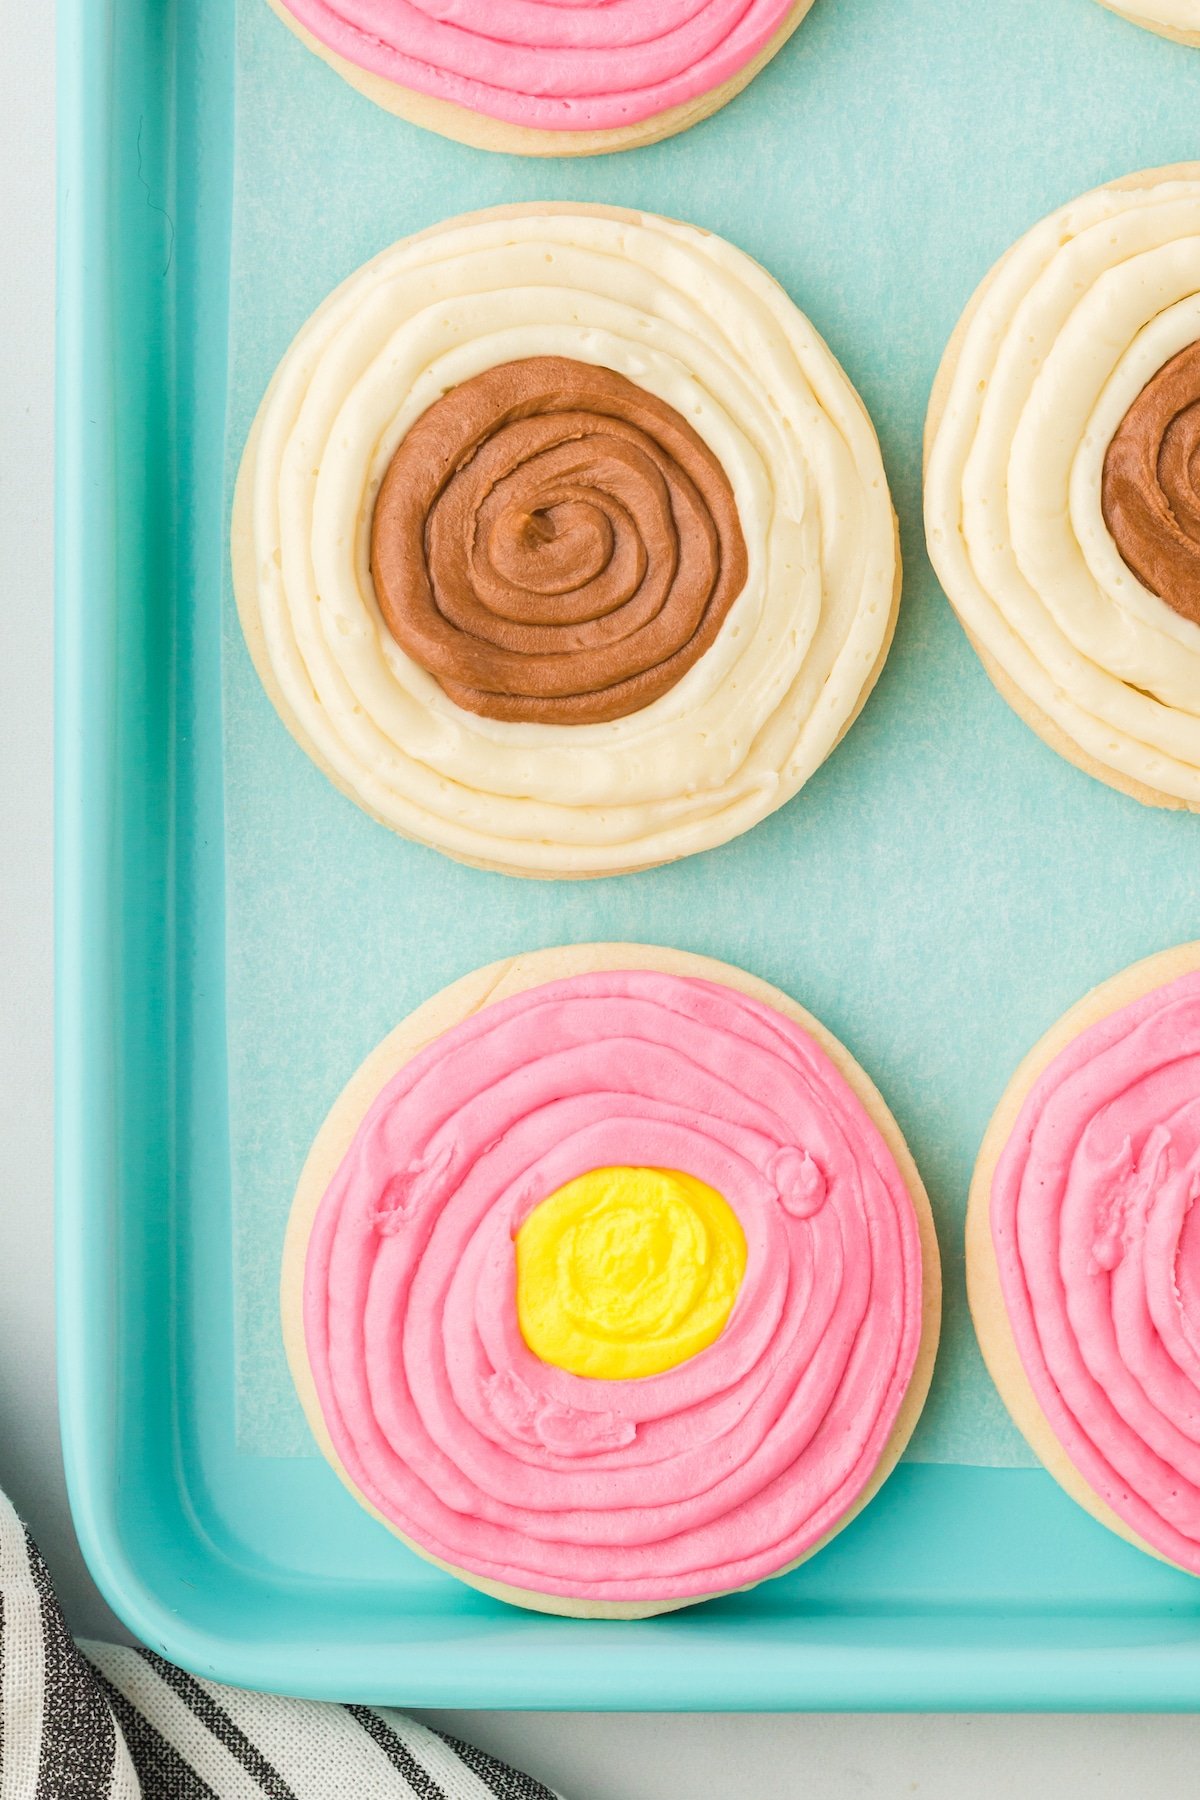
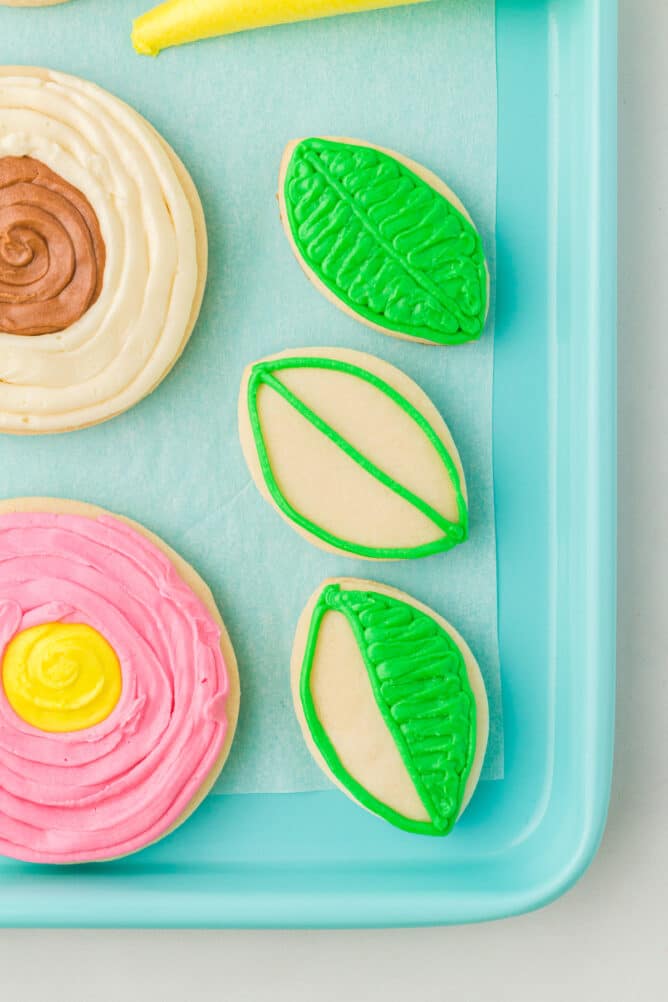
- Start by piping frosting onto the cookies that will be the background colors. Outline the cookie first and then fill in with more frosting.
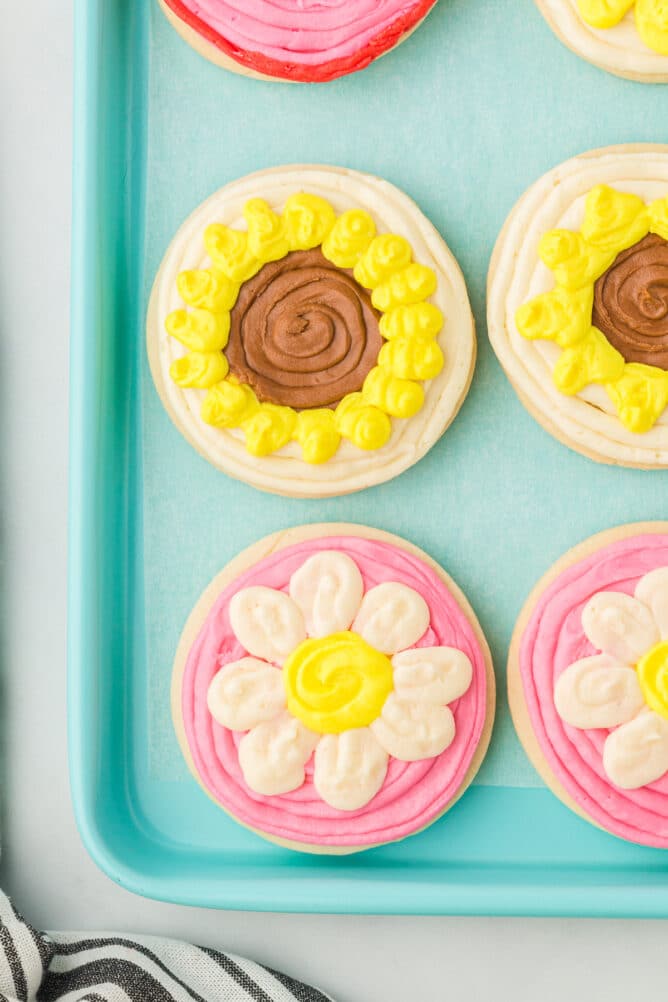
Once you’ve frosted all of the background colors, you can add details like flower petals, words, leaf veins, or whatever details you like.
Tip From Dorothy
Expert Tips
- Use gel coloring for the best vibrant colors, but you can use regular food coloring if it’s all you have.
- When you color the frosting, it’s always best to start with less coloring. Stir well and if you want to add more, do a little at a time. You can always add more, but it’s hard to fix if you add too much.
- If the frosting isn’t piping smoothly, roll the bag between your hands to warm it. Don’t microwave the frosting, which will turn it into a big mess.
- If your frosting is too warm, chill it in the refrigerator to firm it up.
- Be sure to ice the cookies in layers starting with the background frosting first. Allow the cookies to sit for five to ten minutes before adding the next layer. This will keep the layers from squishing together.
FAQ
If the icing isn’t a squeezable consistency, add in a small amount of water (a tablespoon to a whole bowl of icing or just a drop into a small bowl of icing) and stir well to mix.
Yes, these cookies can be frozen for two months if stored in an airtight container. Freeze the cookies in single layers using parchment paper between layers. Be sure that the icing has been chilled and hardened before stacking with parchment paper. Bring cookies back to room temperature before serving.
Yes, if sealed properly in an airtight container, the buttercream frosting can be frozen for up to 3 months. Bring back to room temperature before using. Do not heat it in the microwave – instead, let it thaw at room temperature.
No, the butter to sugar ratio in the frosting makes it safe to leave the cookies at room temperature for up to three days. However, I recommend refrigerating them before packaging to prevent the icing from getting smudged during handling.
Yes, but canned icing is often thinner, so you may need to chill the cookies between layers.
Make a batch of these Mother’s Day cookies for you, your mom, or your favorite mom person in your life! Whether you make these decorated cookies for mom or just for fun, they will put a smile on everyone’s face.
Mother’s Day Cookies Recipe
Ingredients
- 1 recipe Cut Out Sugar Cookies
- 1 recipe Vanilla Buttercream
- Gel food coloring
Instructions
- Separate icings into separate smaller bowls to color icings.
- Use food coloring to color icings in desired colors. Stir completely to make sure all color is worked into the icing.
- The best part about this decorating method is you don’t need a special tip. Just add the frostings to your piping bags.
- Cut small openings in the tips of each icing bags. For background colors, the tips can be cut larger. For icings you’ll be printing with or doing finer details with, keep the tip cut small.
- If icings are not squeezing out of the bags smoothly, roll piping bags between hands to warm icing a bit making it easier to squeeze out. Do not microwave icing – even 5 seconds in the microwave can turn the icing into a melted mess.
- Start decorating with background colors on all cookies (like the pink background with the yellow circle in the middle). Simply start by lining the outside of the cookie then continue filling in following the shape of the cookie.
- Work on decorating cookies in layers – first the background color then the flower petals.
- Cookies can be stored at room temperature (in a sealed food safe container) at room temperature for up to 3 days or in fridge for up to a week. Store cookies in a single layer to not squish icing details.
Recipe Nutrition
These Mother’s Day cookies are so cute, fun, and easy! I promise you don’t need to go to pastry school to learn how to make them.

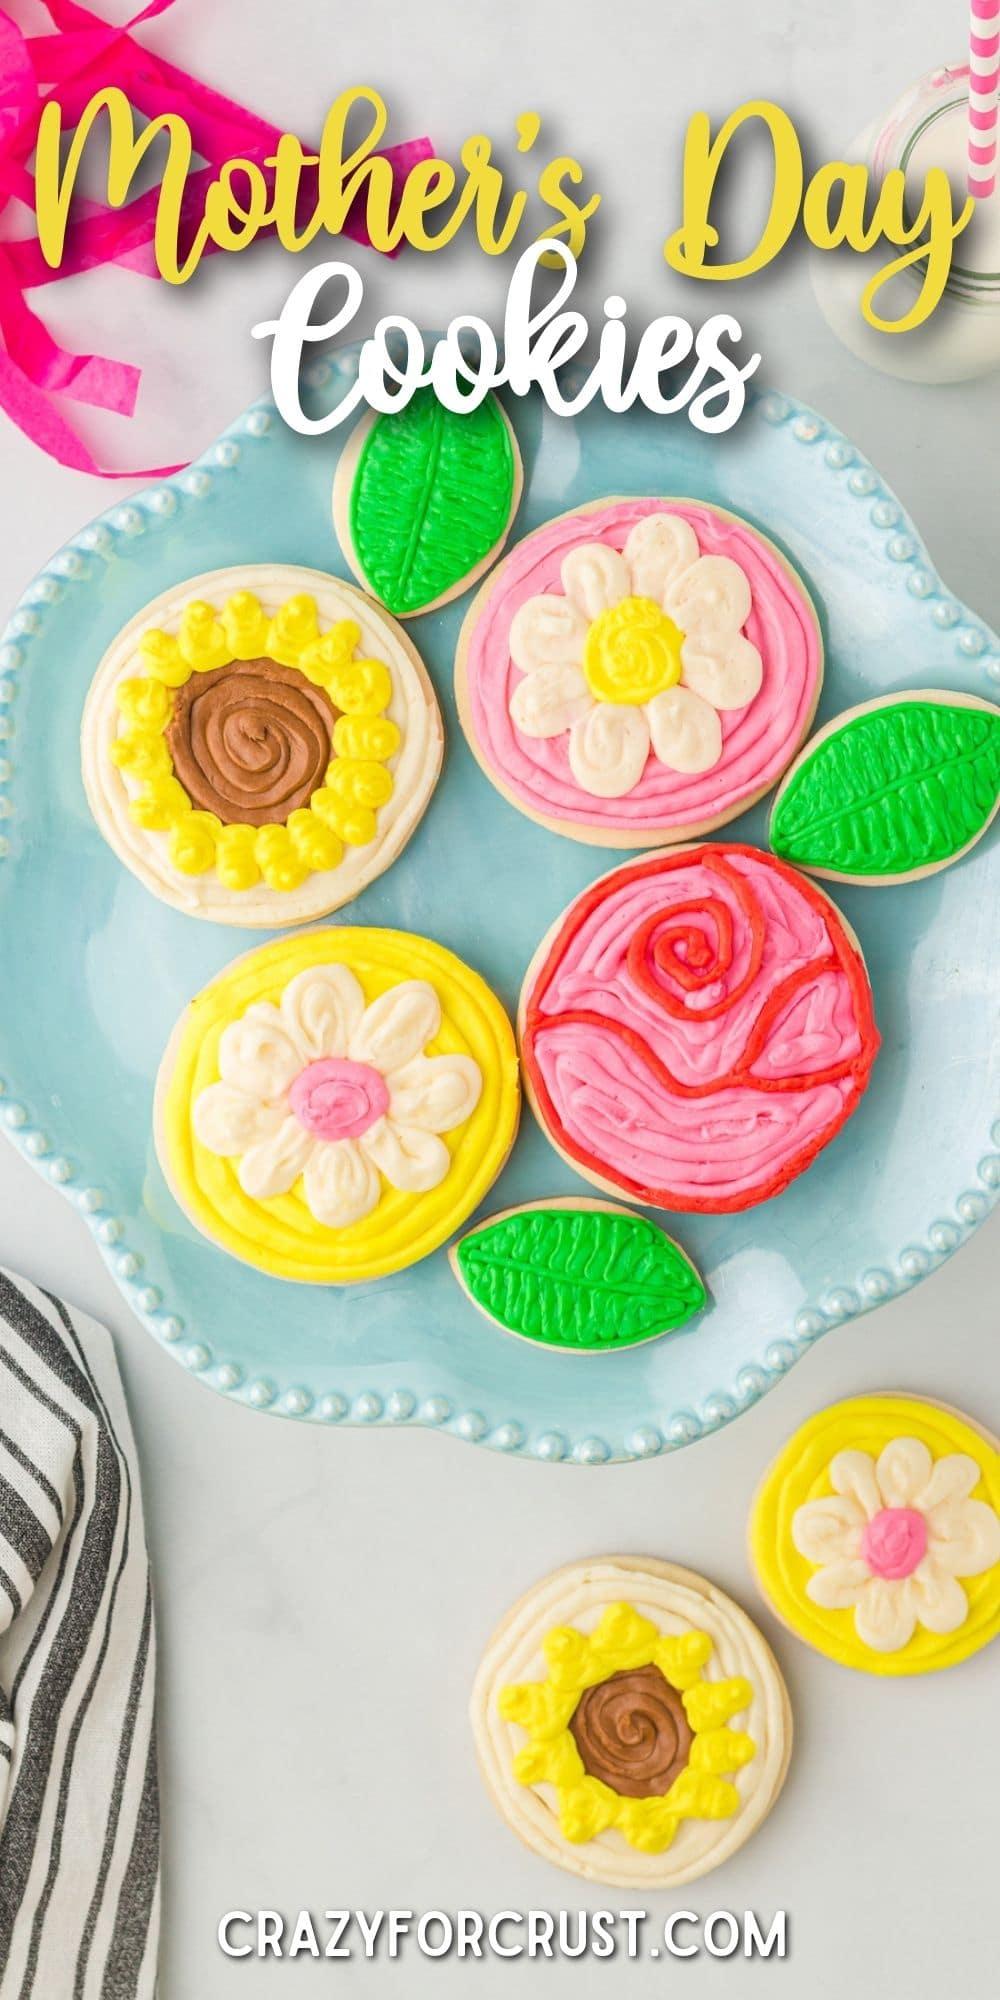


These are so pretty and colorful.