This post may contain affiliate links. For more information, read my disclosure policy.
If you’ve been wanting to bake with yeast but find the whole process intimidating this post is for you. I’m answering all of your questions about yeast so you can bake with confidence.
You’ll learn about the different types of baker’s yeast, how to store it, and how it works. If you’ve ever asked what is yeast for baking, then this is the post for you.
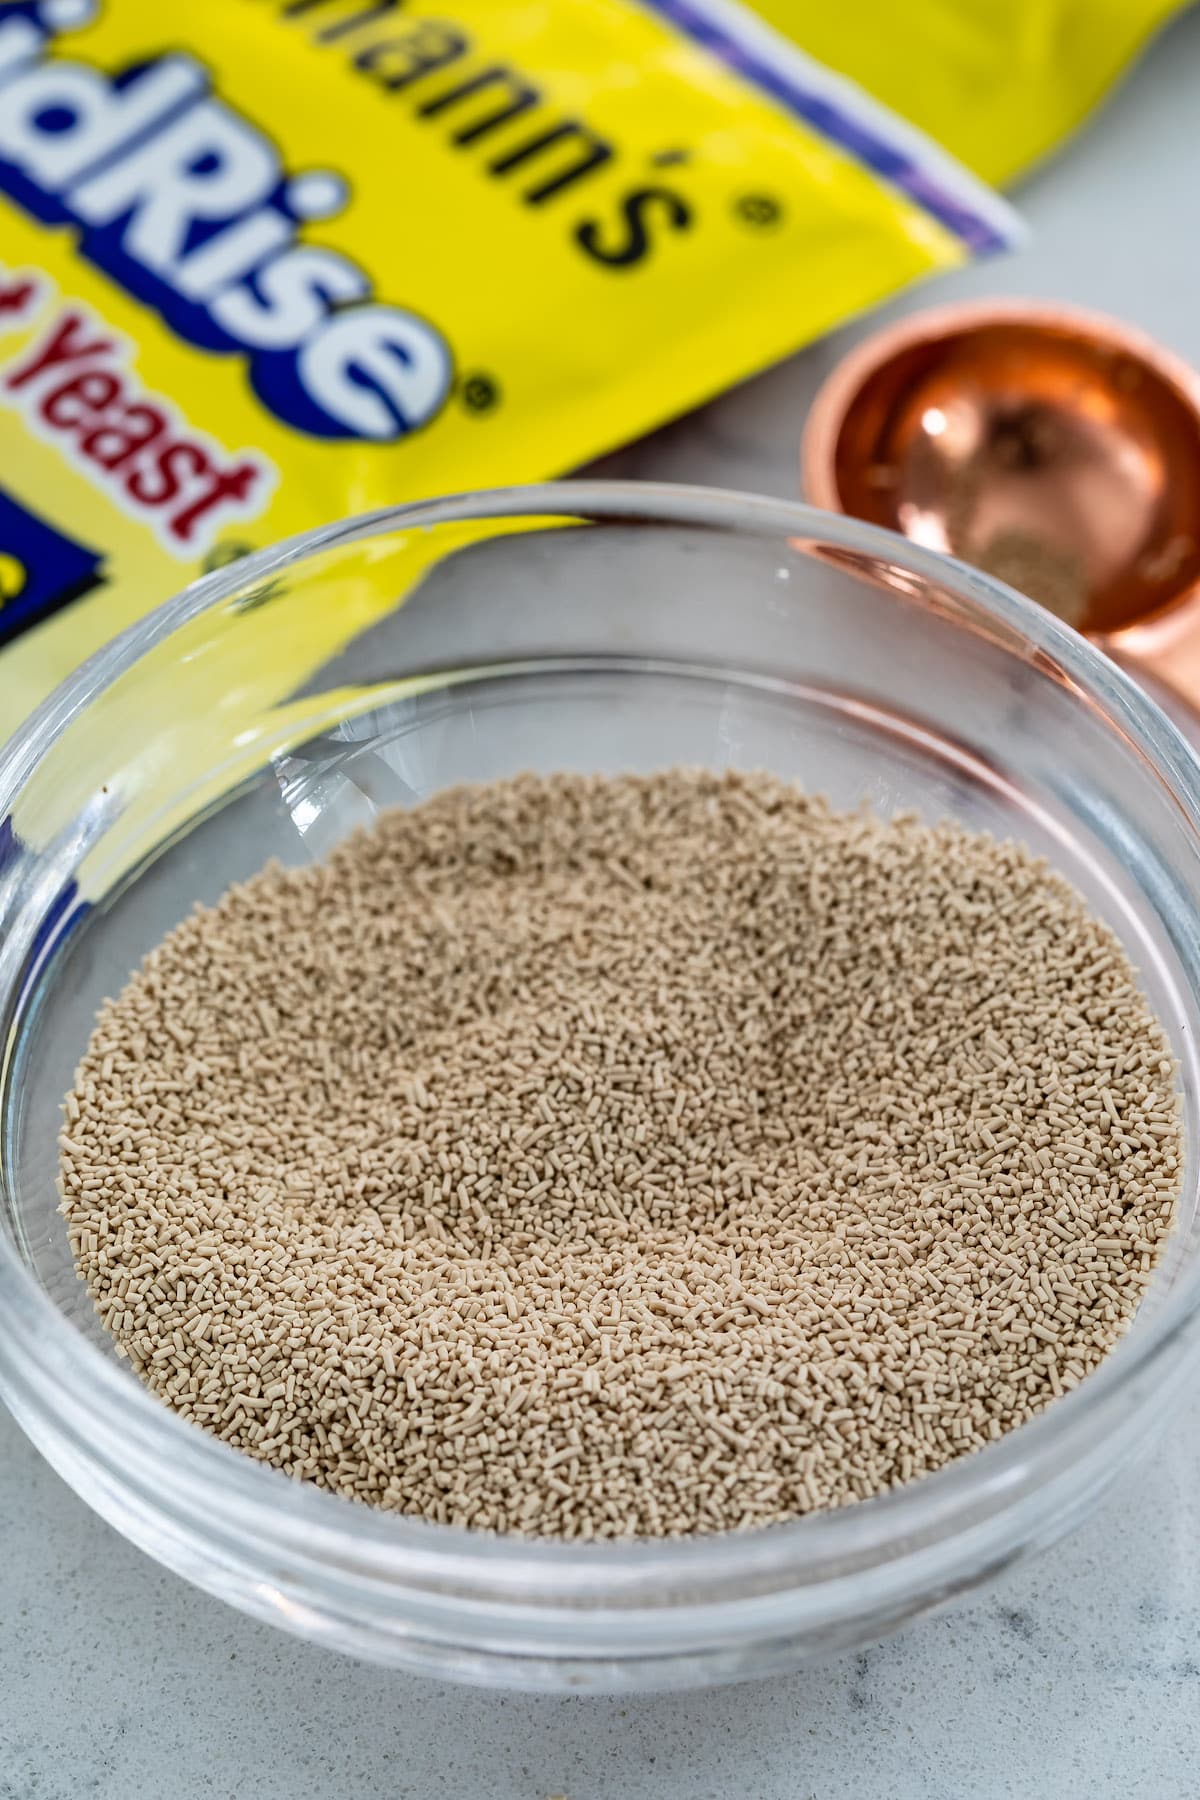
What is yeast?
Yeast is a living single-cell microorganism that is all around us. Ancient Egyptians are credited for discovering yeast when wild yeast found its way into their ancient bread dough and, like magic, the dough puffed up or “leavened” all on its own creating a lighter, fluffier and more delicious bread. Prior to that “bread” was hard and flat. Imagine how happy that discovery was!1
Since that discovery, bread makers figured out ways to cultivate yeast and use it to make more delicious types of bread often through the use of starters which are commonly used in artisanal baking today.
As science progressed smart people figured out how to make different types of baking yeast shelf-stable and reliable which resulted in those little packets and jars of dry yeast you see in the grocery store.
What does yeast do?
Like all living things, yeast needs to eat to survive and when it’s used in dough it likes to munch on the sugars. If no sugar is available the yeast will consume starches, alcohol (hello, beer brewing!) and other things and turn it into sugar (also known as glucose).
When it processes the sugars, yeast produces carbon dioxide and ethanol gases which, in turn, is responsible for the rise, or leavening, of the bread. Without yeast a loaf of bread would not be a loaf but flat and hard and not as appetizing instead.
Yeast needs the right environment to create the best possible baked good and so the type of yeast, how it’s “proofed” or activated, the amount of sugars available for it to grow and air temperature are just a few of the variables that can affect how well yeast works.
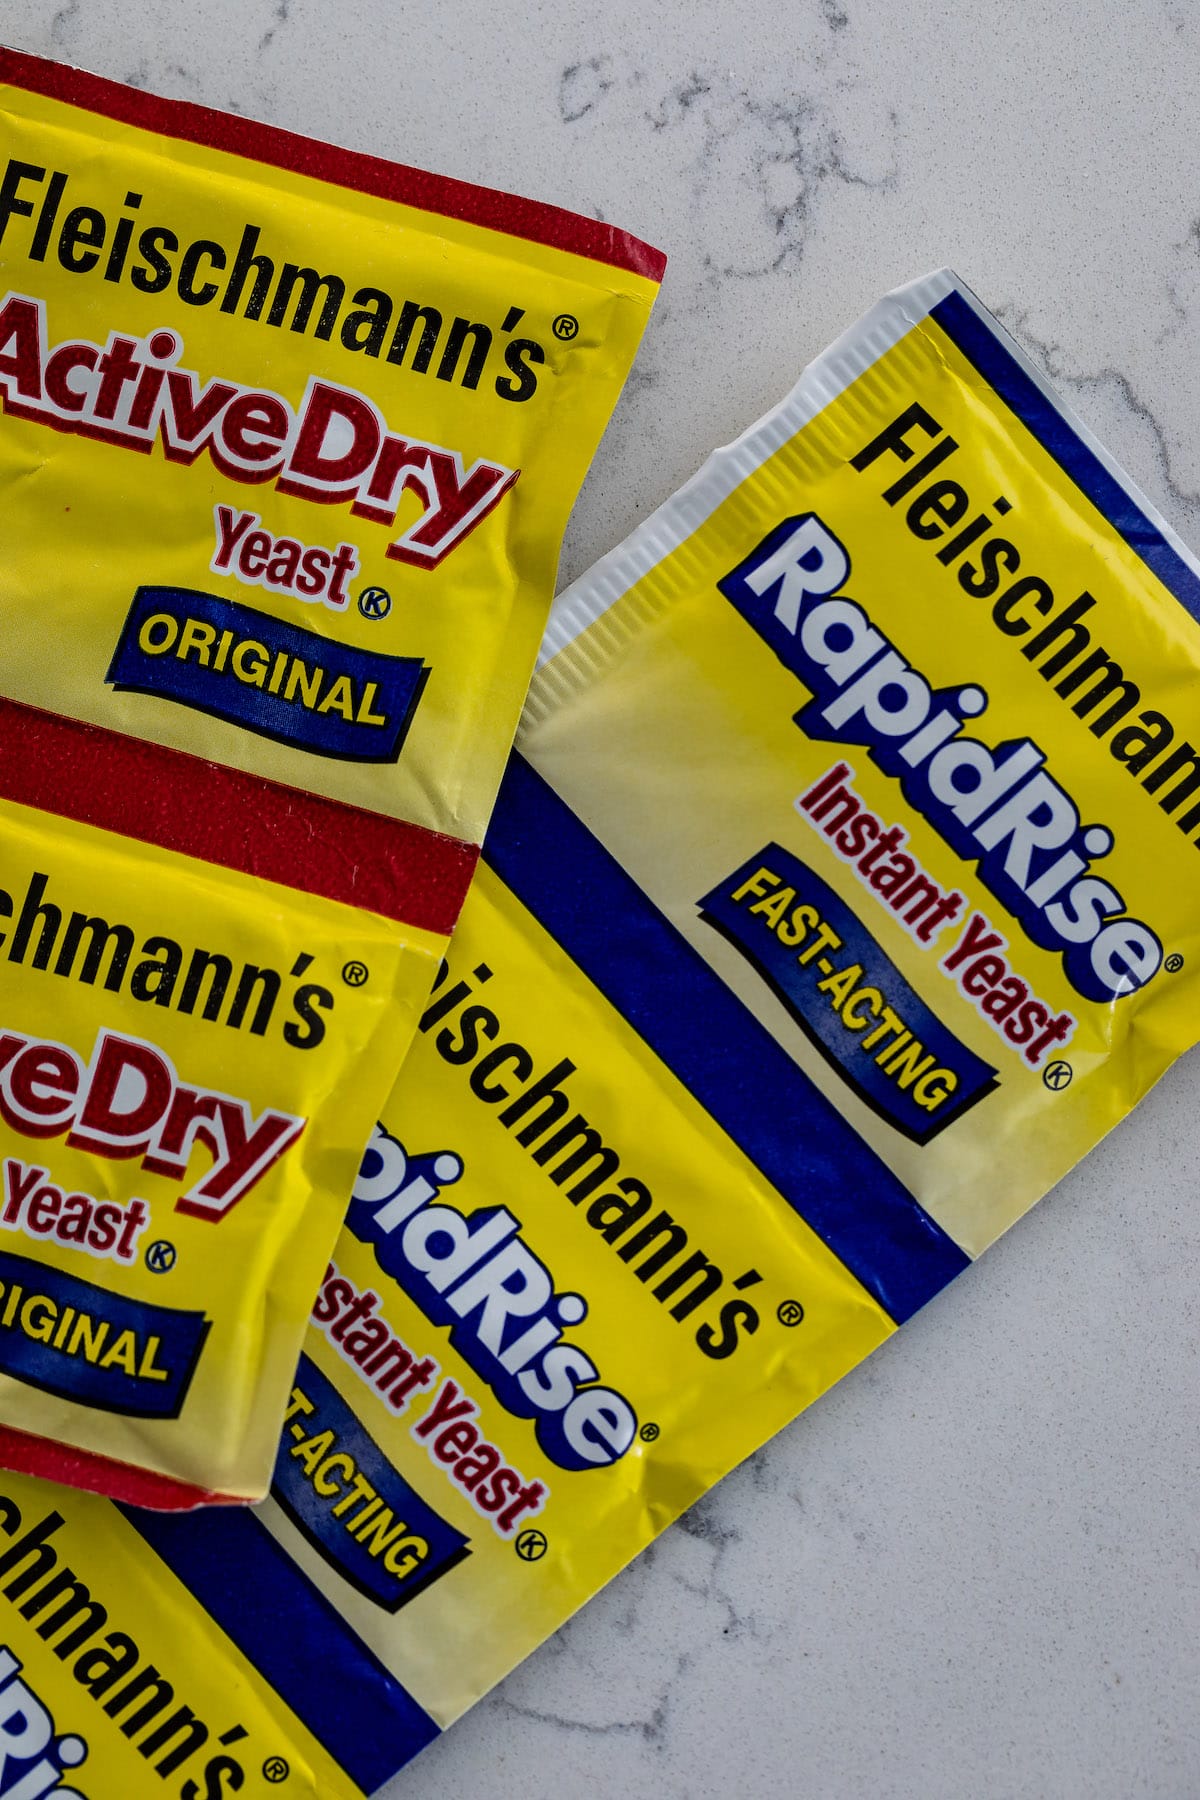
Types of Yeast for Baking
There are many kinds of yeast used for different purposes so we are focusing on types of baker’s yeast as that’s what is commonly used for home baking.
We are focusing on dry yeast, which is what you find at the grocery store and the type of yeast I use for all of my yeast recipes on this blog.
- Active dry yeast is most commonly used in home baking and is sold in either small packages or little jars at the grocery store. The actual yeast is stored in the granules and is reactivated when combined with warm water.
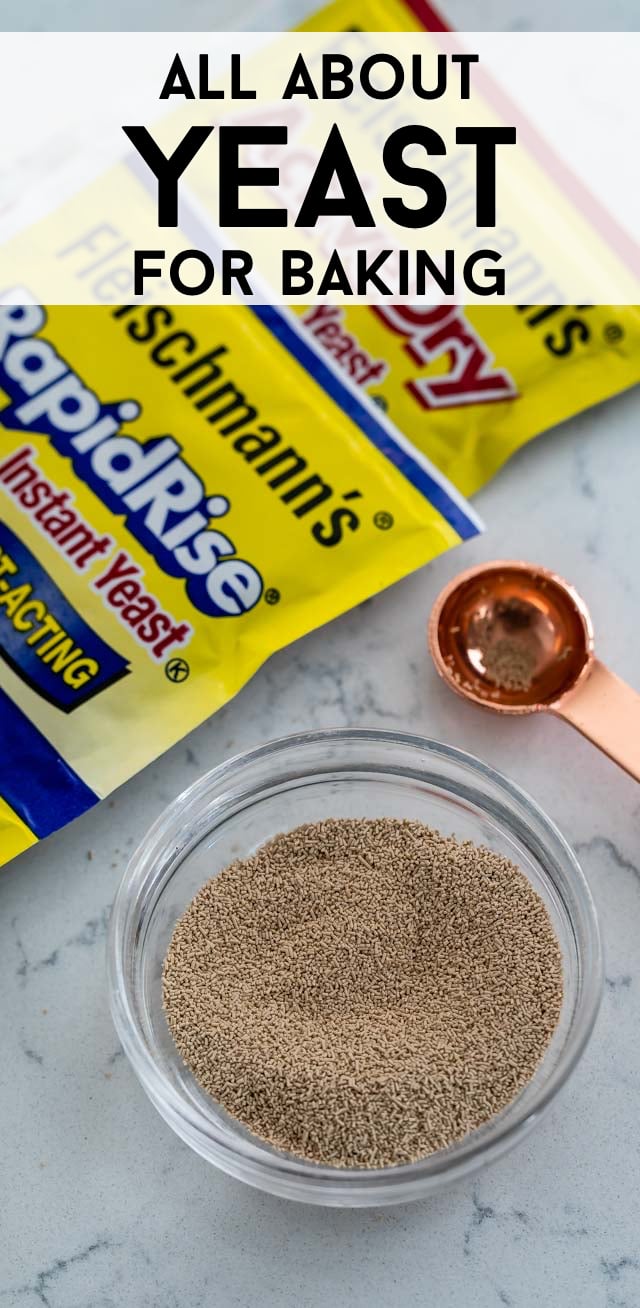
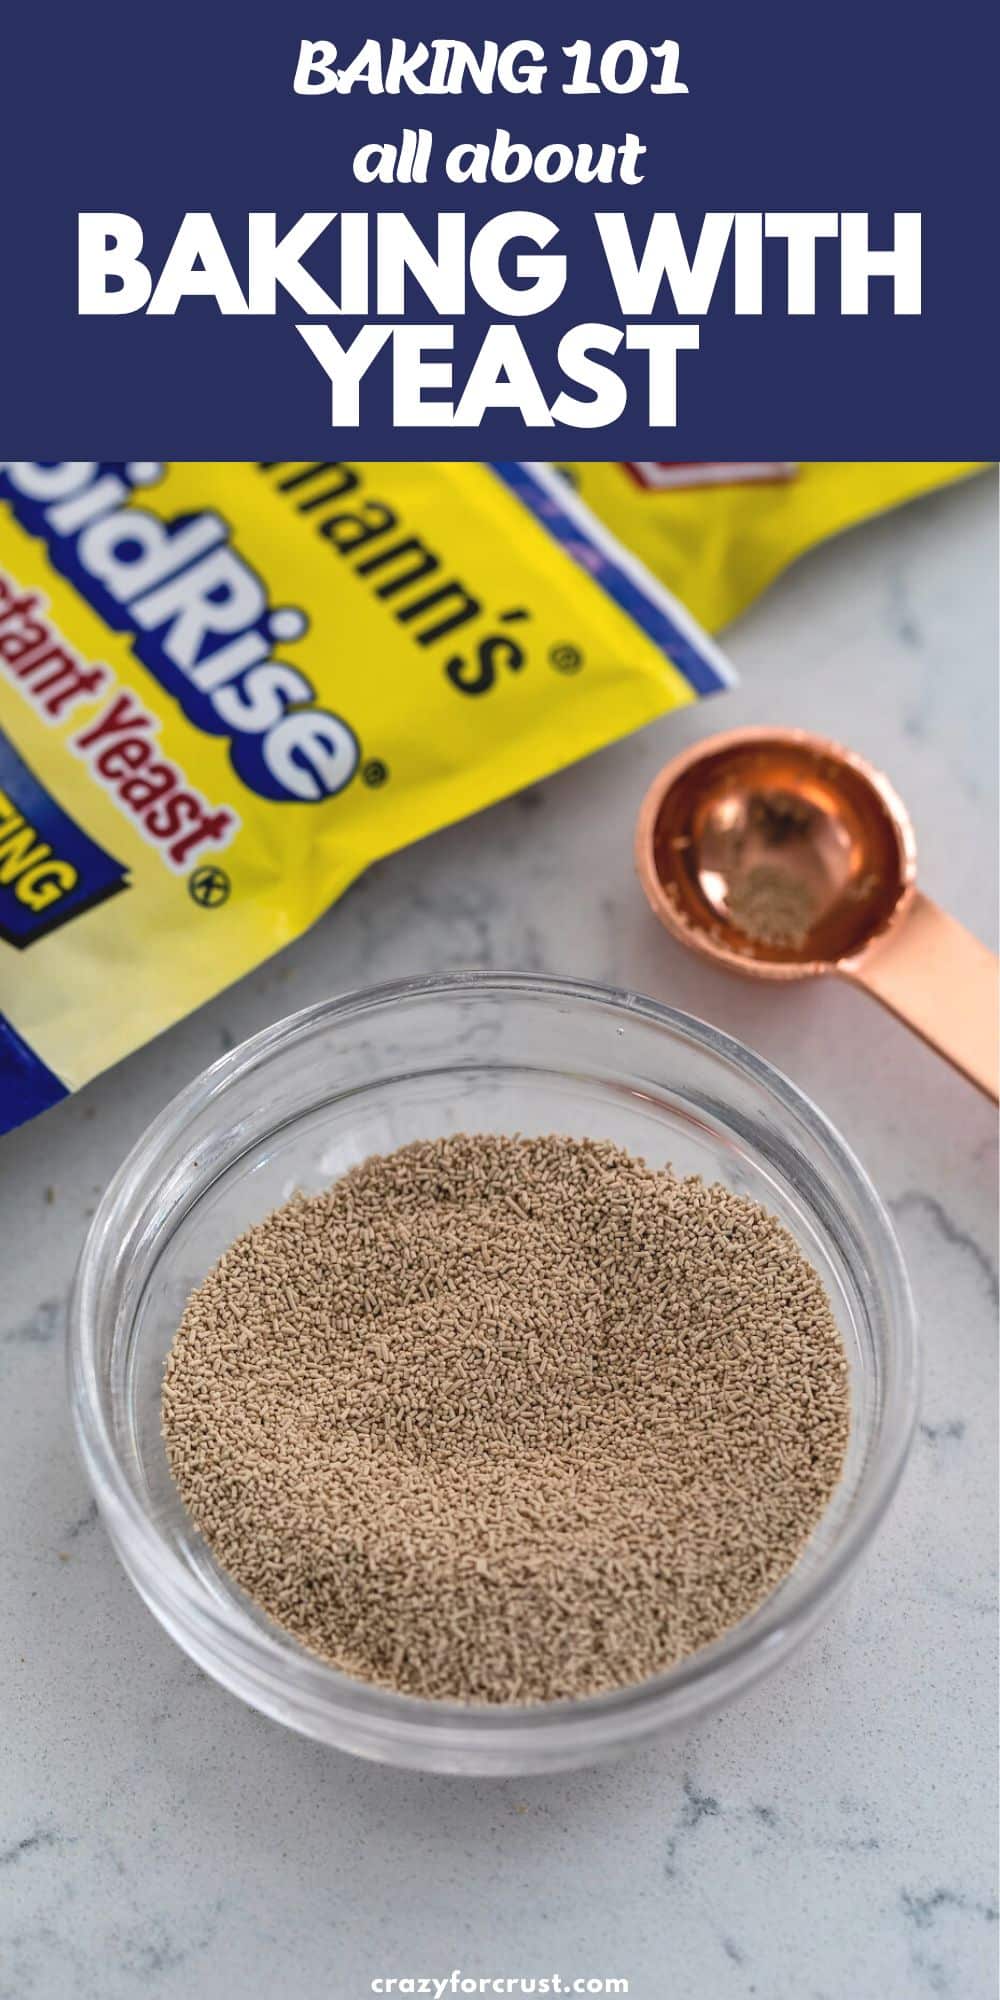
- Instant yeast is like an amped-up version of active dry yeast and packaged the same way. It has a higher concentration of active yeast and doesn’t require activation with water. Instead, it can be mixed into the dough without being activated first. If you compare it with the dry active yeast, you’ll notice the granules are smaller. Instant yeast is sometimes referred to as rapid-rise yeast and is often used for bread that is made in a bread machine.
- Bread Machine Yeast is another type of instant yeast that has smaller granules so that it will dissolve quicker with the wet ingredients and doesn’t need the proofing step. It often has a longer shelf life than other yeast.
Instant yeast shortens rising time, which makes it my favorite yeast for baking.
PRO TIP
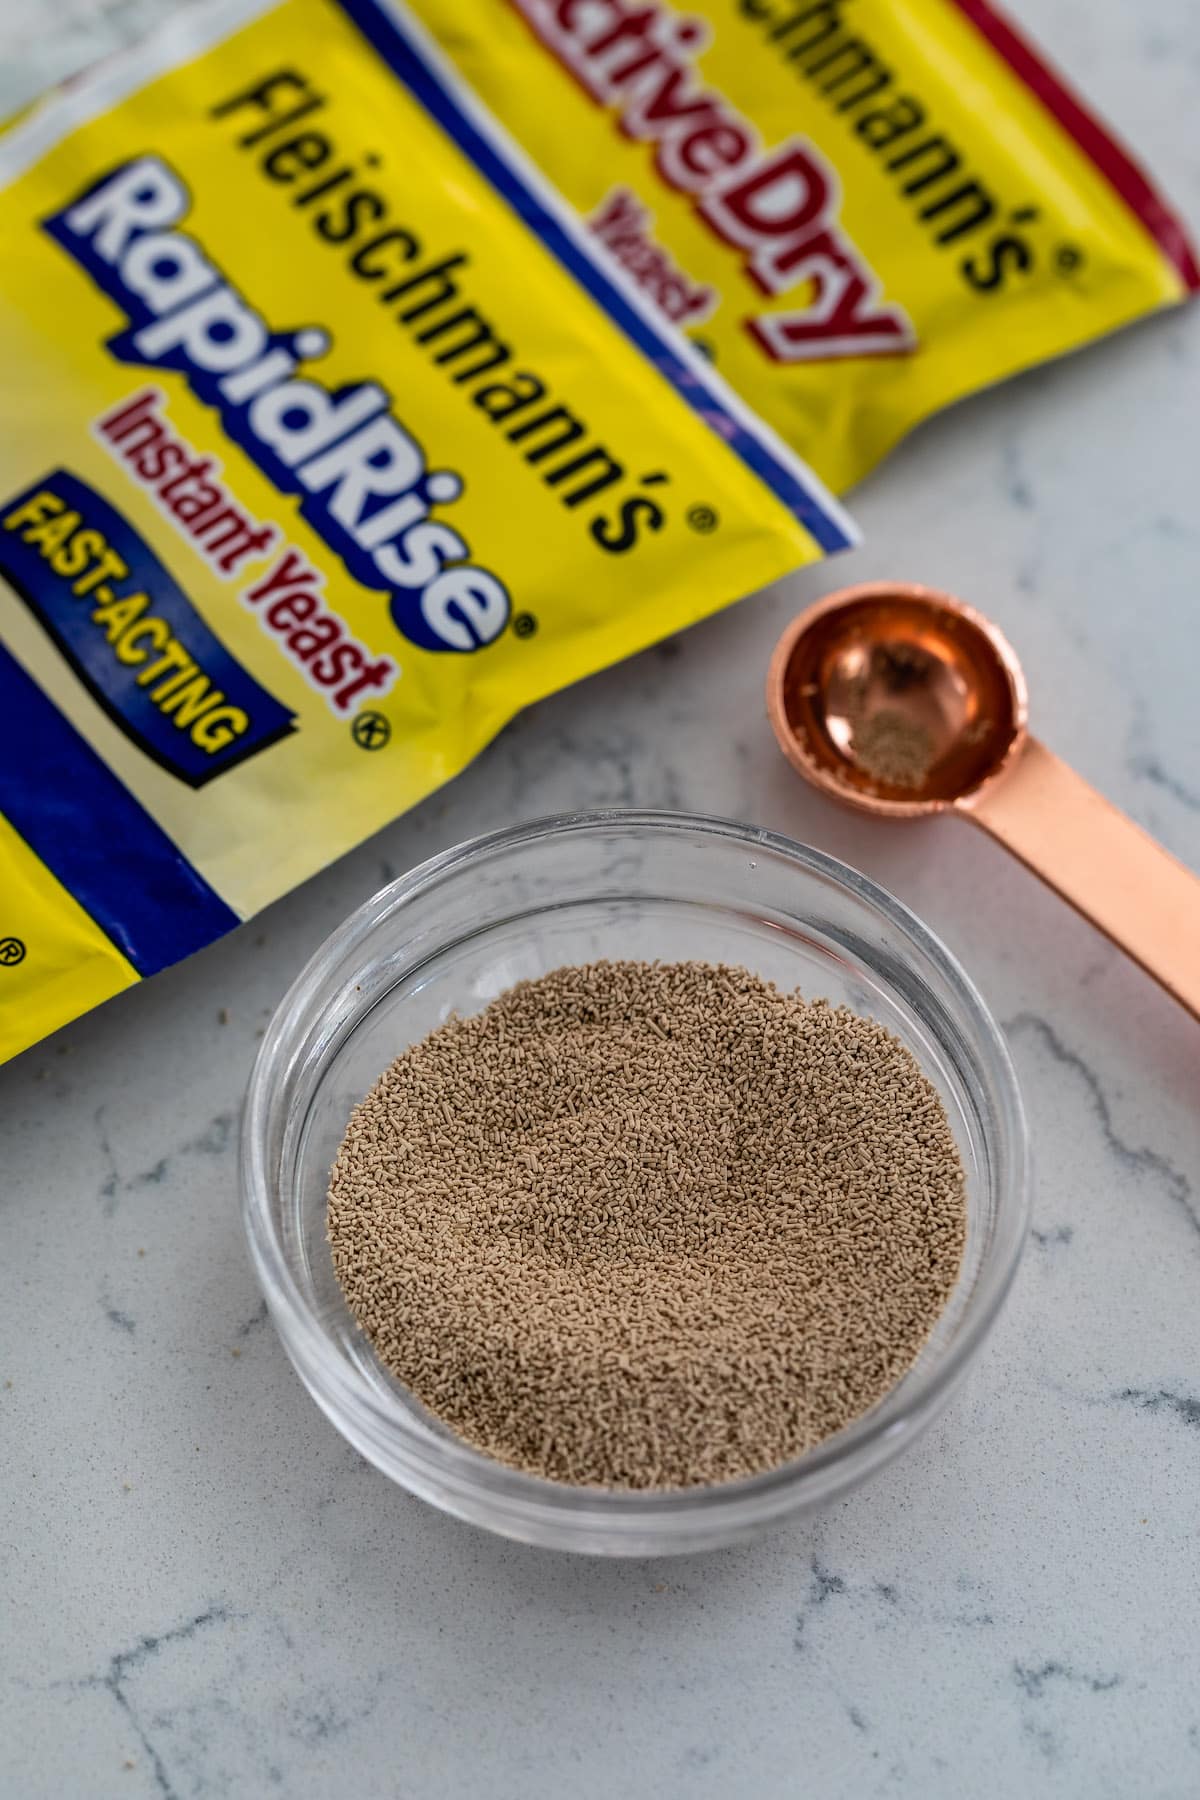
Can I substitute Instant Yeast for Active Dry Yeast?
Technically, yes, you can substitute instant yeast for dry yeast in recipes but it’s not as simple as swapping one for the other in the same amount.
As a rule of thumb, 1 teaspoon of instant dry yeast is the equivalent of 1 1/4 teaspoons of dry active yeast, or 25% more. Since instant yeast has a higher concentration of active yeast you would need more dry active yeast to make up the difference.
That said, I think it’s always best to use the type of yeast listed in the ingredients list unless there are substitution instructions in the recipe notes. Yeast can be tricky enough as it is, so if you’re new to baking with yeast making substitutions could cause problems.
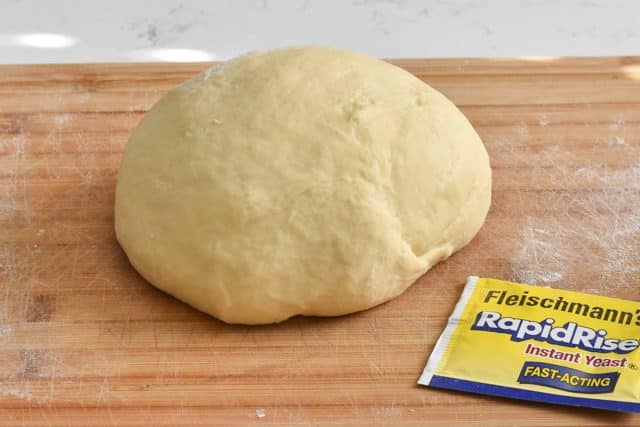
How to Knead Dough
If you’ve gone to the trouble to buy the right kind of yeast for your recipe, activating the yeast according to the instructions and mixing all of your ingredients to make the dough it’s a good idea to know how to knead the dough.
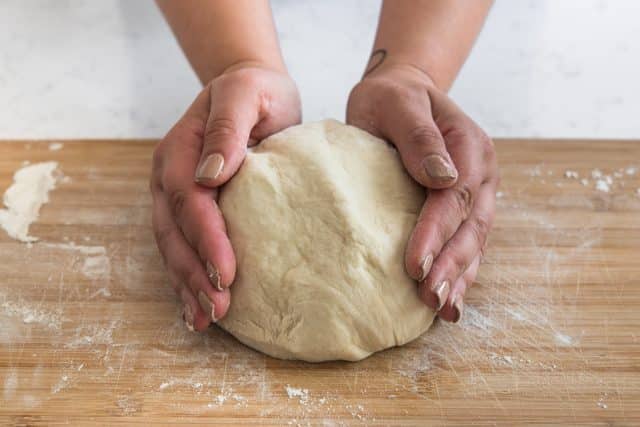
Kneading the dough is a crucial step in baking as it changes structure of the dough so the yeast can do it’s part in making the bread rise. Depending on the recipe there may be specific kneading instructions but, in general, this is how you knead bread:
- Place the dough on a worksurface dusted with flour.
- Gather up the dough and, using the heels of your hands press and stretch the dough away from you.
- Fold it back on itself and press and stretch again. Every so often turn the dough so you are pressing and stretching the whole ball of dough.
- You know when you’ve kneaded the dough enough when it’s no longer sticky and the dough has an elasticity.
Kneading the dough lengthens and stretches the gluten in the dough giving it structure. When the dough rises this structure creates space for the yeast to emit the gases that causes the bread to rise.
Where is the Best Place to Let Dough Rise?
The best place to let dough rise is a warm place. Most often your kitchen counter is the best place, but if your kitchen is cold it’s better to find a warmer place to leave it. At least 80 degrees F is the ideal temperature, but if it’s cooler it will just take a little longer for the bread to rise. If it’s very cold a warm oven is a good place, too, but just be sure to monitor the temperature.
Your recipe, if it’s a well written one, should indicate what the dough should look like since the amount of time for the dough to rise will vary based on what the temperature of your kitchen is. “Doubled in size” is a common visual cue, but always check your recipe instructions to be sure.
Why didn’t my bread rise?
- Is your yeast expired? Always check the expiration date on the package before you use it.
- If your yeast wasn’t expired, was it in an opened package exposed to moisture and air? Yeast is perishable and will go bad quickly if it’s been exposed to too much moisture and air so even if it’s still within its expiry date it can go bad if not stored properly.
- Expired yeast means the yeast has died. When you activate the yeast, you should see bubbles and foam form in the bowl of water (if using active dry yeast). If this doesn’t happen it’s probably because the yeast has gone bad.
- Was your water too hot when you activated the yeast? Water that is hotter than 139°F can kill the yeast. If other ingredients in your dough are hot they can kill the yeast, too (looking at you, melted butter).
- Did you use the type of yeast called for in the recipe? Remember, different kinds of yeast are not always interchangeable.
- Did you forget to add any ingredients in the recipe? Or did you miss measure? Yeast needs the right environment in order to work and so any changes in the recipe amounts can impact how it reacts.
- Did you knead the dough enough? The gluten in the bread needs to be worked so that it has structure. Dough that is not kneaded (or not kneaded enough) does not have the right structure and won’t work right with the yeast to get a nice rise (or any lift at all).
FAQs
Technically, adding more yeast to your recipe will create more activity from the yeast which could cause the bread to rise faster but it could also cause the bread to collapse. Adding more yeast than the recipe calls for can also alter the taste of the bread and can give it an unappealing yeasty flavor. It’s always best to use the listed amounts so you don’t leave anything up to chance!
Always use the type of yeast called for in the recipe. It’s hard to substitute active dry for instant yeast so follow the directions.
Bread machine yeast and instant yeast are basically the same type of yest. Therefore you can substitute bread machine yeast for instant yeast in a 1:1 ratio.
One packet of yeast contains 2 1/4 teaspoons yeast or 7 grams.
As long as it’s stored in a cool, dry place yeast has a long shelf life. But always check the expiration date on the package. Once the yeast is expired it might not perform in your recipe.
To test active dry yeast, add 1 teaspoon granulated sugar to 1/2 cup warm water (110-115 degrees) in a measuring cup. Add a packet of active dry yeast (2 1/4 teaspoons). Stir and let sit about 10 minutes – after that time the yeast should be foamy and risen to approximately the 1 cup mark. If it’s not, then the yeast should be discarded.
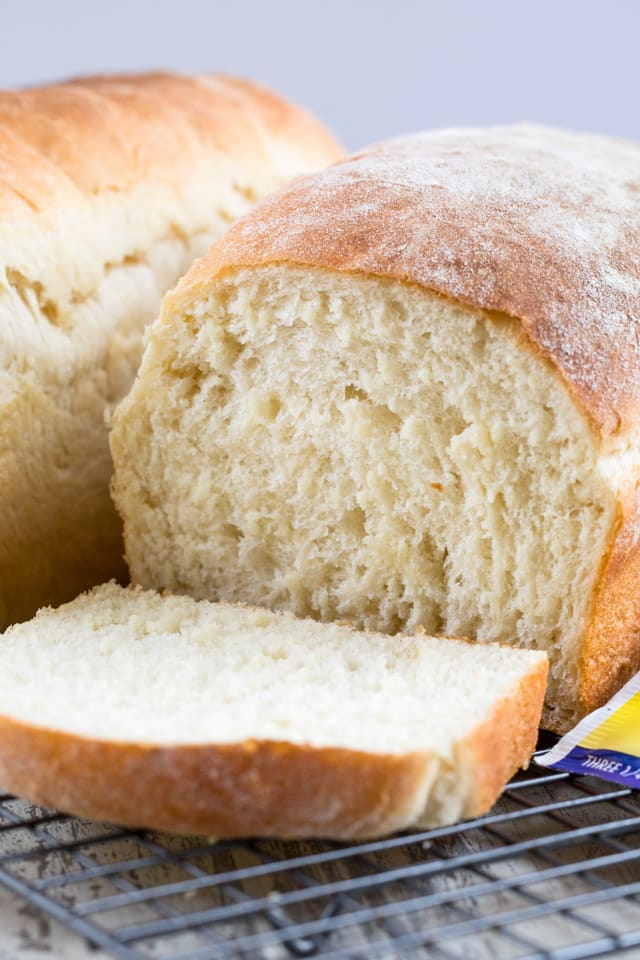
Make my favorite yeast recipes
- White Bread
- Ranch Breadsticks
- Homemade Cinnamon Rolls
- Pizza Dough
- Dinner Rolls
- Homemade Monkey Bread
- Cinnamon Swirl Bread
- Potato Rolls
Best Tools for Baking with Yeast
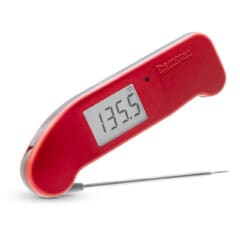
Instant Read Thermometer
Instant read thermometers are important when you’re baking with yeast. The Thermapen is my favorite – it’s a little more expensive but it works amazing. You can also find cheaper versions on amazon.
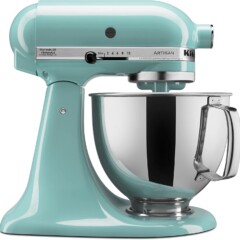
Stand Mixer
While you can make most yeast recipes by hand, a stand mixer with the dough hook makes life SO MUCH EASIER! It’ll even knead it for you.
Sources:
1. https://www.chicagotribune.com/news/ct-xpm-1986-02-09-8601100787-story.html and https://en.wikipedia.org/wiki/Baker’s_yeast
2. https://en.wikipedia.org/wiki/Baker’s_yeast
I have Fleischmann’s Instant Dry Yeast.
Please post a bread recipe using this. Thank you. Dana
This information is awesome. I am new to bread making-just made my first loaf last week! Thank you so much for the great tips.
Featured In