This post may contain affiliate links. For more information, read my disclosure policy.
This is an easy peanut butter popcorn recipe that comes together almost instantly! It’s peanut butter-flavored coated popcorn drizzled with chocolate. Great for movie night or to give as a gift because who wouldn’t love it?

Easy Chocolate Peanut Butter Popcorn
There’s a reason why the chocolate peanut butter combo is so iconic: It’s creamy, sweet, and has the perfect nutty flavor everyone obsesses over. But what happens when you add popcorn to the mix? One word: heaven.
The sweet and nutty flavors from peanut butter chocolate are instantly enhanced by the salty popcorn. Sounds too good? What if I told you that this chocolate peanut butter popcorn only has 4 ingredients?
This peanut butter popcorn makes a great gift idea since it holds well and looks beautiful when packaged. Whoever you give it to (or even if you choose to eat it all like I almost did) you must try this easy popcorn recipe.
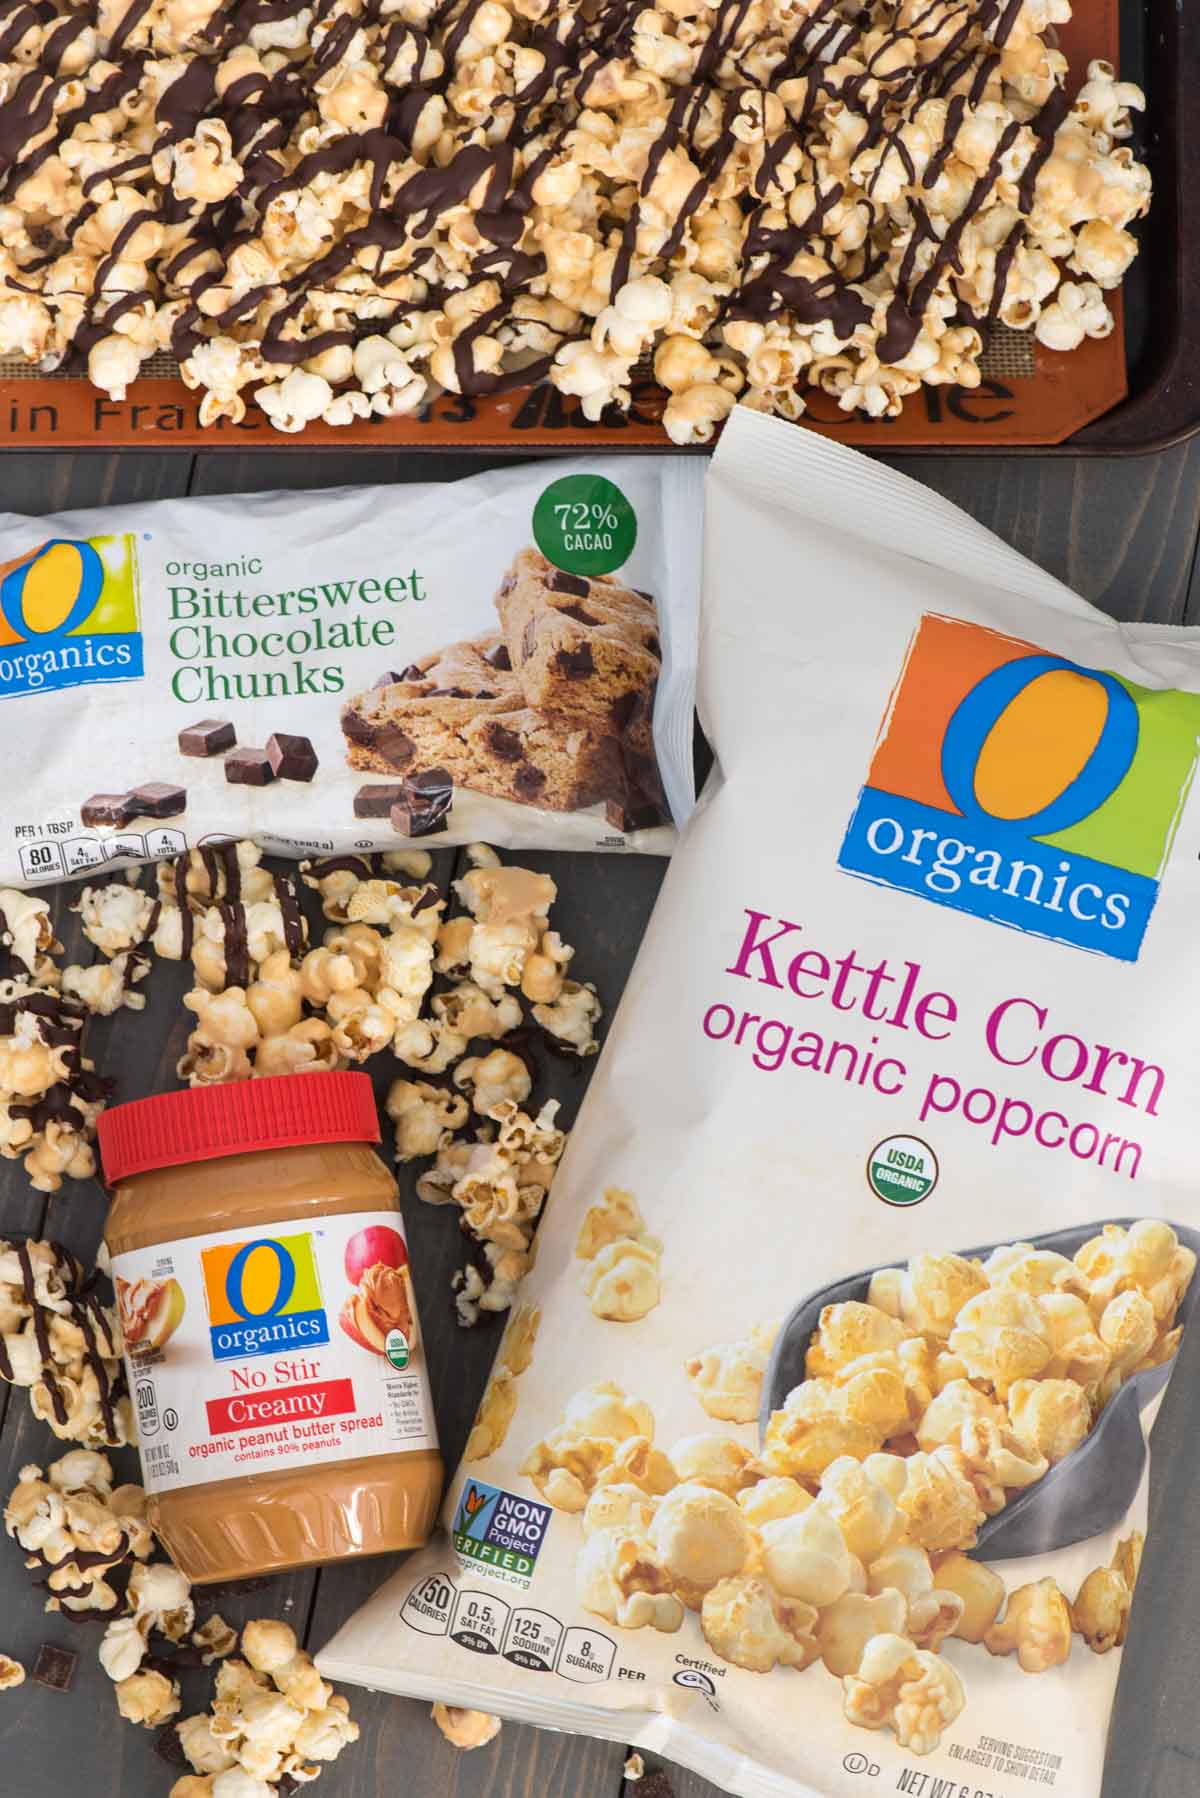
Ingredients needed
- Popcorn: You can use Kettle Corn, butter popcorn, microwave popcorn, or any kind you like. Pop your own popcorn or use pre-popped, your choice.
- Vanilla melting wafers: or white chocolate chips. This is to create the peanut butter mixture – melting wafers are my favorite.
- Peanut Butter: I’m using regular no-stir creamy peanut butter. You can substitute crunchy for creamy peanut butter if you prefer.
- Chocolate: I’m using dark chocolate chunks to melt over the popcorn but you can also use regular chocolate chips.
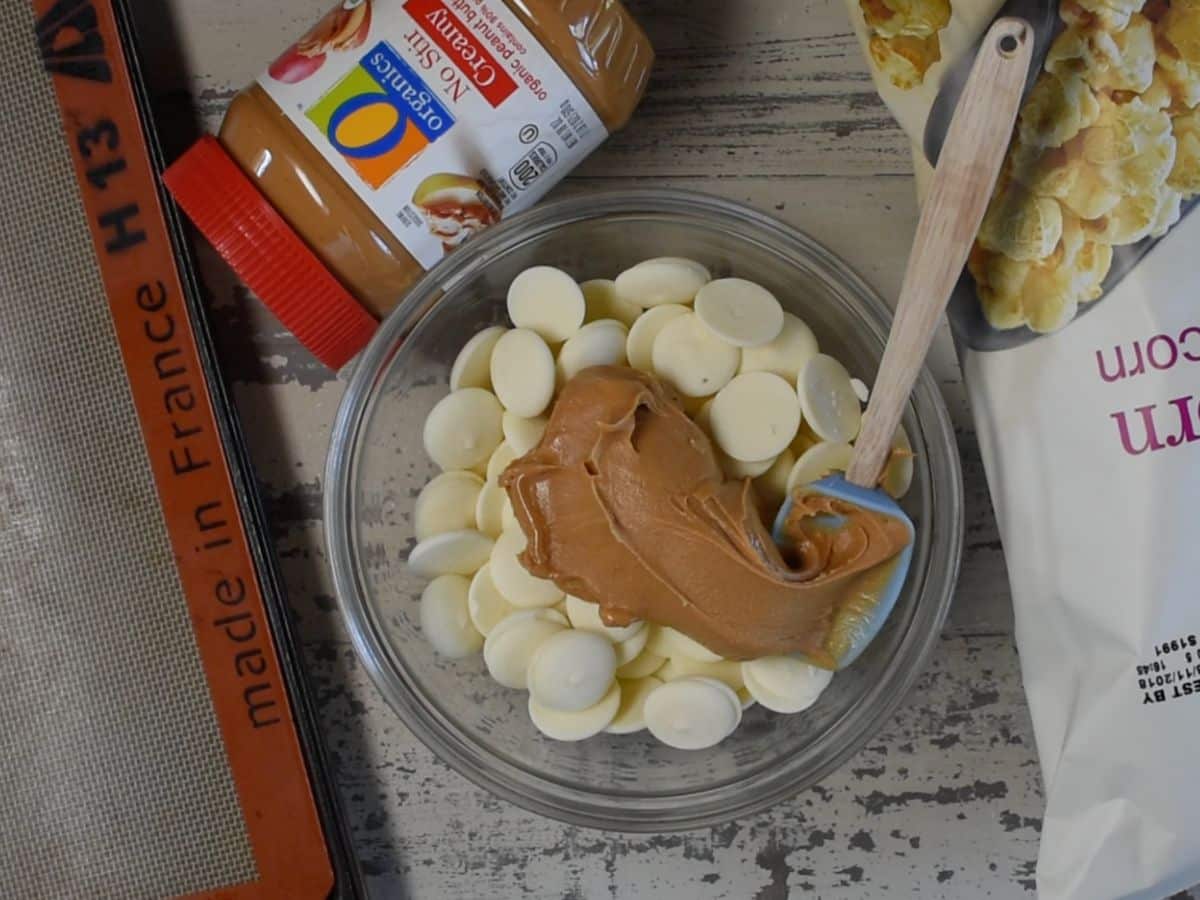
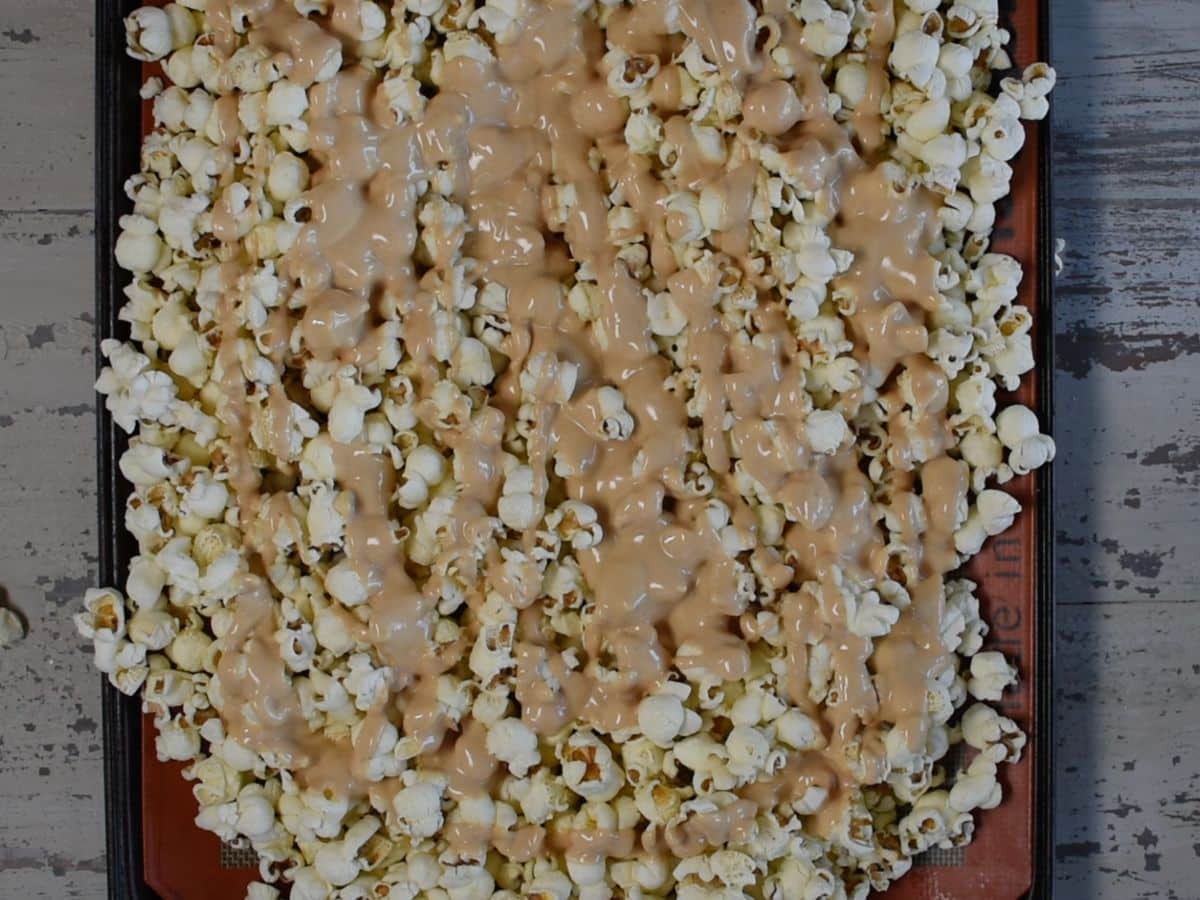
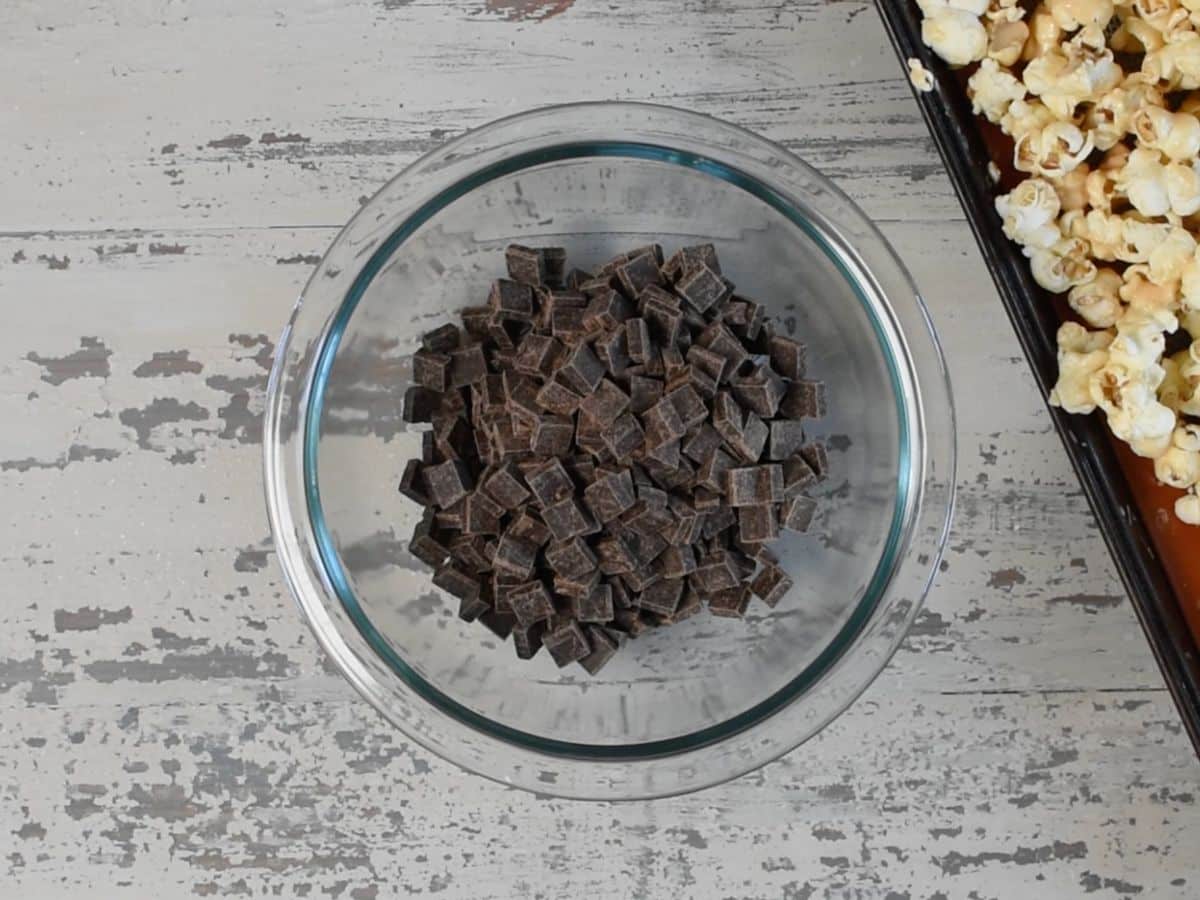
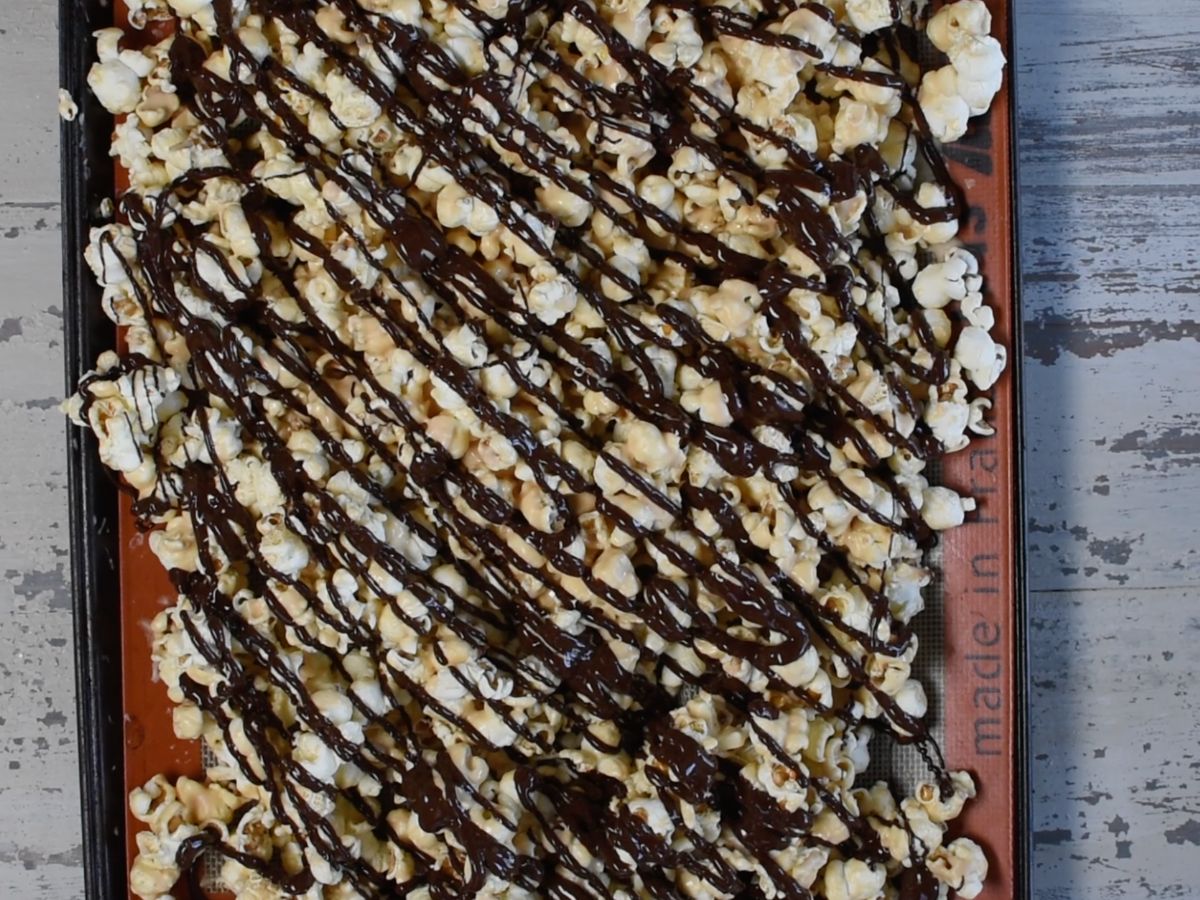
How to make peanut butter popcorn
- If you’re popping your own popcorn, you’ll want to pop it before starting. Otherwise, line a cookie sheet with parchment paper or a silicone baking mat and spread your popcorn out.
- Melt vanilla melting wafers with peanut butter in a microwave-safe bowl for about 2-3 minutes, stirring every 30 seconds. It should be completely melted and smooth.
- Pour the peanut butter mixture over the popcorn on the cookie sheet. Toss with your hands to evenly coat the butter coating.
- Melt chocolate chunks in a microwave-safe bowl in 30-second increments until melted and smooth.
- Place the melted chocolate in a sandwich bag with the tip cut off and drizzle over popcorn.
- Chill the popcorn in a large bowl to harden, then break it apart and serve.
- Store in an airtight container in the refrigerator for up to one week. That’s only if it lasts that long! So delicious.

Expert tips
- Melt some caramel bits to drizzle over the top.
- I love using the Ghiradelli white chocolate melts that you can find in the baking aisle. They taste so much better and melt so much easier than white chocolate chips.
- If you have trouble melting either of your chocolates, add 1 teaspoon of coconut oil or vegetable oil. The oil helps it melt smoother, and drizzle easier too.
- Want to dress this up even more? Add chopped candy or nuts, or even some Christmas sprinkles or candy to make it more festive.
- You can use ANY flavor popcorn you like – microwave or bagged popcorn. I love using Skinnypop or even flavored BoomChickaPop to make my life easier.
FAQs
Yes! If you don’t want to add chocolate, you can enjoy it with just the peanut butter coating or substitute it with caramel.
If stored in an airtight container in the refrigerator, your chocolate peanut butter popcorn should last up to one week.

Chocolate Peanut Butter Popcorn Recipe
Recipe Video
Ingredients
- 1 6 ounce bag popcorn (see note)
- 10 ounces vanilla melting wafers (such as Ghiradelli) or white chocolate chips
- ½ cup (134g) creamy peanut butter (use a no-stir brand)
- 1 cup Dark Chocolate Chunks
Instructions
- Spread popcorn on a baking sheet covered with parchment paper or a silicone baking mat.
- Melt vanilla melting wafers with peanut butter in a microwave safe bowl on 50% power for about 2-3 minutes, stirring every 30 seconds, until melted and smooth. Pour over popcorn on cookie sheet. Toss with your hands to coat.
- Melt chocolate chunks in a microwave safe bowl in 30 second increments, stirring between each, until melted and smooth, about 1-2 minutes. Place in a sandwich bag with the tip cut off and drizzle over popcorn.
- Chill the popcorn to harden, then break it apart and serve. Store in an airtight container in the refrigerator for up to one week.
Recipe Notes
- You can start with a bag of popcorn like I did (any brand or flavor) or pop your own from microwave popcorn or kernels.
- Be sure to use a no-stir brand of peanut butter.
- I prefer using melting wafers (like Ghiradelli candy melts) because they melt better than chocolate chips. Look in the baking aisle with the baking chocoalte).
- Use any kind of dark chocolate chunks or chocolate chips.


Absolutely loved this! Thanks for the recipe
Delicious! But, it does definitely take longer than 10 minutes. It took 15-20 minutes for me, although it was worth it!
ah I love how simple this recipe is–and it looks SO addictive!
Featured In
Rate This Recipe
Recipe Ratings without Comment