This post may contain affiliate links. For more information, read my disclosure policy.
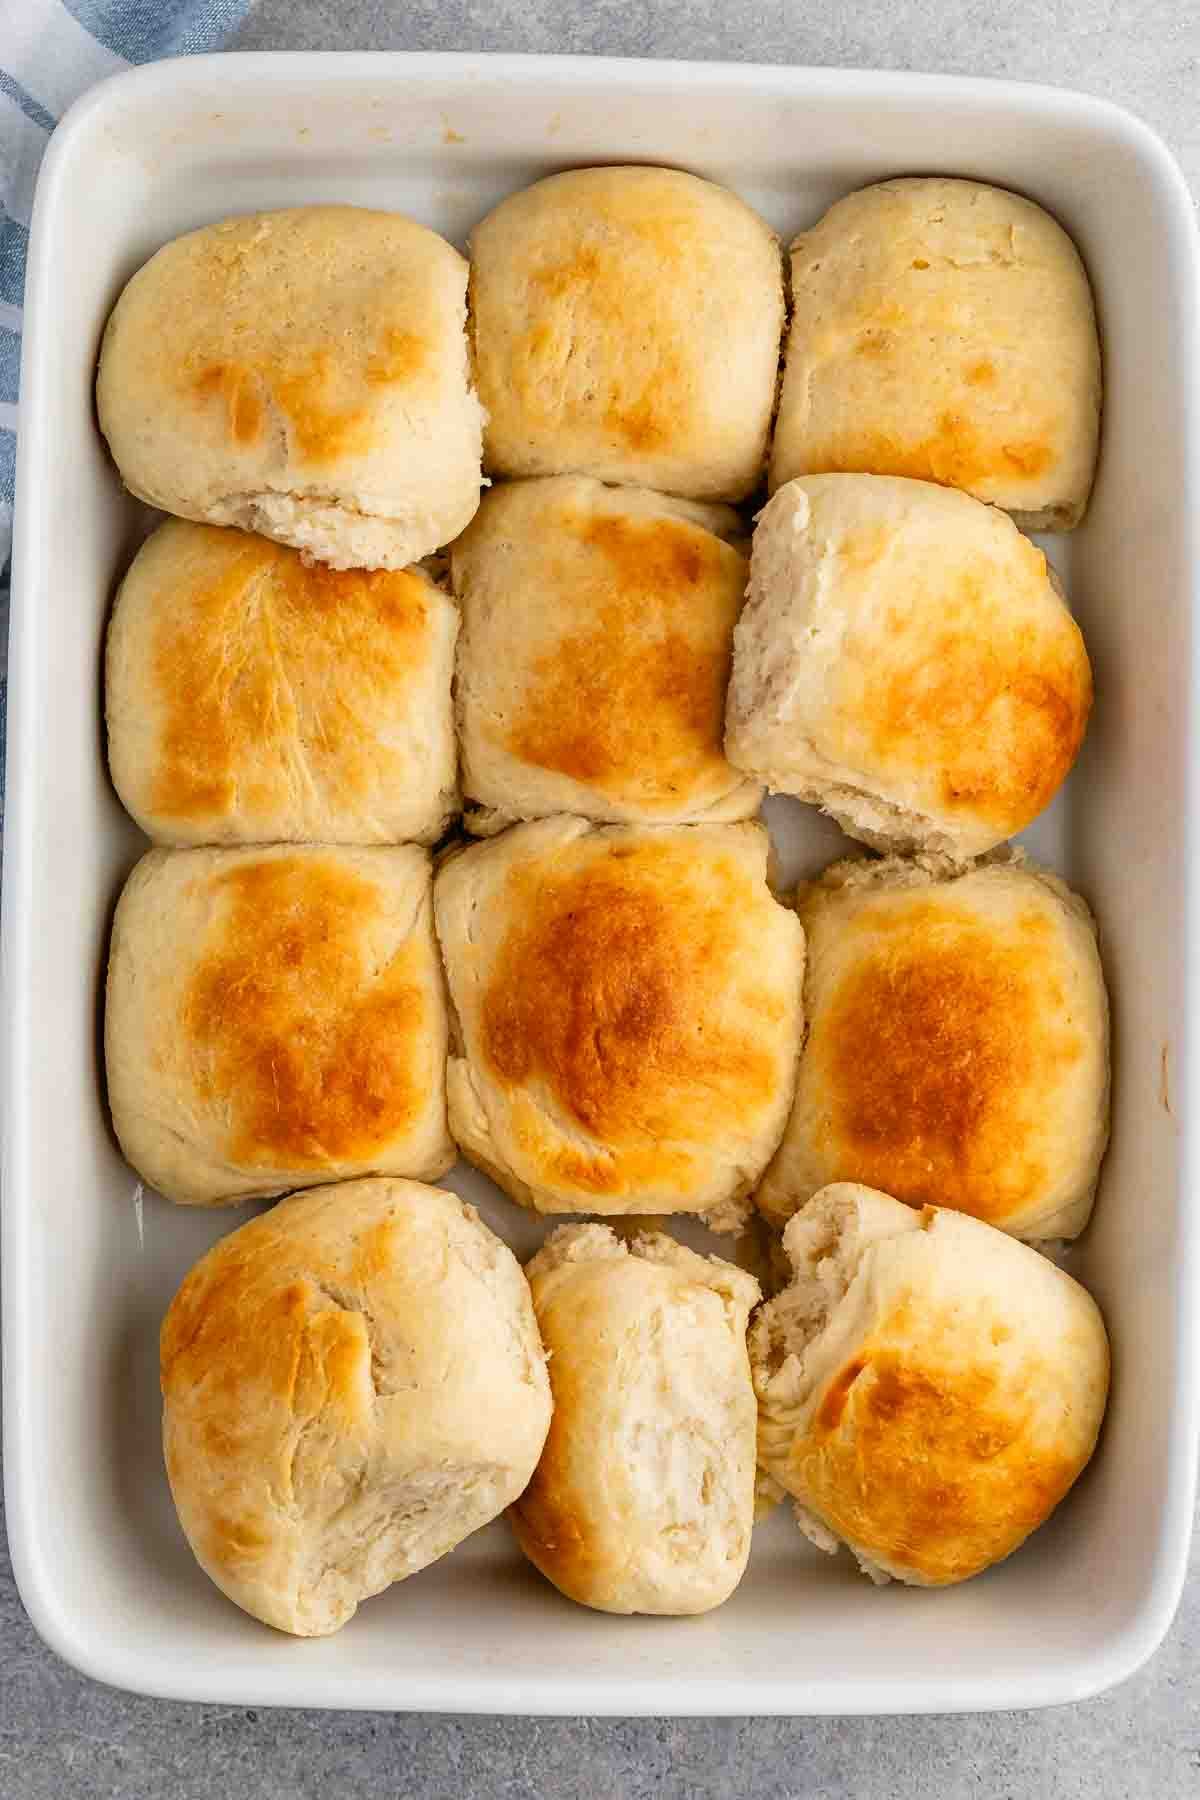
Quick Dinner Rolls will be on your table in just 45 minutes! These are fluffy dinner rolls that are perfectly soft, easy to make, fast, and they’re the perfect side dish.
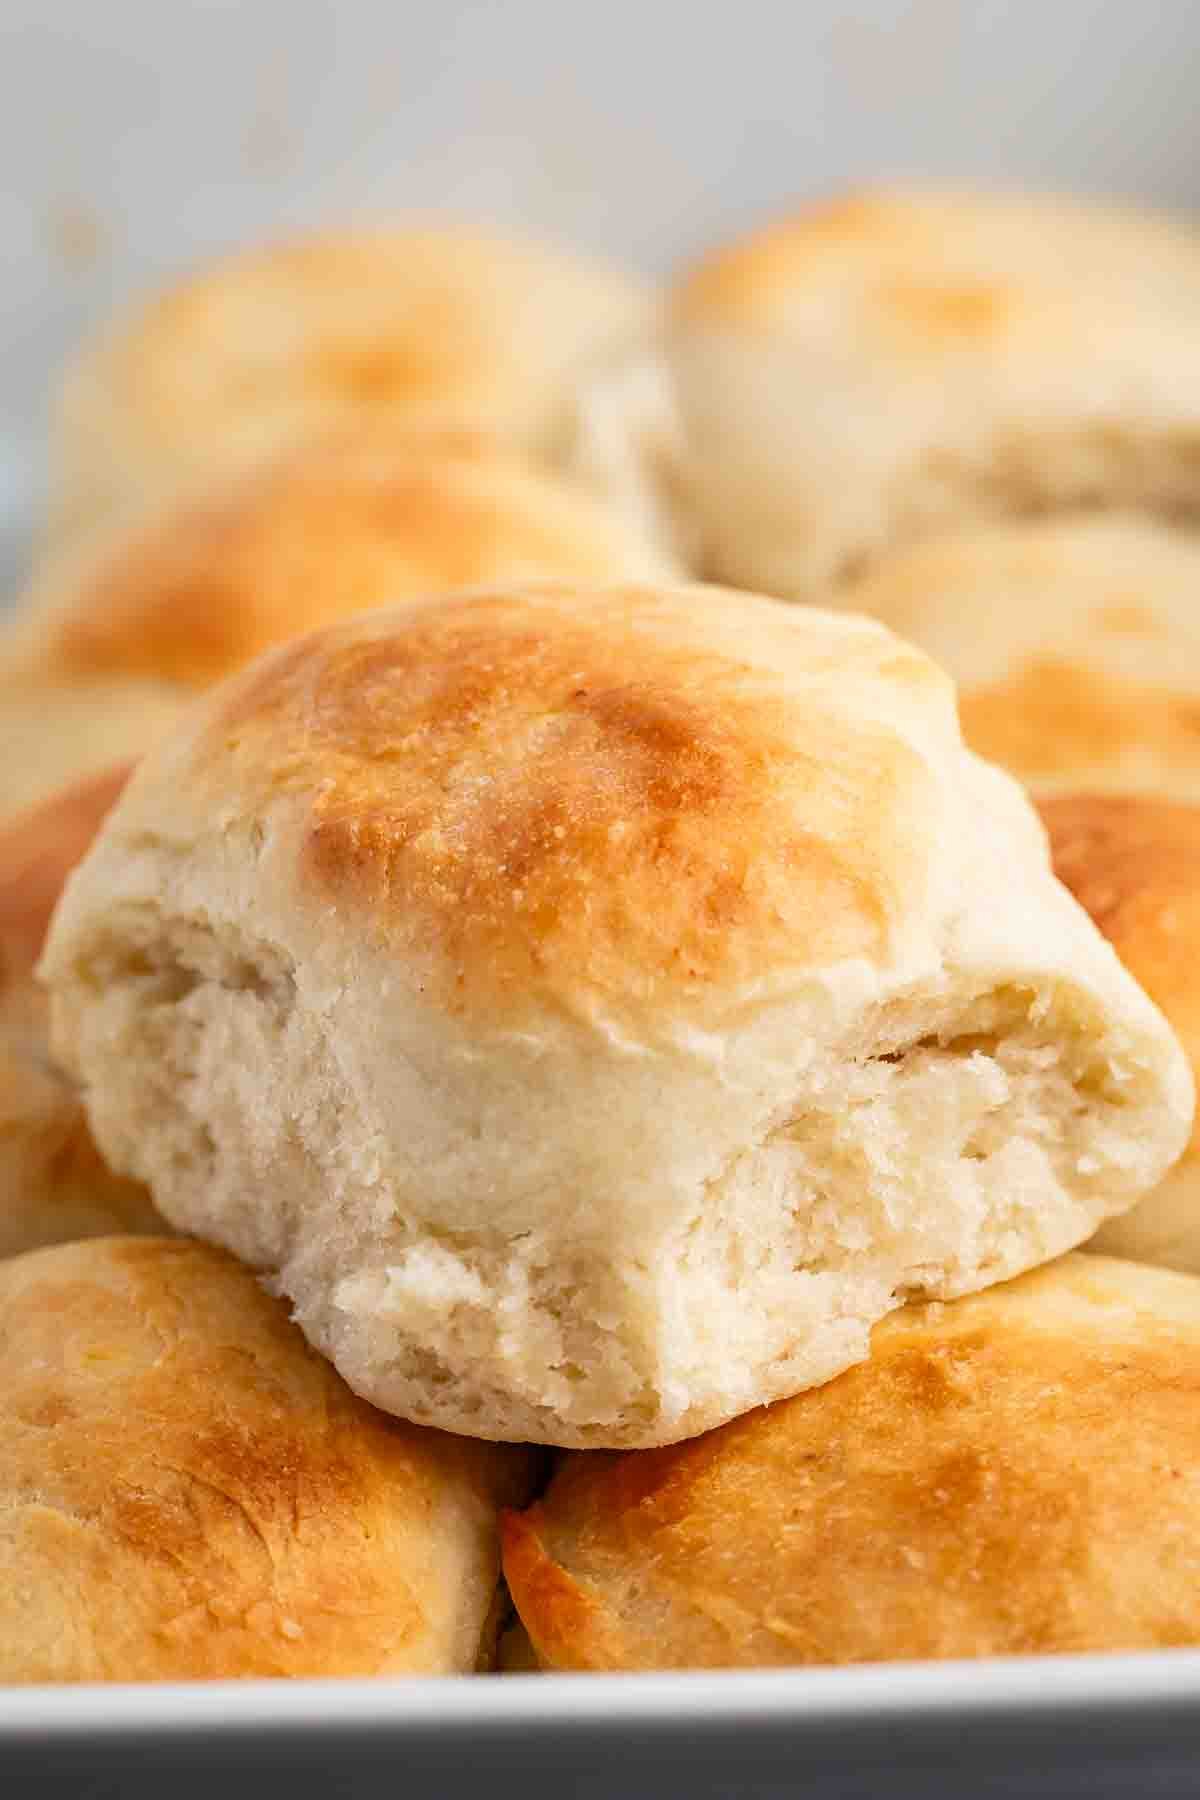
Yeasted Dinner Rolls
You may be asking: How can this yeast recipe be done so quickly? I’ll let you in on a little secret: using a lot of yeast will make them rise faster and essentially be done faster as well. These are perfect for when you need rolls, but don’t have all day to wait for them to rise!
This recipe makes 12 perfect dinner rolls that are perfectly soft. They freeze well, taste amazing, and go great with butter as a side dish for any meal.
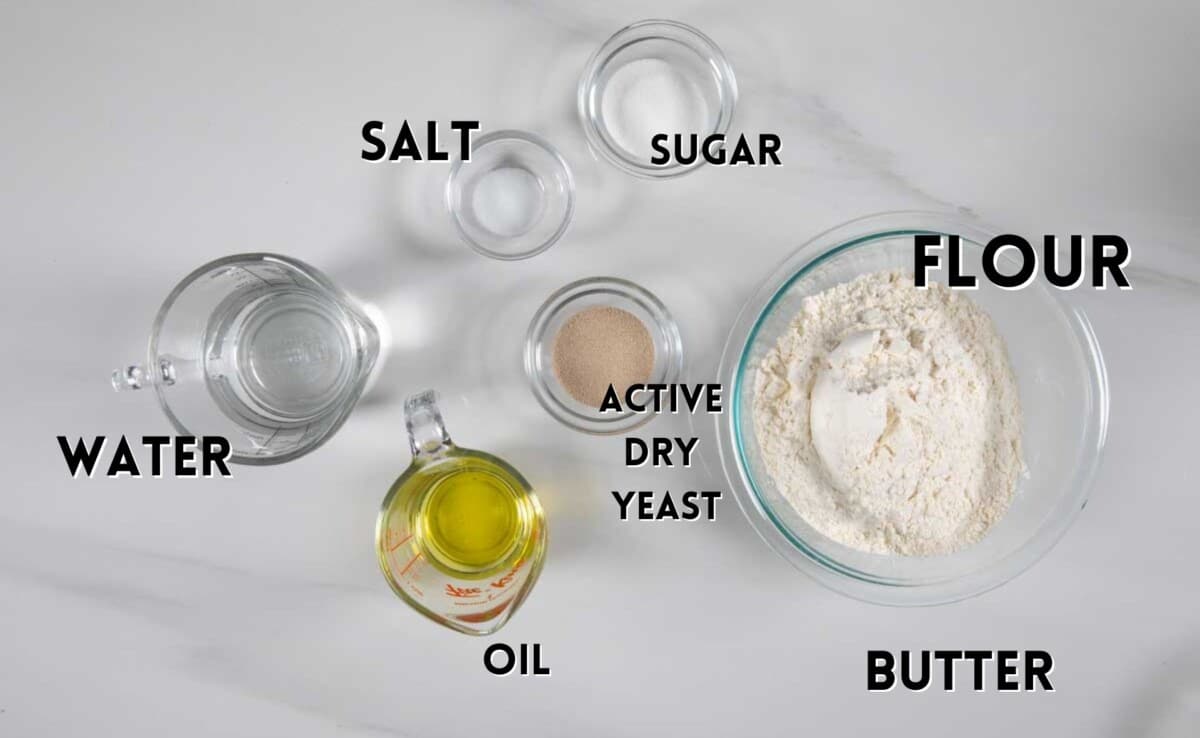
Ingredients Needed
- Warm Water: You’ll want to heat the water about 30 seconds in the microwave. If you have an instant read thermometer it should read between 100-110°F.
- Active Dry Yeast: There is no substitute for this in this recipe. Make sure you’re using active dry yeast, not instant. You need 2 tablespoons, so get 3 packets or a jar.
- All-Purpose Flour: I always use all purpose flour in my bread recipes because it’s what I have in my pantry, but bread flour will work as well.
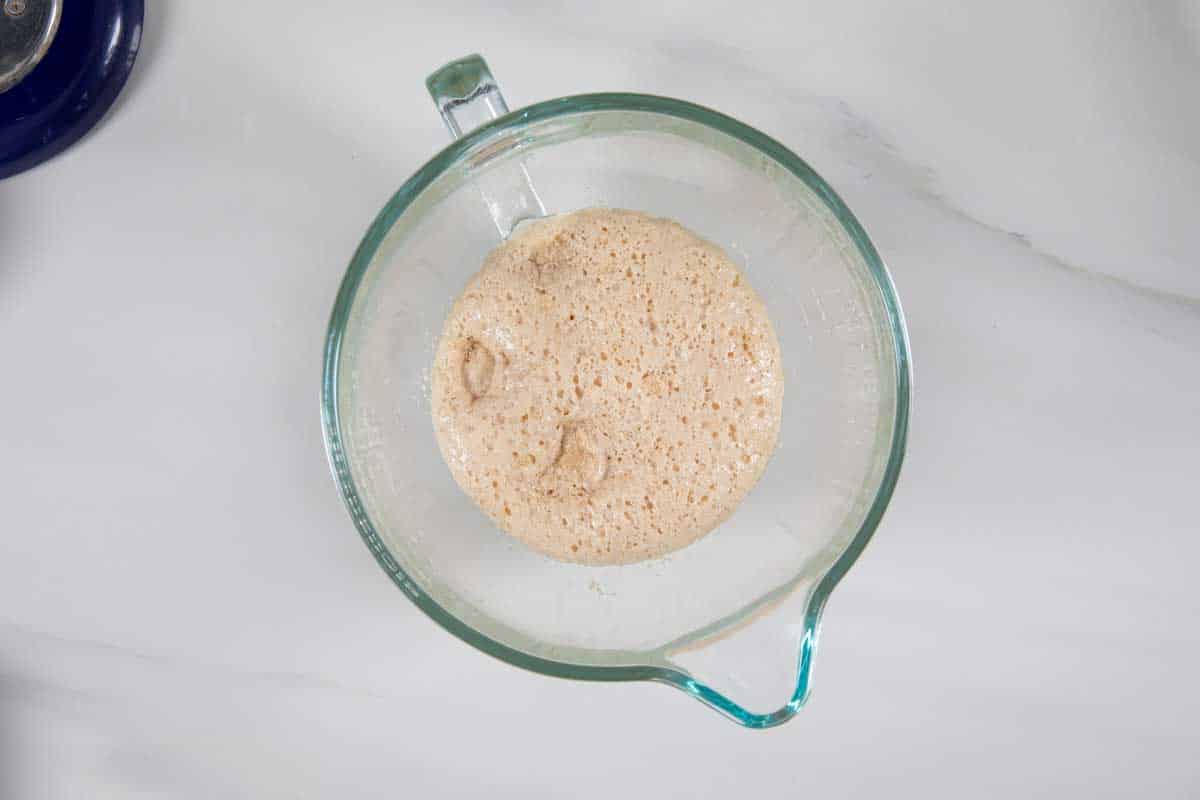
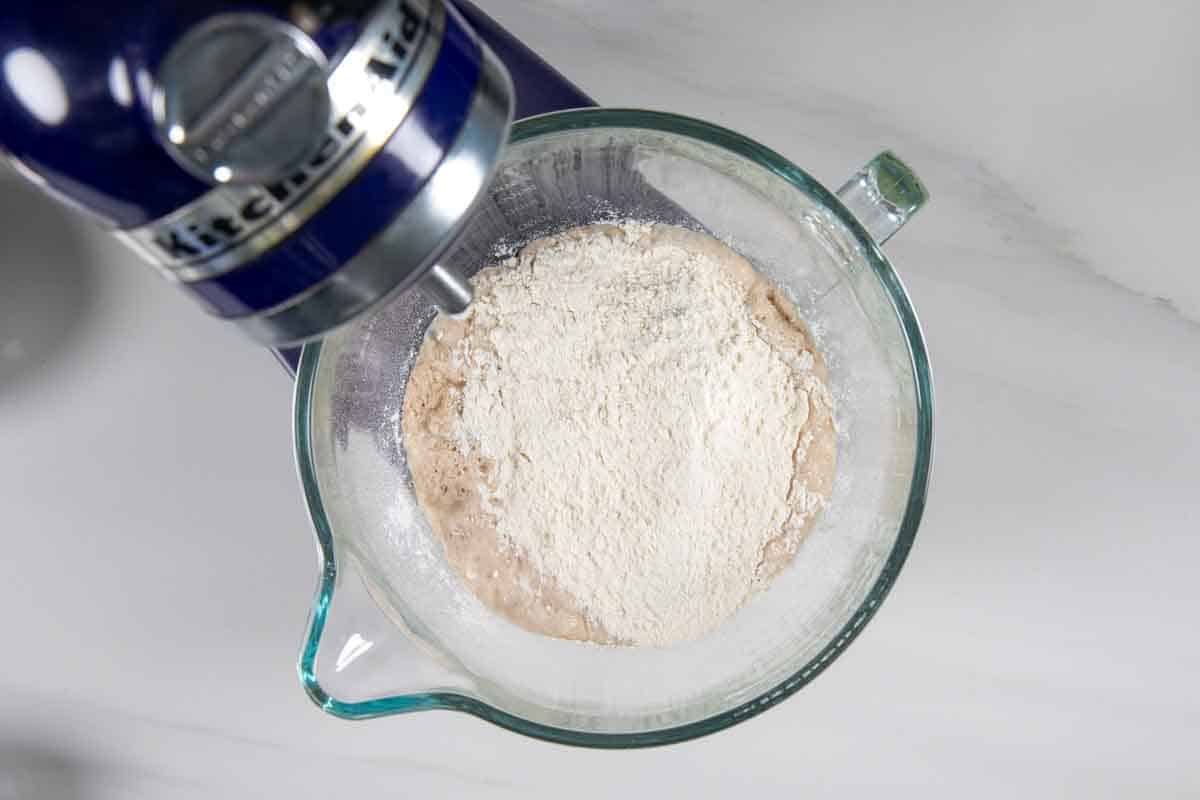
How to make 45 Minute Dinner Rolls
- Place the water, olive oil, sugar, and yeast in a large bowlLet the mixture rest for 15 minutes – it will get very frothy!
- Mix in the salt and flour You know it’s done when all of the dough will join to form a ball and the sides of the bowl are almost clean (no dough left).
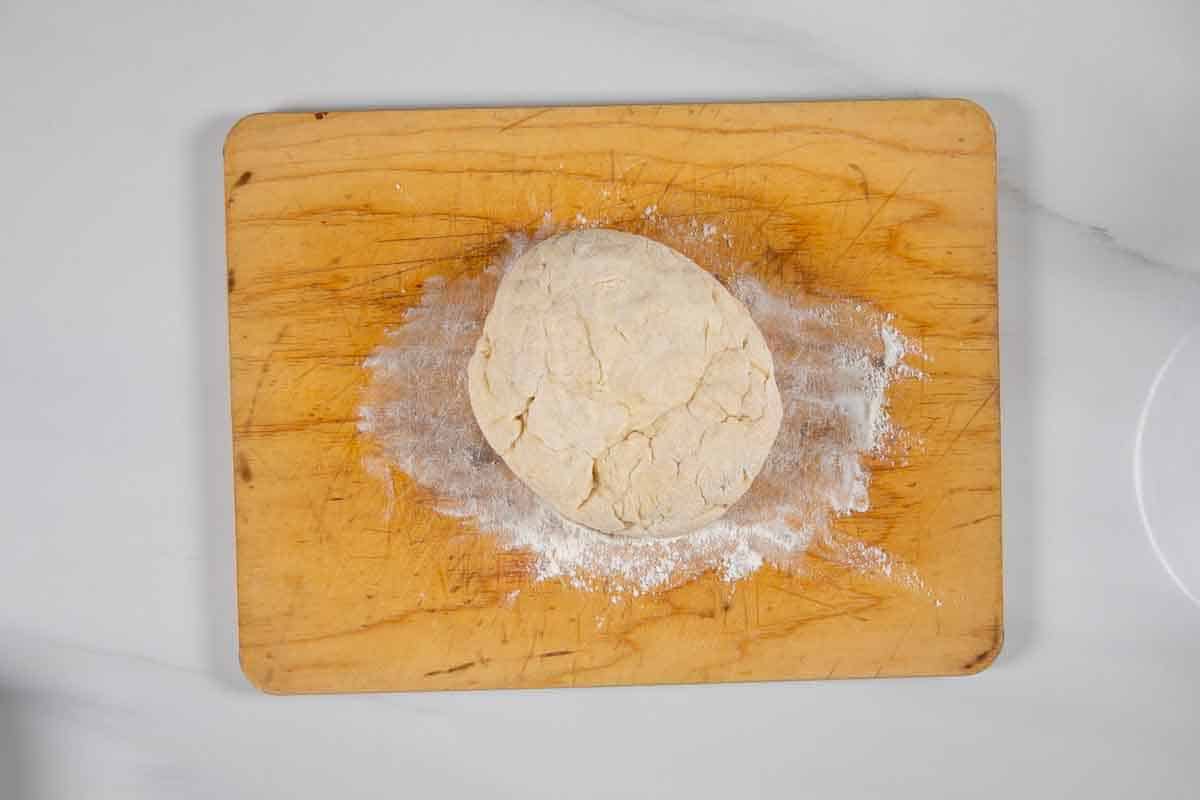
- Place dough on a cutting board and knead until it comes together in a cohesive ball.
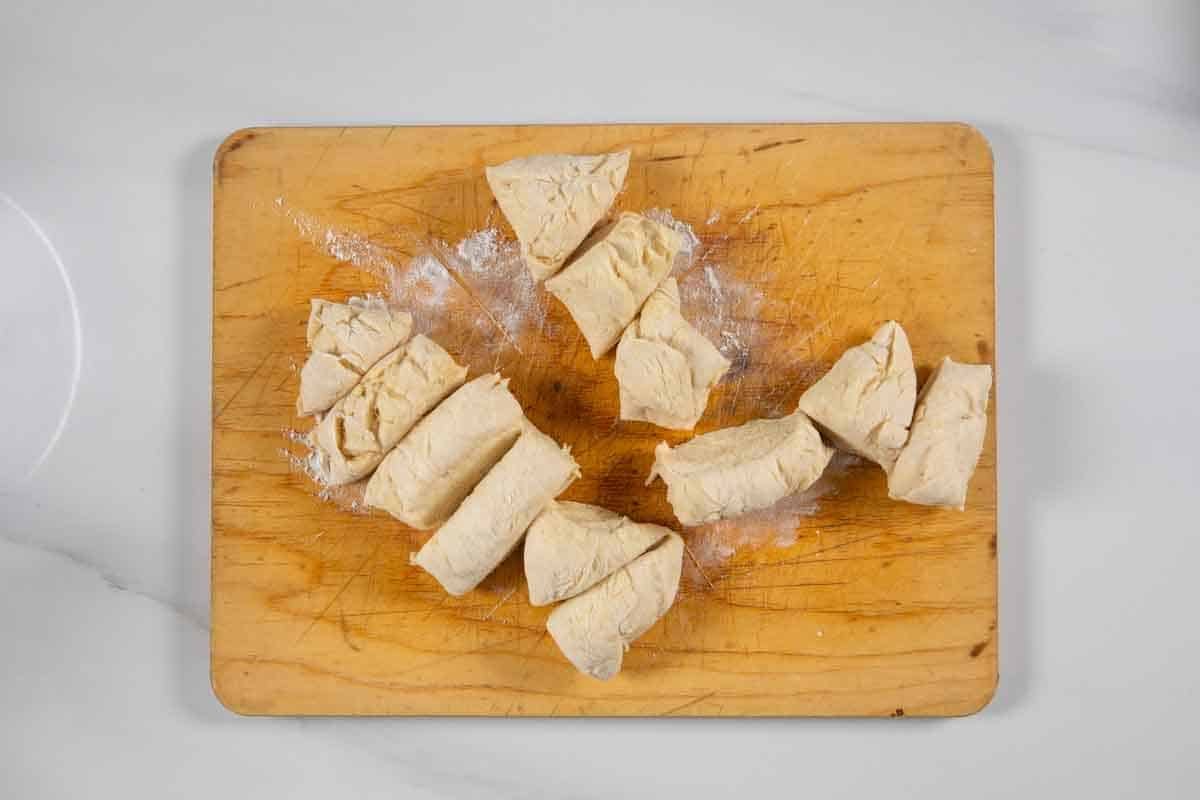
- Section into 12 pieces and roll each into a ball.
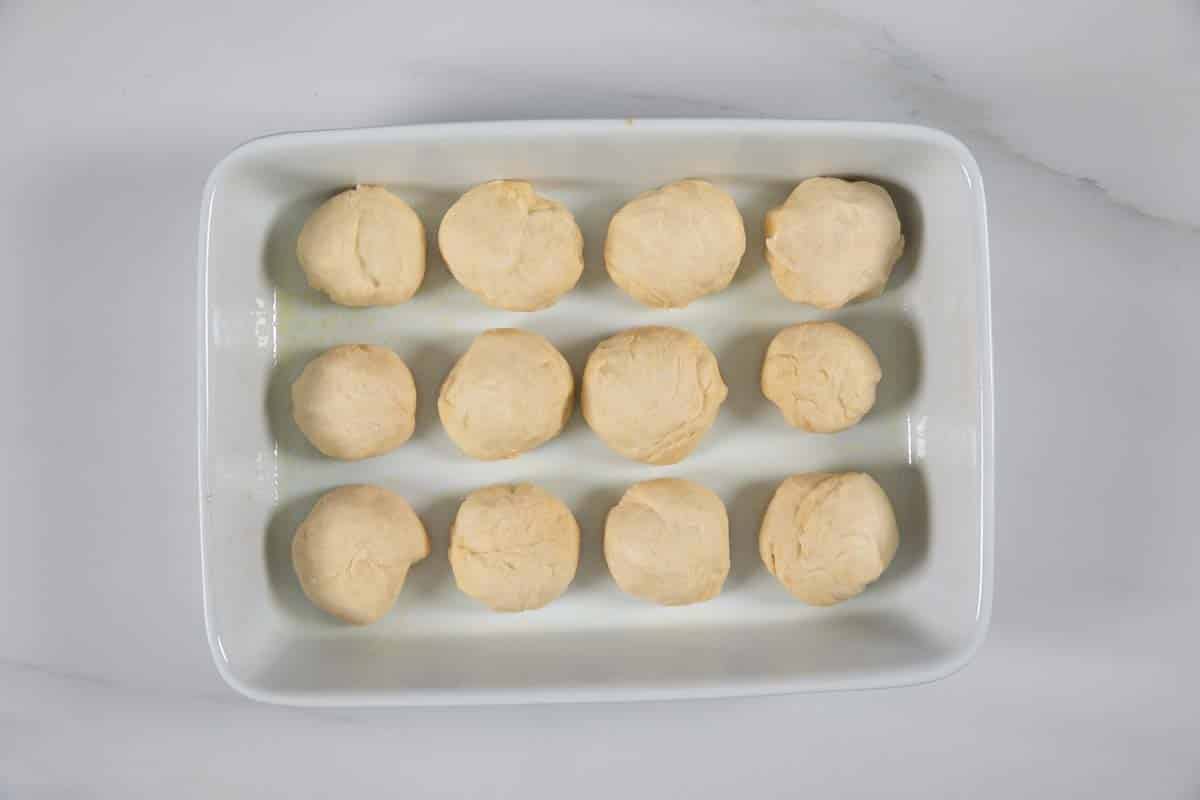
- Place the rolls in a 9×13” baking dish sprayed with cooking spray. Let rest for 10 more minutes.
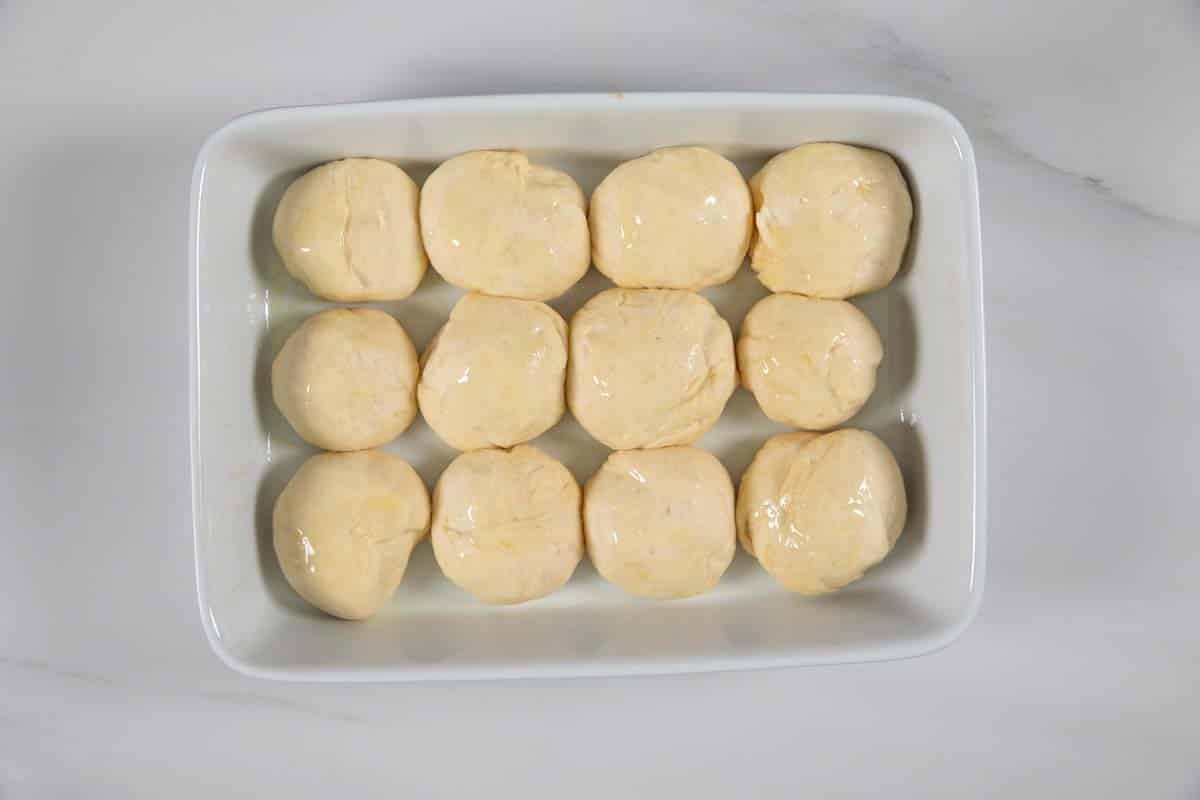
- Brush the tops with melted butter. Bake for about 10 minutes at 400°F, until the tops start to get golden.
Expert Tips
- Using an instant read thermometer will ensure that your water is the proper temperature to awaken (not kill) the yeast.
- It’s easiest to do this with a stand mixer fitted with the dough hook – it will knead it all for you! If you don’t have a mixer you can stir the dough until you can’t anymore (once it’s become a shaggy dough). Turn it out onto a lightly floured surface and knead until the dough comes together.
- I love brushing the tops of my rolls with melted butter before baking.
- You know dinner rolls are done when the tops of your rolls become golden.
- Start making these rolls before the rest of your dinner, so you can cook while they rise.
FAQs
These rolls will last around 2-3 days. You can freeze leftovers for up to 3 months.
Make sure your yeast is not expired and that your water is not too hot (or not hot enough). It should be between 100-110°F to activate the yeast properly.

45 Minute Dinner Rolls
Ingredients
- 1 cup (237ml) warm water (between 100-110°F, approx 30 seconds in the microwave)
- ⅓ cup (79ml) olive oil
- 2 tablespoons (25g) granulated sugar
- 2 tablespoons (17g) active dry yeast
- ½ teaspoon salt
- 3 cups (372g) all-purpose flour
- 1 tablespoon (14g) unsalted butter , melted
Instructions
- Preheat oven to 400°F. Spray a 9×13-inch baking dish sprayed with nonstick cooking spray.
- Place the water, olive oil, sugar, and yeast in the bowl of a stand mixer fitted with the dough hook. Let the mixture rest for 15 minutes. It will be very frothy when your timer rings!
- Mix in the salt and flour using the dough hook. Start on “Stir” for a few seconds, until the flour starts to incorporate. Switch to “2” for about 30 seconds and then kick it up to “3” until the dough completely comes together. You know it’s done when all of the dough will join to form a ball and the sides of the bowl are almost clean (no dough left). If your dough is too wet, add an additional tablespoon or two of flour.
- Place dough on a cutting board and knead lightly until the dough comes together.
- Section and roll dough into 12 balls. Place the rolls in prepared pan. Let rest for 10 more minutes.
- Brush with melted butter. Bake for about 10 minutes, until the tops start to get golden.
Recipe Notes
- Using an instant read thermometer will ensure that your water is the proper temperature to awaken (not kill) the yeast.
- It’s easiest to do this with a stand mixer fitted with the dough hook – it will knead it all for you! If you don’t have a mixer you can stir the dough until you can’t anymore (once it’s become a shaggy dough). Turn it out onto a lightly floured surface and knead until the dough comes together.
- I love brushing the tops of my rolls with melted butter before baking.
- You know dinner rolls are done when the tops of your rolls become golden.
- Start making these rolls before the rest of your dinner, so you can cook while they rise.





what would you recommend if you dont have a dough mixer? I just have a little beater type mixer, with the two beaters that pop out lol. no dough hook or kitchenaid mixer here 🙁 are these as easy to mix by hand? or can I use my beater with just one beater in it maybe? feel free to email me recommendations at careenprokop85@gmail.com
I’ve never done yeasted dough by hand – but I know it can be done. Stir it until the dough gets stuck to the spoon, and then knead it with your hands until it comes together and isn’t very sticky anymore. Then you’re ready to go to the next step! Let me know how it works out!
I need to try these asap. Nothing like the smell and taste of fresh rolls.
Totally! The best thing ever. Thanks Kim!
wow The pictures have me! I have been making bread for the past month and loving it but these rolls are so much easier and look sooo good I am going make them for sure. Started making my own bread so i knew what I was eating and use only ingredients i can pronounce lol
I will let you know how I make out
ttys
I totally need to make my own bread more! SO good. Thanks Cathy!
Thanks for the link,, and I’m totally about squishy rolls so that last pic has my heart!!
Thanks Carrian!
Dorothy!
this recipe looks fantastic! I’m trying it right now!
did you notcie that you left the sugar out of the recipe on the bottom? did I make a mistake by adding it? Or did you forget to put it into the directions? I added it in with the yeast. I can’t wait to see if mine come out as good as yours look!
Yes! I’m so sorry! With the yeast. I just fixed it! Thank you!
Featured In
Rate This Recipe
Recipe Ratings without Comment