This post may contain affiliate links. For more information, read my disclosure policy.
If you’re new to baking or just need a refresher, I’m sharing 10 tips for baking cakes including how to prep your cake pans, tips for reviewing recipes, and the best temperature for your ingredients. After you’ve read through this list, you’ll be ready to make a cake like a pro!
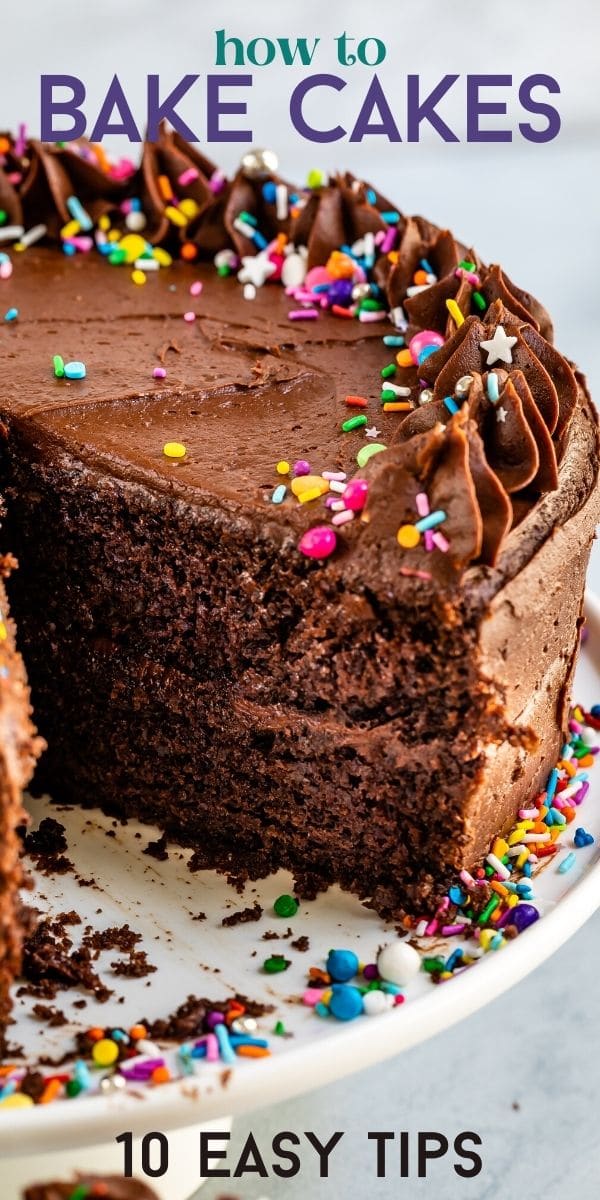
Making a cake is not complicated but a certain amount of precision and know-how can make a big difference in how the cake turns out. If you’ve ever made a cake that was too dense or collapsed or wouldn’t release from the pan, I’m here to share my best tips that doesn’t happen again!
No matter where you are in your cake baking journey, I think you’ll feel a lot more confident after you read through these 10 tips for baking cakes.
Table of Contents
- Tip 1: Read the Recipe Before You Start
- Tip 2: Start with Room Temperature Ingredients
- Tip 3: Use Full-Fat Milk and Real Butter
- Tip 4: Measure Your Ingredients Correctly
- Tip 5: Prep Your Cake Pans
- Tip 6: Don’t Overmix the Batter
- Tip 7: Preheat the Oven
- Tip 8: Give the Cakes Space in the Oven
- Tip 9: Don’t Peek! Keep the Oven Door Closed
- Tip 10: Do the Toothpick Test
Tip 1: Read the Recipe Before You Start
I know it seems obvious, but I’ve even been guilty of not reading the entire recipe before I start baking. And, you know what? When I just dive in without reviewing the recipe I usually end up with a not-so-great cake. So, take it from me, reading the recipe all the way through first makes a big difference! Here’s why:
- It’s good to familiarize yourself with the steps before you start so there are no surprises. There’s nothing worse than having the mixer flinging flour all over the place while you try to figure out the next step in the recipe.
- If you take the time to read the recipe you can ensure you have all of the ingredients on hand. Making substitutions is risky business in baking, especially with cakes, and you’re always better off using exactly what is called for in the recipe. Don’t wait until your halfway through before you realize you’re out of an ingredient.
- Reading the recipe first will highlight details you wouldn’t want to discover halfway through making it. Have you ever started making a cake only to discover that an ingredient needs to be chilled or softened or frozen halfway through? And you need the cake, like, now? Read through all of the steps first and you won’t be caught off guard!
Tip 2: Start with Room Temperature Ingredients
Unless it’s otherwise noted in the recipe, it’s always a good idea to let your ingredients come to room temperature before you make your cake. This is especially important for dairy ingredients and eggs.
- First, it’s a lot easier to combine room temperature ingredients instead of cold ones. If you’ve ever tried to cream cold butter with sugar you know what I’m talking about. Emulsification, the process of combining ingredients that normally don’t mix well together, is a lot easier when the ingredients are at room temperature.
- Ingredients that are easier to combine will create a smoother batter faster. In other words, you don’t risk overmixing which can give your cake a tougher texture.
- Using room temperature ingredients will make a big difference in the texture of your cakes. If a light and fluffy cake with a tender crumb is your goal (and it should be!) then start with room temperature ingredients.
So, if your recipe does not specify room temperature ingredients it’s always best to use them unless it specifically says otherwise.
Tip 3: Use Full-Fat Milk and Real Butter
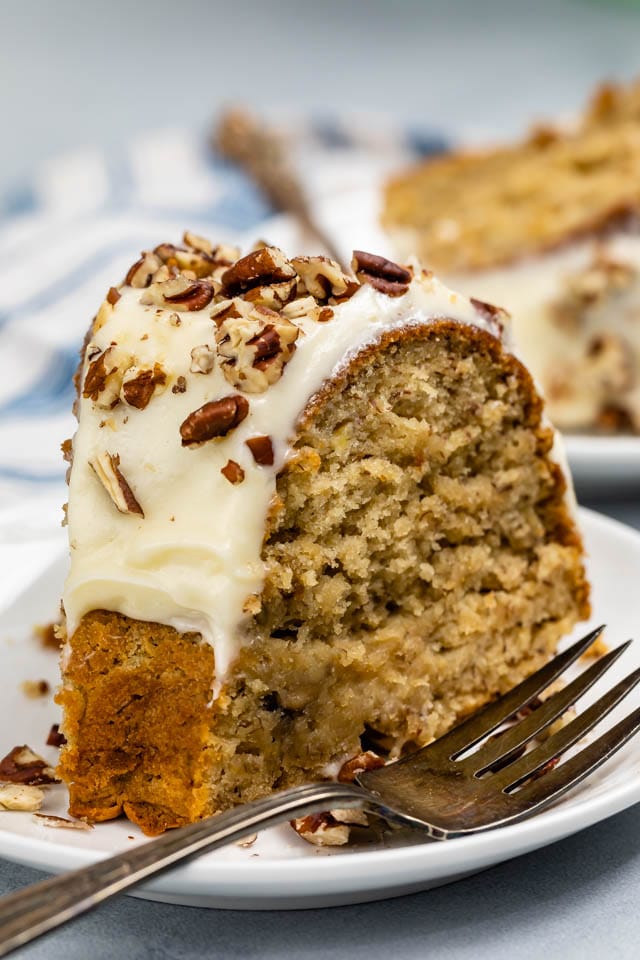
If you’re going to the trouble to make a cake, let’s make it great! And by great, I mean make it with the good stuff – full fat milk and real butter.
Part of what makes a really great cake taste so good is fat. So, substituting a lower-fat milk or fake butter will do nothing for your cake except make it not so good. It’s should be a treat, right? So, treat yourself and use the real stuff.
Of course, if the recipe you’re using calls for a different type of milk or another lower-fat ingredient follow the recipe. But, when in doubt, always go with full-fat milk and butter.
Tip 4: Measure Your Ingredients Correctly
Making cakes requires precision in measuring. Too much flour, not enough sugar or other mis-measured ingredients can have a big impact on your finished cake.
There are basically two things to remember with measuring: use the right kind of measuring cup for the ingredient and use the right method for filling the measuring cup with the ingredient.
So, for liquid ingredients use liquid measuring cups. For dry ingredients, use dry ingredient measuring cups.
- How to measure flour: lightly spoon it into a dry measuring cup and use a dinner knife to level it off the top.
- How to measure sugar
- For granulated sugar, you can use a dry measuring cup to scoop it out of the container or package. Level it off with a dinner knife so it’s completely filling the cup.
- For powdered sugar, use the spoon and level method like you would for flour
- For brown sugar, fill the cup and use the back of a spoon to tightly pack it in the measuring cup. When you turn it out of the cup the sugar should hold its shape.
For liquid ingredients (including sticky ingredients like honey and molasses) use a liquid measuring cup! Learn all about measuring cups here.
Tip 5: Prep Your Cake Pans
Preparing your cake pans before filling them with batter makes a big difference in your final cake. There is nothing worse than spending the time to make a cake batter only to have the cake stick to the pan when you try and remove it.
You should prep your pans before you make your cake batter. You don’t want your cake batter sitting around too long after you mix it so have your pans ready to go.
Follow these tips and your cake will release from the pan with no problems. Here are my in depth posts on baking pan substitutions and how to grease a cake pan.
- Thoroughly grease the pan with butter or shortening first and be sure to get into the corners, too.
- Add some flour to the pan and evenly coat the sides and bottom of the pan and then remove the excess by lightly tapping the pan.
- You can also use baking spray in place of butter and flour. Just be sure to use the kind that has flour in it – regular cooking spray won’t work as well.
- Cut and fit a piece of parchment paper in the bottom of the pan.
Tip 6: Don’t Overmix the Batter
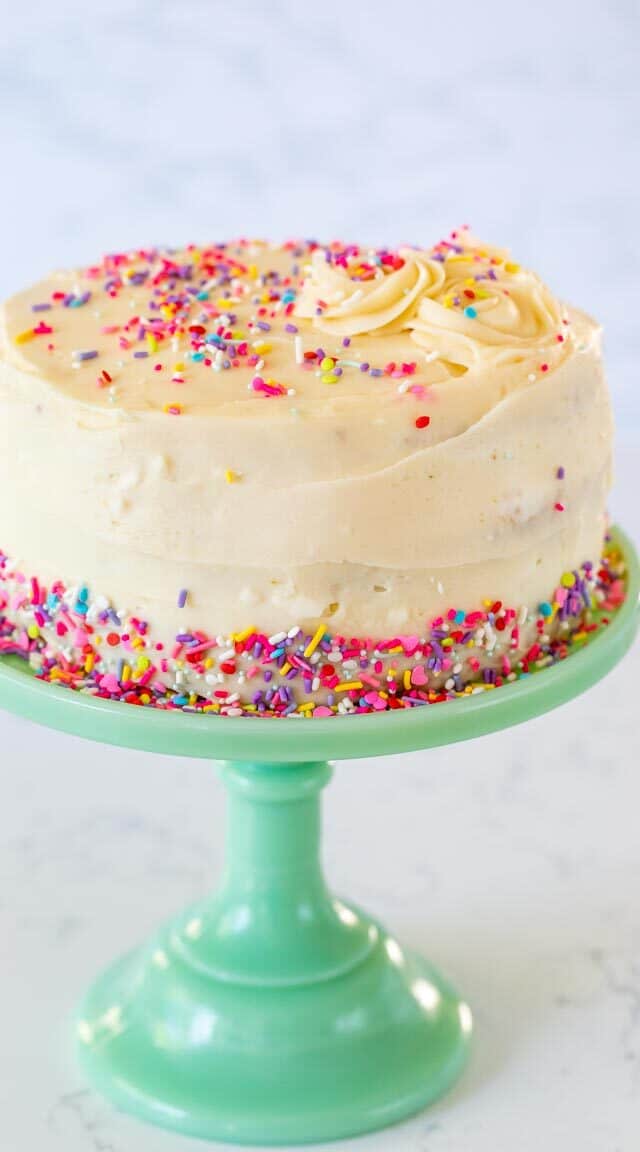
When you add dry ingredients to the wet ones you want to mix just long enough to combine them but not too long. Overmixing the batter will overwork the gluten in the flour which will make your cake dense with a tough and chewy texture.
Most cake recipes have you mix the dry ingredients before you add them to the wet ones. Even though it requires two bowls (I know, more dishes!) it’s important to follow these instructions. Mixing the dry ingredients first makes it easier to incorporate them fully into the butter and eggs without having to stir too much.
Mixing your batter until it’s “just combined” means that you should stop stirring once there is no flour or dry ingredients visible. It is at this point that they have been absorbed into the wet ingredients.
Tip 7: Preheat the Oven
Once your cake batter is in the cake pan, you want to get it in the oven right away, especially if your batter has baking soda. Baking soda will lose its effectiveness if the batter is left sitting out too long. (Learn about baking soda here.)
So, be sure your oven is preheated to the right temperature. In most cases, you should turn your oven on before you make your batter so it has plenty of time to get to temperature.
Tip 8: Give the Cakes Space in the Oven
If you are making a layer cake, don’t bake the layers right next to each other in the oven. If you do this, they will rise towards each other as they bake which will leave you with misshapen layers or two cakes that baked into each other.
Depending on the size of your oven, you may need to bake the layers separately so this doesn’t happen.
Tip 9: Don’t Peek! Keep the Oven Door Closed
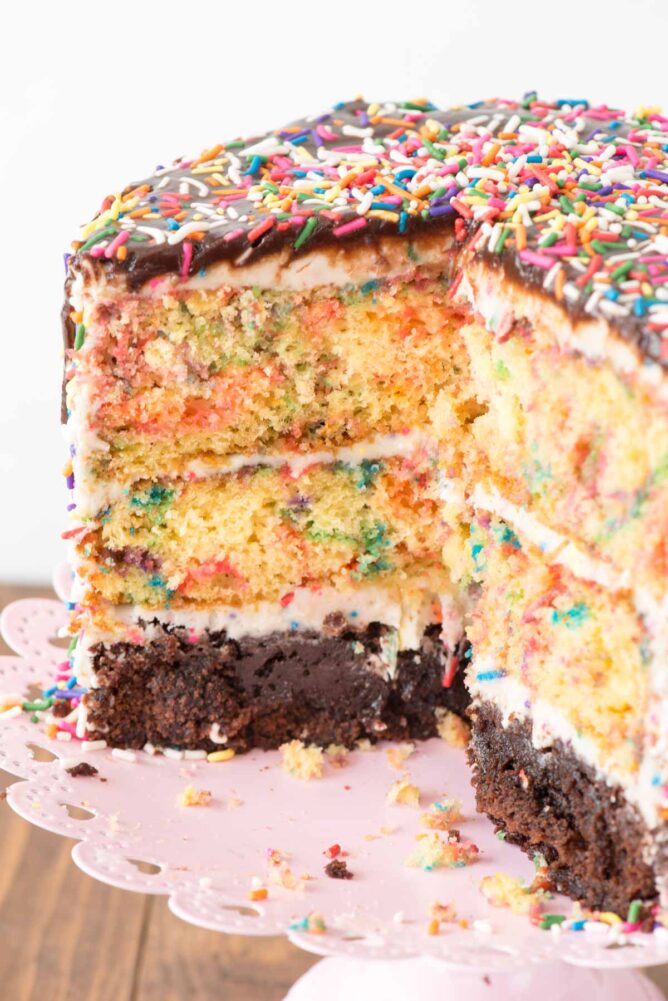
As tempting as it is, resist the urge to open the oven door while your cake is baking. When you open it, heat will escape and lower the temperature of the oven. This not only changes the amount of time you will need to bake the cake, but the change in temperature can also cause the cake to collapse or sink.
Tip 10: Do the Toothpick Test
I think the easiest and most effective way to check if a cake is done is with a toothpick. Insert a toothpick into the center of the cake. If it comes out clean the cake is done. If it comes out with batter sticking to it the cake needs more time.
I hope you’ve found these tips helpful! There’s nothing better than a homemade cake, so I hope you feel inspired to crank up the oven and make a deliciously light and tender cake!
Have you made this recipe?
Tag @crazyforcrust on Instagram or hashtag it #crazyforcrust
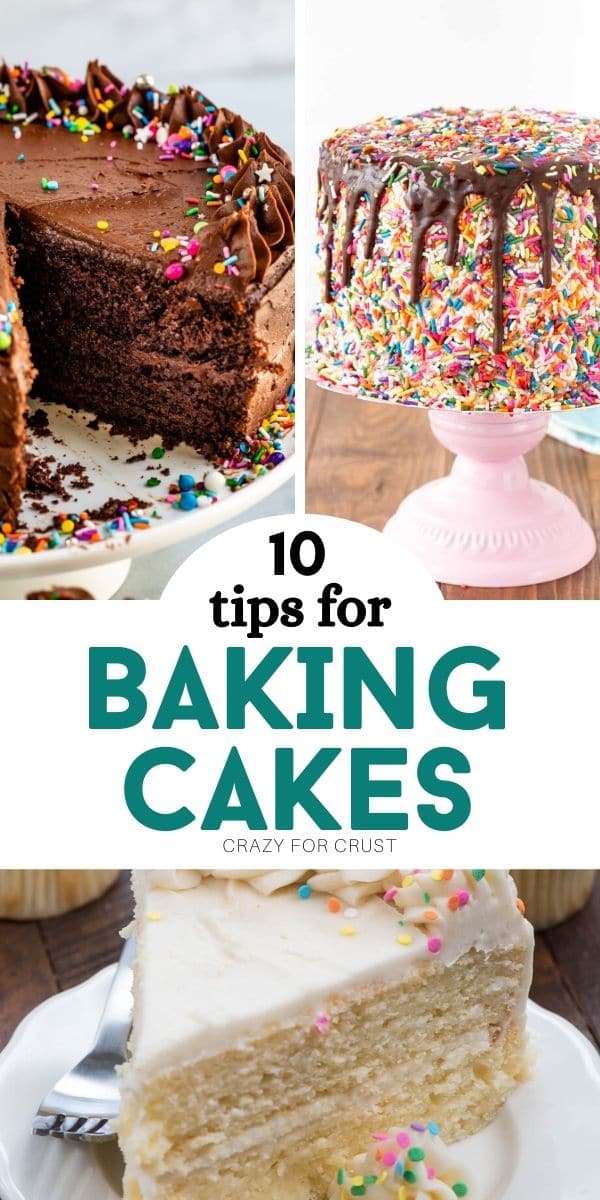
Learn my secrets to baking the perfect cake! These 10 easy tricks and hacks for beginners will help you bake a cake from scratch in no time.
New baker here! Love these tips! Thanks for sharing!
I WOULD LIKE TO KNOW HOW TO MAKE HOME MADE CHOCOLATE AND VANILLA FROSTING
Where can I find the recipe for the cake shown in Tip #8, 10 Tips for Baking Cakes. Thank you.
HI Dorothy,
You had me at Step 1. Whenever I tell my sister about a new recipe the VERY first thing she asks me, “Laura, Did you follow the recipe?”
Mine tend to go sideways very quickly. Thank you! Pinning! laura in Colorado
Featured In